Project 35: Electronic LED Dice
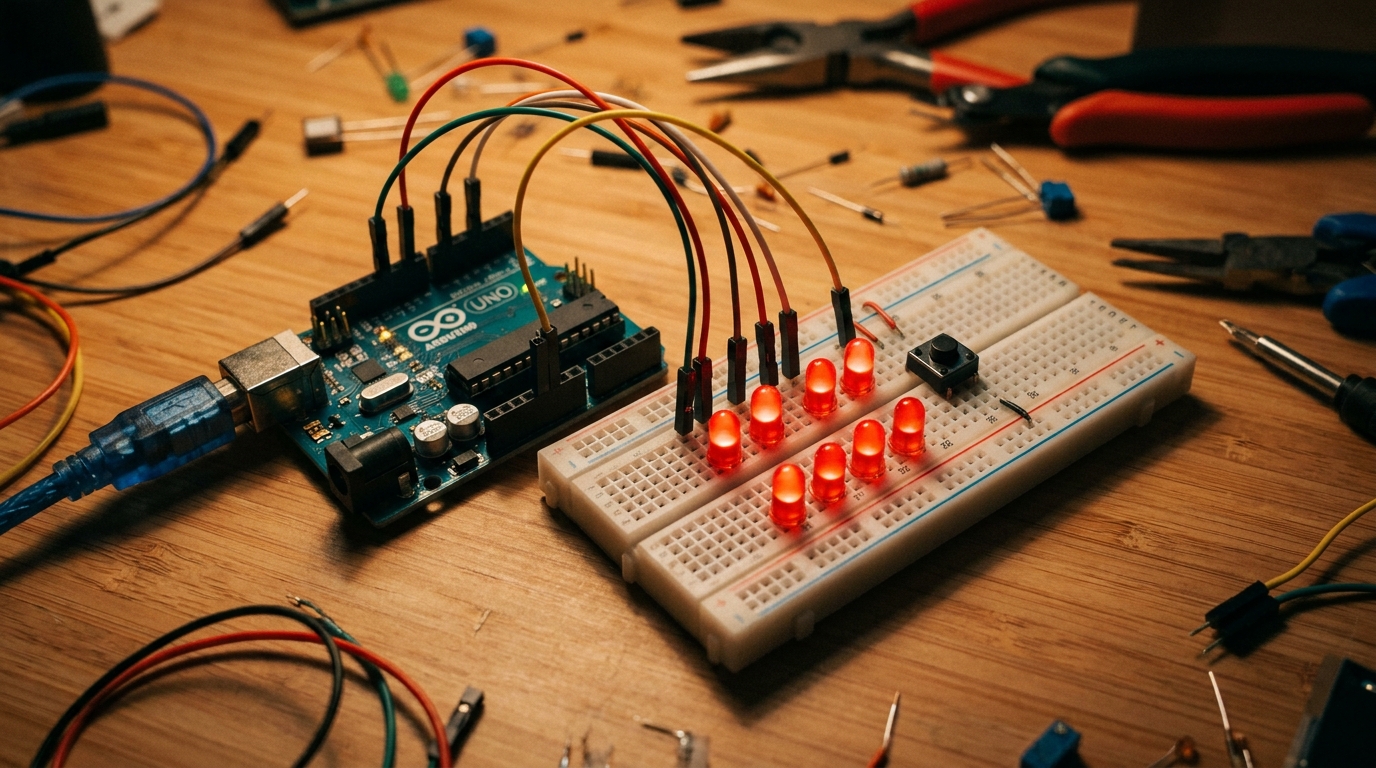
Ready to roll the dice on a fun new project? Today, we are building a classic Electronic LED Dice using an Arduino Uno and a pushbutton. Whenever you press the button, the Arduino generates a random number and lights up the LEDs. It takes ten times longer to build than just buying a piece of plastic, but at least this one requires batteries!
How It Works
The circuit uses seven LEDs arranged in an “H” shape to mimic the pips on a real die. A pushbutton is connected to a digital input on the Arduino. When the button is pressed, the code uses a random() function to pick a number.
Through the use of If/Else logic or arrays, the Arduino determines which combination of LEDs needs to turn on to display that number. This project is a fantastic introduction to Variables and Loops.
Parts List
Here is everything you will need for this build. All parts are standard components that you likely already have, or can grab cheaply online:
- ELEGOO UNO R3 Board (The brain of our project)
- 5mm LED Assortment Kit (We need 7 LEDs. Red looks great!)
- 220 Ohm Resistors (You will need 7 of these, one for each LED, to limit the current. See our Resistors lesson for details.)
- Tactile Push Button Switch
- 10k Ohm Resistor (Used as a pull-down resistor for the button)
- 830 Point Breadboard (For prototyping our circuit. Learn more in our Breadboard guide.)
- Dupont Jumper Wires
The Circuit Wiring
- Arrange the LEDs: Place your 7 LEDs on the breadboard to form a dice pattern.
- Top-Left (Pin 2), Top-Right (Pin 3)
- Middle-Left (Pin 4), Center (Pin 5), Middle-Right (Pin 6)
- Bottom-Left (Pin 7), Bottom-Right (Pin 8)
- Add Resistors: Connect a 220 Ohm resistor from the short leg (cathode) of each LED to the GND rail on the breadboard.
- Connect to Arduino: Connect the long leg (anode) of each LED to the digital pins specified above.
- The Button: Place the pushbutton on the breadboard. Connect one side to 5V. Connect the other side to Digital Pin 9 AND use a 10k resistor to connect that same side to GND.
The Code
Upload this sketch to your Arduino. It initializes the pins, reads the button state, and generates the random display!
int buttonPin = 9;
int buttonState = 0;

// LED Pins array: {Top-L, Top-R, Mid-L, Center, Mid-R, Bot-L, Bot-R}
int ledPins[] = {2, 3, 4, 5, 6, 7, 8};

void setup() {
  for (int i = 0; i < 7; i++) {
    pinMode(ledPins[i], OUTPUT);
  }
  pinMode(buttonPin, INPUT);

  // Seed the random number generator using an unconnected analog pin
  randomSeed(analogRead(0));
}

void loop() {
  buttonState = digitalRead(buttonPin);

  if (buttonState == HIGH) {
    // Show a rolling animation
    for (int i = 0; i < 10; i++) {
      showNumber(random(1, 7));
      delay(50);
    }

    // Pick the final number
    int result = random(1, 7);
    showNumber(result);

    // Wait so it doesn't trigger repeatedly
    delay(2000);
  }
}

void showNumber(int num) {
  // Turn all off first
  for (int i = 0; i < 7; i++) {
    digitalWrite(ledPins[i], LOW);
  }

  // Turn on LEDs based on the rolled number
  if (num == 1) {
    digitalWrite(5, HIGH); // Center
  }
  if (num == 2) {
    digitalWrite(2, HIGH); // Top-L
    digitalWrite(8, HIGH); // Bot-R
  }
  if (num == 3) {
    digitalWrite(2, HIGH);
    digitalWrite(5, HIGH);
    digitalWrite(8, HIGH);
  }
  if (num == 4) {
    digitalWrite(2, HIGH);
    digitalWrite(3, HIGH);
    digitalWrite(7, HIGH);
    digitalWrite(8, HIGH);
  }
  if (num == 5) {
    digitalWrite(2, HIGH);
    digitalWrite(3, HIGH);
    digitalWrite(5, HIGH);
    digitalWrite(7, HIGH);
    digitalWrite(8, HIGH);
  }
  if (num == 6) {
    digitalWrite(2, HIGH);
    digitalWrite(3, HIGH);
    digitalWrite(4, HIGH);
    digitalWrite(6, HIGH);
    digitalWrite(7, HIGH);
    digitalWrite(8, HIGH);
  }
}
Wrapping Up
Once the code is uploaded, simply press the button! You should see the LEDs flicker like a rolling die, before settling on a random number.
If you want to take this project further, consider building an enclosure for it, or adding a Piezo buzzer to make a ticking sound while the dice is “rolling”!