ElectronParade
Lesson 113: Variables and Loops (Making the LED do tricks)
In the last lesson, we hardcoded the number 13 to blink the onboard LED. But what if we wire up an external LED to Pin 9 instead? We’d have to find every 13 in our code and change it to 9. In a larger program, that gets messy fast.
Enter Variables.
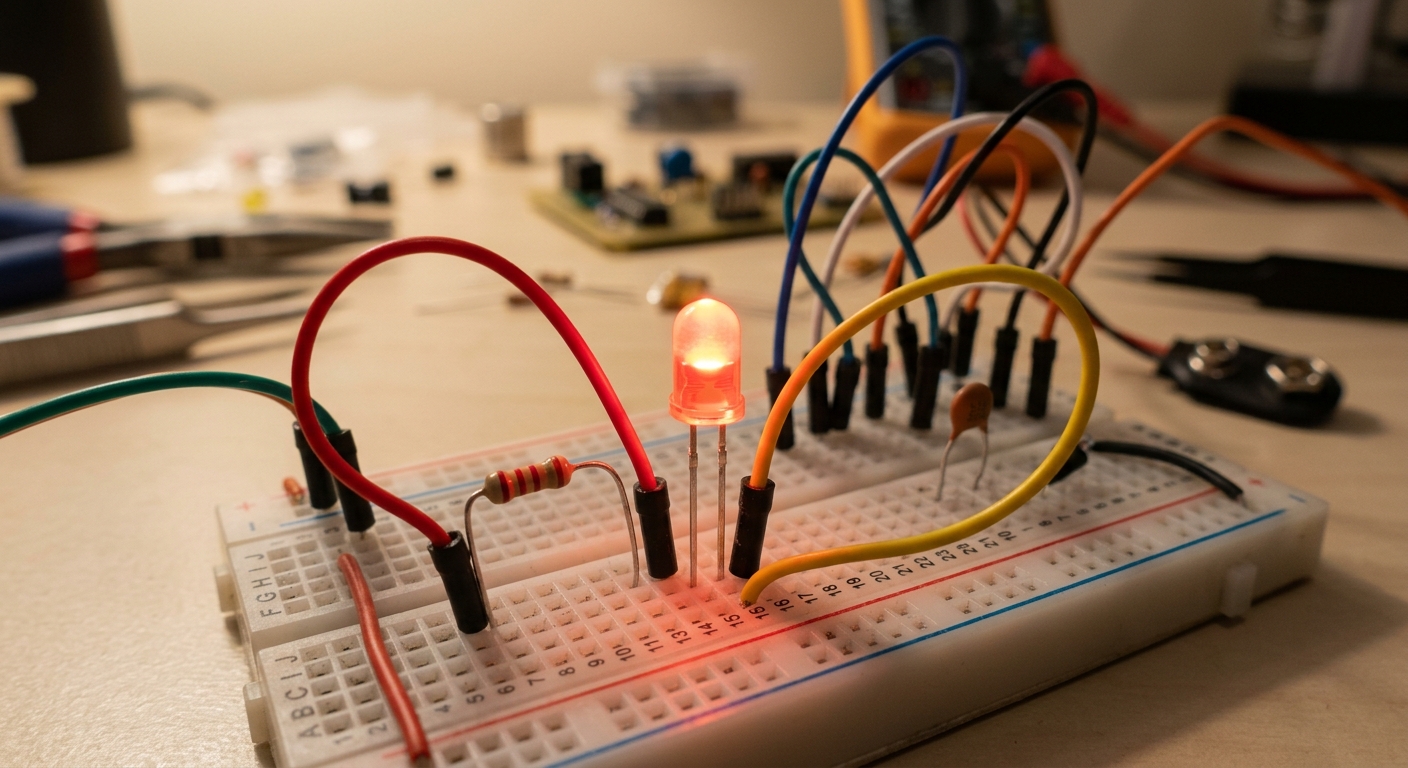 Using code to control external components on a breadboard.
What is a Variable?
A variable is like a labeled box where you can store data. In C++, you have to declare what type of data the box will hold. For whole numbers, we use int (short for integer).
Let’s rewrite our blink sketch using a variable:
// Create an integer variable named 'ledPin' and store the value 9 in it
int ledPin = 9;

void setup() {
  pinMode(ledPin, OUTPUT);
}

void loop() {
  digitalWrite(ledPin, HIGH);
  delay(1000);
  digitalWrite(ledPin, LOW);
  delay(1000);
}
Now, if we move our LED to pin 5, we only have to change the code in one place at the very top.
The for Loop
The main loop() runs forever. But what if you want something to repeat exactly 5 times, and then do something else? For that, we use a for loop.
Let’s write a program that makes the LED blink fast 3 times, pause, and repeat.
int ledPin = 9;

void setup() {
  pinMode(ledPin, OUTPUT);
}

void loop() {
  // A 'for' loop has 3 parts:
  // 1. Create a counter variable (int i = 0)
  // 2. The condition to keep running (i < 3)
  // 3. What to do after each run (i++ means add 1 to i)

  for (int i = 0; i < 3; i++) {
    digitalWrite(ledPin, HIGH);
    delay(200);   // Short delay for a fast blink
    digitalWrite(ledPin, LOW);
    delay(200);
  }

  // The loop is done, now wait 2 seconds before the main loop() restarts
  delay(2000);
}
Wiring the Circuit
Grab a breadboard, an LED, and a 220-ohm resistor. Connect Pin 9 to the resistor, the resistor to the long leg (anode) of the LED, and the short leg (cathode) of the LED to GND. Upload the code and watch it work!
[Stock up on essential components with this 500-piece LED Assortment Kit to build multi-LED projects!]
By combining variables and loops, you can start creating complex light patterns, police sirens, and custom light shows without writing thousands of lines of code.