ElectronParade
Lesson 114: Digital Inputs (Reading a Pushbutton)
Lighting up LEDs is fun, but a microcontroller’s real power comes from its ability to react to the world. To do that, we need inputs.
Today, we’re going to teach the Arduino to read a digital signal from a tactile pushbutton.
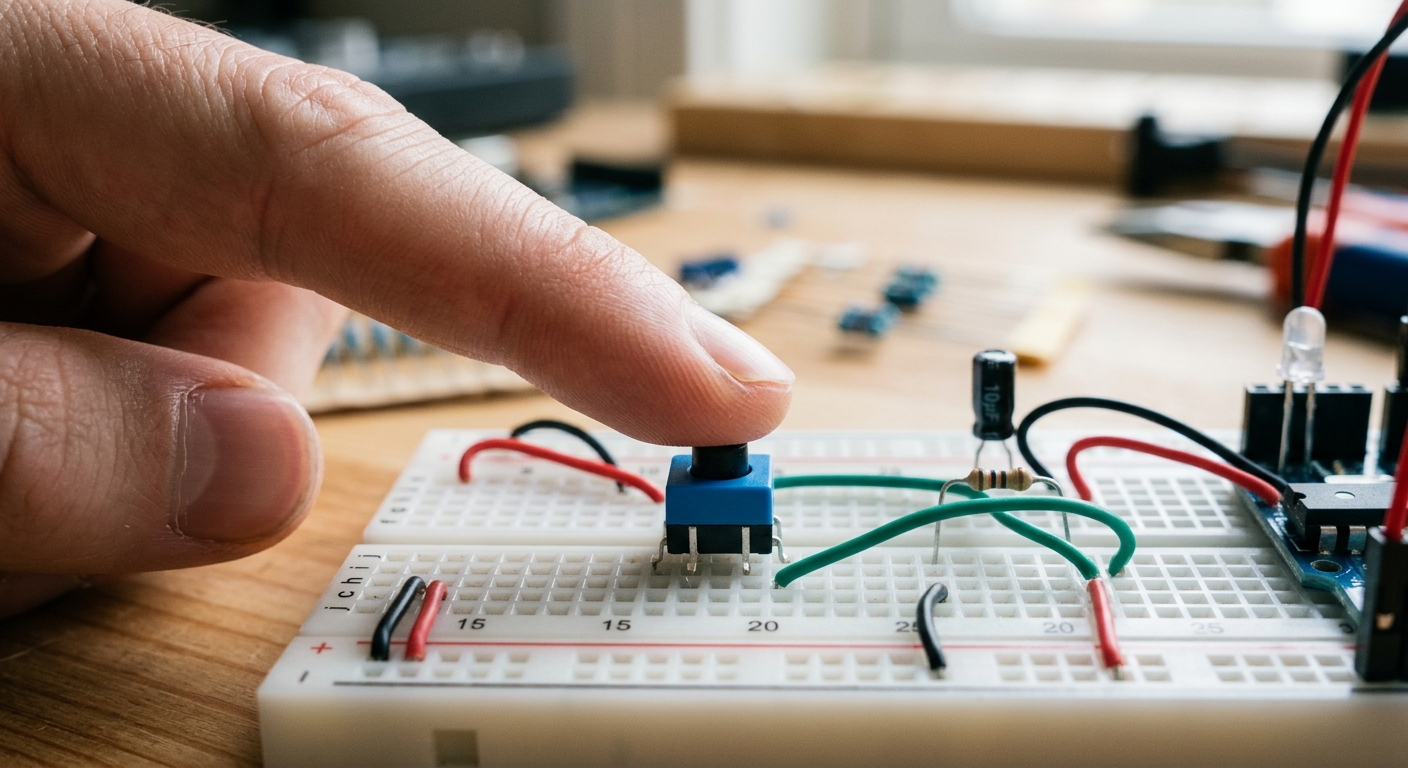 A simple tactile pushbutton allows user input.
Input vs Output
When a pin is configured as an OUTPUT, the Arduino sends 5V out.
When a pin is configured as an INPUT, the Arduino “listens” to the pin to see if 5V is being applied to it from the outside.
If it detects ~5V, it reads as HIGH. If it detects ~0V (Ground), it reads as LOW.
The Floating Pin Problem
If you connect a wire to an input pin and leave the other end dangling in the air, what will the Arduino read?
It will actually read random noise! The pin acts like a tiny antenna, picking up static electricity and radio waves. It will rapidly fluctuate between HIGH and LOW. This is called a floating pin.
To fix this, we use a Pull-down Resistor.
The Circuit
- Connect a 5V pin on the Arduino to one side of the pushbutton.
- Connect the other side of the pushbutton to Digital Pin 2.
- The crucial step: Connect a 10k-ohm resistor from Digital Pin 2 to GND.
Now, when the button is not pressed, Pin 2 is pulled down to GND through the resistor. It reads a solid, reliable LOW. When you press the button, 5V floods straight into Pin 2. Electricity takes the path of least resistance (ignoring the 10k resistor to ground), and the Arduino reads a solid HIGH.
The Code
Let’s write a script that turns on the onboard LED (Pin 13) when the button (Pin 2) is pressed.
int buttonPin = 2;
int ledPin = 13;
int buttonState = 0; // Variable to hold the reading

void setup() {
  pinMode(ledPin, OUTPUT);
  pinMode(buttonPin, INPUT); // Set the button pin to listen!
}

void loop() {
  // Read the state of the pushbutton value:
  buttonState = digitalRead(buttonPin);

  // Check if the pushbutton is pressed.
  // If it is, the buttonState is HIGH:
  if (buttonState == HIGH) {
    // turn LED on:
    digitalWrite(ledPin, HIGH);
  } else {
    // turn LED off:
    digitalWrite(ledPin, LOW);
  }
}
digitalRead()
The function digitalRead(pin) returns either HIGH or LOW depending on the voltage present at that pin. We store that result in our buttonState variable.
[Need a variety of buttons for your control panels? Check out this Tactile Button Assortment.]
In Lesson 117, we’ll dive deeper into that if/else logic!