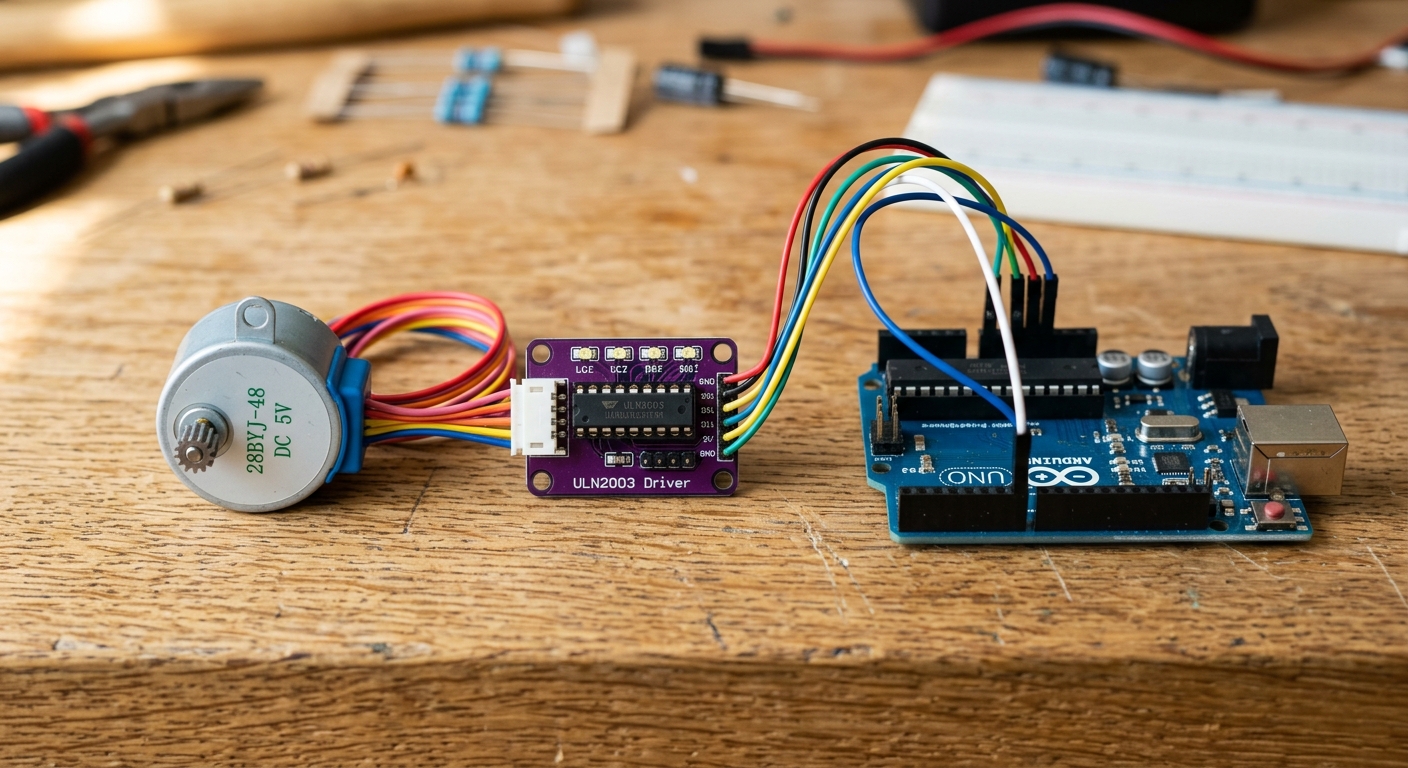
You’ve wired up your shiny new stepper motor, flipped the switch, and… instead of a smooth rotation, the motor sits there vibrating violently and making an awful grinding noise. Don’t panic! It’s not broken, it’s just confused. A vibrating stepper motor is a classic rite of passage, and it means you wired it wrong, coded it wrong, or starved it of power. Let’s figure out which mistake you made.
1. Incorrect Coil Wiring (Swapped Pairs)
A standard bipolar stepper motor (like a NEMA 17) has four wires, representing two separate internal coils (Coil A and Coil B). For the motor to turn, the stepper driver must energize these coils in a specific, alternating sequence. If you mix up the wires and connect one wire from Coil A and one wire from Coil B into the same pair on your driver, the magnetic fields will fight each other, resulting in violent vibration and zero rotation.
The Fix: You need to identify the pairs. You can do this easily with a multimeter:
- Set your multimeter to the Continuity (beep) or Resistance (Ohms) setting.
- Touch the probes to any two wires from the motor.
- If it beeps (or shows low resistance, like 2-5 Ohms), you’ve found a pair! Group those two wires together as Coil A. The remaining two wires are Coil B.
- Connect them to your driver (e.g., A4988) matching the
1A/1Band2A/2Bpins.
Pro-tip: If you don’t have a multimeter, touch two bare motor wires together and try to spin the shaft with your fingers. If it gets significantly harder to turn, those two wires form a pair!
2. Step Delay Too Short (Trying to spin too fast)
Unlike regular DC motors that spin based on voltage, stepper motors move in discrete “steps” dictated by your code. If your Arduino sends step pulses faster than the physical motor rotor can overcome its own inertia, the motor will simply “stall” and vibrate in place.
The Fix: Slow it down! If you are writing your own step code without a library, increase the delayMicroseconds() between steps.
// If this is stalling...
digitalWrite(stepPin, HIGH);
delayMicroseconds(500);
digitalWrite(stepPin, LOW);
delayMicroseconds(500);

// ...change it to this to test:
digitalWrite(stepPin, HIGH);
delayMicroseconds(2000);
digitalWrite(stepPin, LOW);
delayMicroseconds(2000);
If you are using the AccelStepper library, lower your setMaxSpeed() and setAcceleration() values until the motor spins reliably, then slowly increase them to find its physical limit. Check out our Stepper Motor Introduction for more on proper coding.
3. Untuned Driver Current (VREF)
If you are using a dedicated stepper driver module like the A4988 or DRV8825, they have a tiny potentiometer (a small screw) on top. This controls the current limit sent to the motor.
If the current is set too low, the motor won’t have enough torque to overcome the magnetic detent, causing it to just buzz. If it’s too high, the motor and driver will overheat rapidly.
The Fix: Use a small ceramic screwdriver to gently turn the potentiometer clockwise to increase the current limit slightly. Test the motor again. (For a precise tune, you should measure the VREF voltage with a multimeter and calculate the exact required current based on your specific motor’s datasheet).
Still Stuck?
If you’ve checked your coil pairs, slowed down your code, and tuned your driver, double-check your power supply. Stepper motors draw significant current, and trying to power a NEMA 17 directly from an Arduino’s 5V pin will instantly cause a brown-out or a stall. Always use a dedicated external power supply (like a 12V bench supply) for stepper motors!