ElectronParade
Lesson 111: Meet the Arduino Uno (Anatomy of the board)
Up until now, our circuits have been “dumb”. We connect a battery to an LED, and the LED turns on. We add a switch, and we can turn it off. But what if we want the LED to flash a Morse code message? Or turn on only when it gets dark? Or pulse to the beat of music?
To do that with basic components would require incredibly complex circuits. Instead, we use a “brain” to control our components. Welcome to Module 2, where we introduce the Microcontroller.
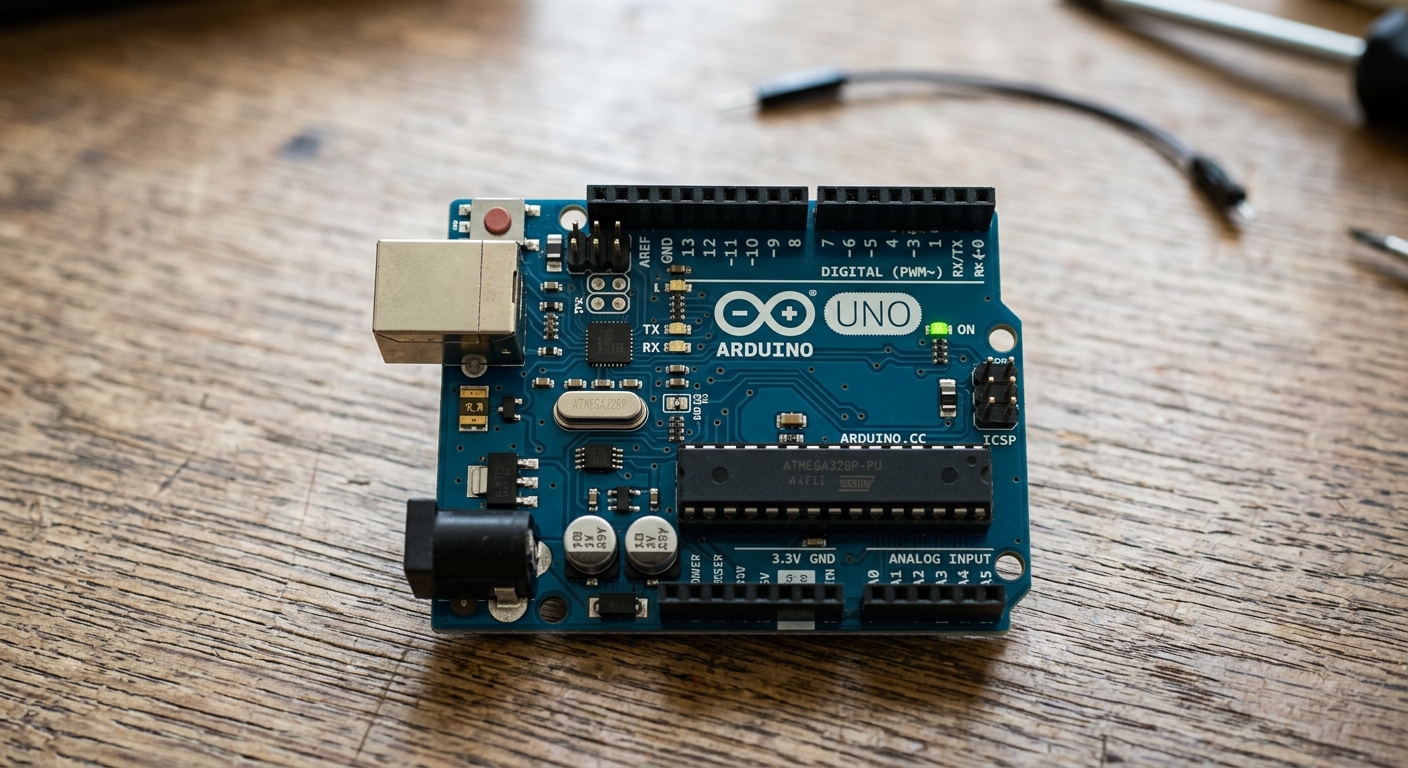 The Arduino Uno, the most popular microcontroller board for beginners.
What is a Microcontroller?
A microcontroller is essentially a tiny, self-contained computer on a single chip. It has a processor, memory, and programmable input/output peripherals. Unlike the processor in your laptop, which is designed to run a complex operating system and multiple apps, a microcontroller is designed to run one specific program over and over again.
The Arduino Uno is a development board that makes using a specific microcontroller (the ATmega328P) incredibly easy.
Anatomy of the Arduino Uno
Let’s take a tour of the board:
1. The Brain (ATmega328P)
That large, rectangular black chip in the center (or sometimes a smaller square chip, depending on the model) is the actual microcontroller. Everything else on the board is just there to support this chip, provide it with power, and help it talk to your computer.
2. Power Connections
- USB Port: Used to connect the board to your computer to upload code. It also provides 5V power to the board.
- Barrel Jack: If you want your project to run without a computer, you can plug a 7-12V power supply (like a battery pack or wall adapter) in here.
- Power Pins: Along the bottom edge, you’ll find pins labeled
5V,3.3V, andGND(Ground). You will use these to supply power to the components on your breadboard.
3. Digital I/O Pins (Pins 0 - 13)
Along the top edge are the Digital Input/Output pins.
- Output: You can tell these pins to provide 5V (HIGH) or 0V (LOW) to turn things like LEDs on and off.
- Input: You can read the voltage on these pins to see if a button is being pressed. (Note: Pins 0 and 1 are used for serial communication with your computer. It’s best to avoid using them for your circuits until you’re more advanced!)
4. Analog Input Pins (A0 - A5)
Along the bottom right are the Analog Input pins. While digital pins can only read HIGH or LOW, these pins can read a range of voltages between 0V and 5V. This is perfect for reading sensors like volume knobs or temperature gauges.
Getting Your Hands on an Arduino
To follow along with Module 2, you are going to need an Arduino Uno and some basic components. If you haven’t picked one up yet, we highly recommend an all-in-one kit.
[Ready to start building? Grab an ELEGOO UNO R3 Project Smart Starter Kit to get the board, breadboard, and all the components you need for this module!]
In the next lesson, we’ll plug this board into our computer and write our very first program!