We’ve built weather stations. We’ve built LED clocks. We’ve built enough rovers to colonize Mars. But you know what we haven’t done? Intentionally submerged live electronics, highly reactive lithium-polymer batteries, and Wi-Fi signals underwater.
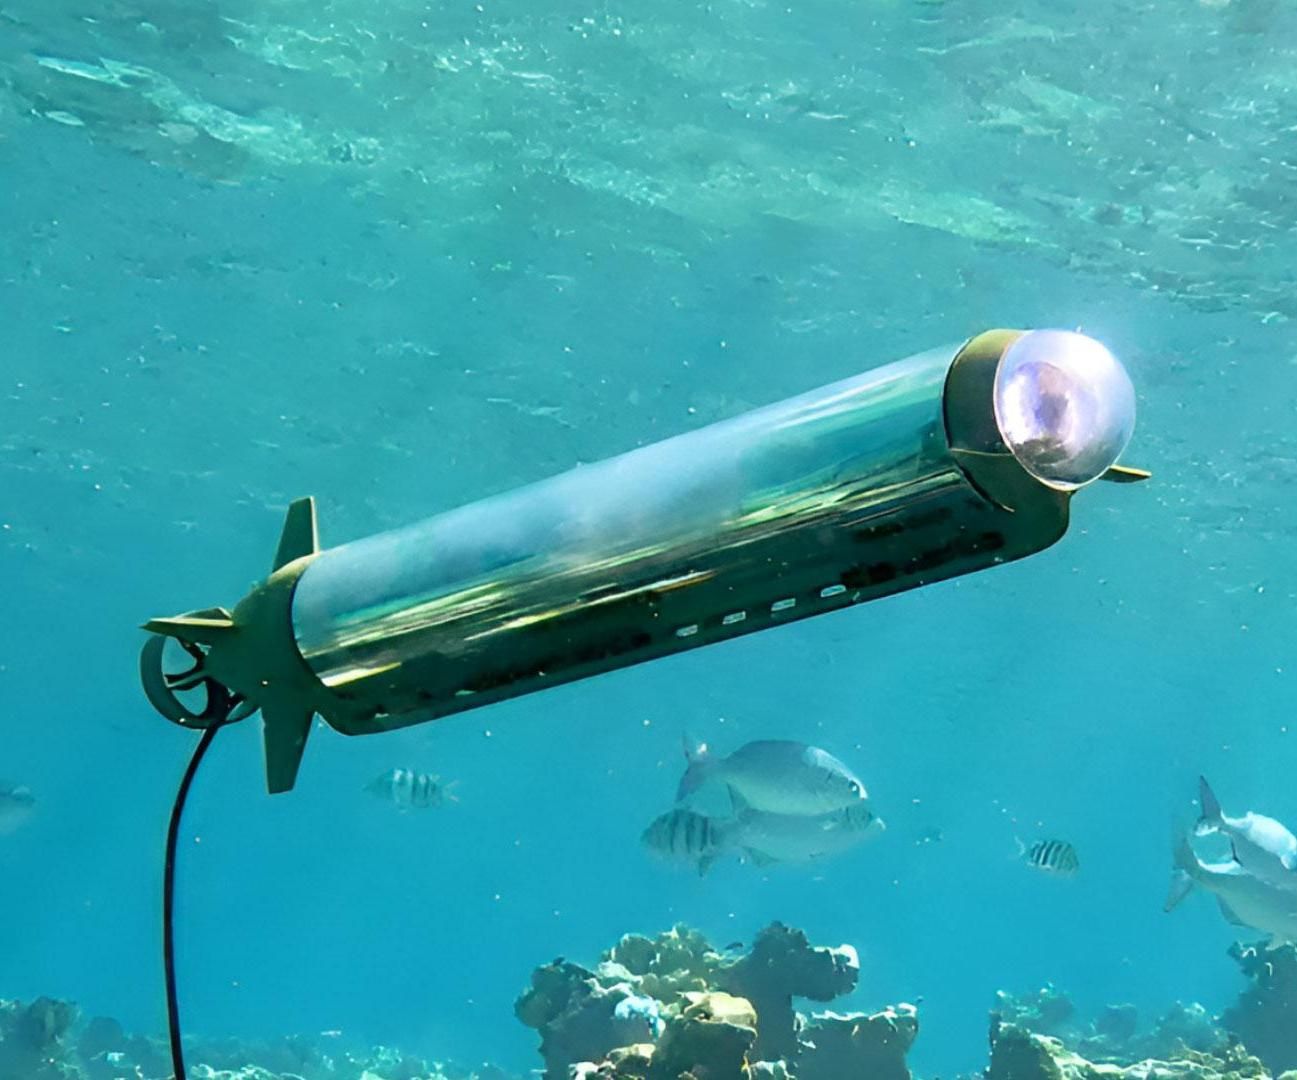
Welcome to the ESP-DIVE: a mini RC submarine powered by an ESP32 and equipped with a 5.8GHz FPV camera.
Let’s be honest for a second. Mixing electricity and water is usually the punchline to a very bad joke. Most of our projects involve releasing the “magic blue smoke” when we accidentally wire an LED backward. This project? This project has the potential to release the magic blue smoke underwater, creating a terrifyingly expensive jacuzzi experience for your pet goldfish.
But if you get the waterproofing right—and that’s a big if—you end up with a fully functional, Wi-Fi controlled mini sub that streams live FPV video directly to your headset or phone. It’s perfect for exploring the dark, mysterious depths of your bathtub, pool, or that weird puddle in the backyard that never seems to dry up.
How It Works
The ESP-DIVE relies on a clever combination of 3D-printed parts (for the hull and motor mounts) and standard micro-drone components.
Instead of traditional servos, this sub uses tiny coreless brushed motors (the kind you find in micro quadcopters) attached to small propellers to control pitch, yaw, and forward/backward movement. The brain of the operation is our old friend, the ESP32 Development Board. The ESP32 connects to your phone via Wi-Fi to receive control inputs, which it translates into motor speeds using PWM (Pulse Width Modulation).
For the visual feed, we skip the digital lag of Wi-Fi video and use a standard 5.8GHz AIO (All-In-One) FPV camera. This transmits a zero-latency analog video signal straight to your FPV goggles, so you can see exactly what the sub sees before you inevitably crash it into the side of the pool.
The Parts List
To build this underwater hazard, you’ll need the following components (along with a 3D printer and some serious waterproofing silicone):
- Microcontroller: ESP32 Development Board
- Motors: Coreless Motor 8520 (You’ll need a few of these, plus micro propellers)
- Camera: AIO FPV Camera 5.8Ghz
- Power: 3.7V LiPo Battery 500mAh (Treat these with respect! See our guide on LiPo Batteries & Safe Handling if we had one, but seriously, don’t puncture them).
- Motor Drivers: Small MOSFETs or a dedicated micro motor driver board to handle the current draw of the coreless motors.
- Waterproofing: Silicone sealant, epoxy, or conformal coating. Lots of it.
Step 1: The Hull and Waterproofing
The biggest challenge here isn’t the code; it’s the physics. Radio waves—especially 2.4GHz Wi-Fi and 5.8GHz video—do not travel well through water. You can only dive a few inches before you lose signal completely.
The hull needs to be perfectly sealed. If you’re 3D printing the body, you must treat the plastic with epoxy resin to fill in the microscopic gaps between the layer lines, otherwise, water will seep in. The motors are often mounted externally (they can run wet if it’s fresh water, surprisingly enough), with only the wires passing through sealed holes into the dry hull.
Step 2: Wiring the ESP32
The wiring is essentially a micro-drone setup. The ESP32 uses PWM output pins connected to MOSFETs to drive the coreless motors. The FPV camera is usually a standalone unit that just needs 3.3V or 5V power from your battery distribution, transmitting video completely independent of the ESP32.
If you need a refresher on how to solder these tiny connections without bridging pins, check out our Advanced Soldering Guide.
Step 3: The Code
To get the motors spinning, the ESP32 needs to host a simple web server with a virtual joystick (using HTML/JS) and translate those movements into PWM signals. Here is a simplified snippet of how the ESP32 handles the incoming motor commands using ledcWrite():
#include <WiFi.h>
#include <WebServer.h>

const char* ssid = "ESP-DIVE";
const char* password = "submarine_time";

WebServer server(80);

// Motor Pins
const int motorLeftPin = 26;
const int motorRightPin = 27;

// PWM Properties
const int freq = 5000;
const int leftChannel = 0;
const int rightChannel = 1;
const int resolution = 8;

void setup() {
  Serial.begin(115200);

  // Configure PWM functionalities
  ledcSetup(leftChannel, freq, resolution);
  ledcSetup(rightChannel, freq, resolution);

  // Attach the channel to the GPIOs
  ledcAttachPin(motorLeftPin, leftChannel);
  ledcAttachPin(motorRightPin, rightChannel);

  // Start Access Point
  WiFi.softAP(ssid, password);

  server.on("/drive", []() {
    String leftSpeedStr = server.arg("left");
    String rightSpeedStr = server.arg("right");

    int leftSpeed = leftSpeedStr.toInt();
    int rightSpeed = rightSpeedStr.toInt();

    // Drive motors (0-255)
    ledcWrite(leftChannel, leftSpeed);
    ledcWrite(rightChannel, rightSpeed);

    server.send(200, "text/plain", "OK");
  });

  server.begin();
  Serial.println("Submarine server started.");
}

void loop() {
  server.handleClient();
}
This code sets up the ESP32 as an Access Point (ESP-DIVE). When your phone’s browser sends a request to /drive?left=200&right=200, the ESP32 parses those values and drives the coreless motors via PWM.
(For the complete 3D printable files, wiring diagrams, and the full HTML/JS joystick web app, you can check out the original creator’s excellent guide on Instructables.)
Final Thoughts
Is this project practical? No. Will it probably leak and short out at least once during your testing phase? Almost certainly.
But there is nothing quite as satisfying as sitting by a pool with FPV goggles strapped to your face, piloting a homemade submarine that you built yourself. Just remember to tie a fishing line to it for recovery when the Wi-Fi signal inevitably drops out.