Lesson 196: Unlocking PIO (Programmable I/O) on the Raspberry Pi Pico
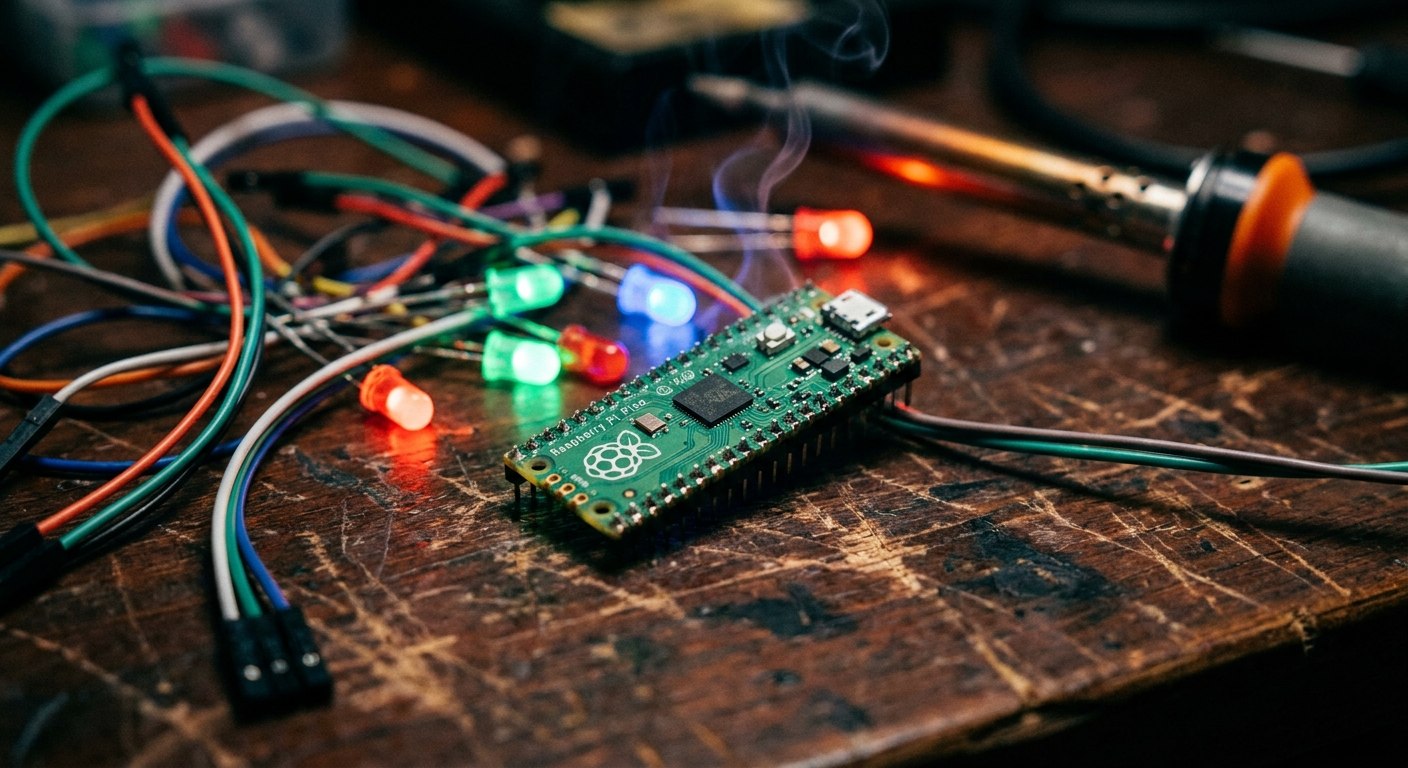
Have you ever tried to drive a long string of WS2812B LEDs or read a high-speed sensor, only to realize your microcontroller is sweating bullets trying to keep up with the precise microsecond timing? You end up writing spaghetti code full of delayMicroseconds() and praying an interrupt doesn’t ruin everything. It’s the digital equivalent of trying to rub your stomach, pat your head, and recite the alphabet backward while someone throws dodgeballs at you.
Enter the Raspberry Pi Pico and its secret weapon: PIO (Programmable I/O).
What is PIO?
Most microcontrollers have dedicated hardware for common protocols like I2C, SPI, or UART. If you want to talk to an I2C device, you use the I2C pins. But what if you need a weird, custom protocol? Or what if you need six UARTs and the board only has two?
Historically, you had to use “bit-banging”—toggling GPIO pins high and low manually in your main code. It’s slow, it ties up the CPU, and it’s highly vulnerable to timing glitches.
PIO is like having a team of tiny, dedicated, ultra-fast worker elves living inside your Pico.
Instead of your main CPU doing the heavy lifting, the Pico has two PIO blocks, each containing four state machines. You write tiny, specialized programs (using a very simple assembly language) and hand them off to these state machines. They run independently of the main CPU, executing one instruction per clock cycle with absolute, deterministic precision.
Why is PIO a Game Changer?
- CPU Offloading: Your main dual-core Cortex-M0+ processor is completely free to do math, handle Wi-Fi (on the Pico W), or run your main logic, while the PIO handles the precise pin-wiggling in the background.
- Deterministic Timing: PIO instructions execute in exactly one clock cycle. You know exactly how long a pulse will take. No jitter, no interrupt interference.
- Flexibility: You can program PIO to be almost anything: extra UARTs, I2S audio interfaces, custom LED drivers, or even protocols for vintage retro computers.
A Taste of PIO Assembly
Don’t let the word “assembly” scare you. The PIO instruction set is incredibly small—only 9 instructions!
Here is a conceptual look at how you might use PIO to blink an LED, just to see the syntax:
.program blink
    pull block      ; Wait for the main CPU to send a delay value
    out y, 32       ; Move that value into the 'Y' scratch register

.wrap_target
    set pins, 1   [31]  ; Turn the pin ON, then wait 31 cycles
    mov x, y            ; Copy our delay value into the 'X' register
wait1:
    jmp x-- wait1       ; Loop until X is 0 (this creates our delay)

    set pins, 0   [31]  ; Turn the pin OFF, then wait 31 cycles
    mov x, y            ; Copy the delay value again
wait2:
    jmp x-- wait2       ; Loop until X is 0
.wrap
In your main C/C++ or MicroPython code, you simply load this program into a state machine, tell it which GPIO pin to use, and send it the delay value. The state machine handles the blinking infinitely, and your main CPU can go to sleep!
How to Get Started
The easiest way to start playing with PIO is using MicroPython. It has built-in decorators like @rp2.asm_pio that let you write PIO assembly directly inside your Python script.
In the next lesson, we will write our very first PIO program to drive a string of NeoPixels without using any external libraries.
Related Links: