Have you ever found yourself typing git commit -m "fixed stuff" for the eighteenth time in one hour, questioning every life decision that brought you to this moment? Or maybe you’re playing a game and constantly reaching across the desk to hit a convoluted keybind that makes your wrist sound like a bowl of Rice Krispies. We’ve all been there. You spend 12 hours debugging spaghetti code, and by the end of it, your pinky finger is staging a violent rebellion against your control key.
What if you could just… hit one big, satisfying, clicky button to do the hard work for you?
Welcome to Project 47, where we embrace peak laziness and build a custom Macro Keyboard. No more memorizing shortcuts. No more cramped hands. Just glorious, tactile mechanical switches that instantly run whatever command you want. It’s time to fire up the soldering iron, hopefully without releasing the magic blue smoke, and build something actually useful.
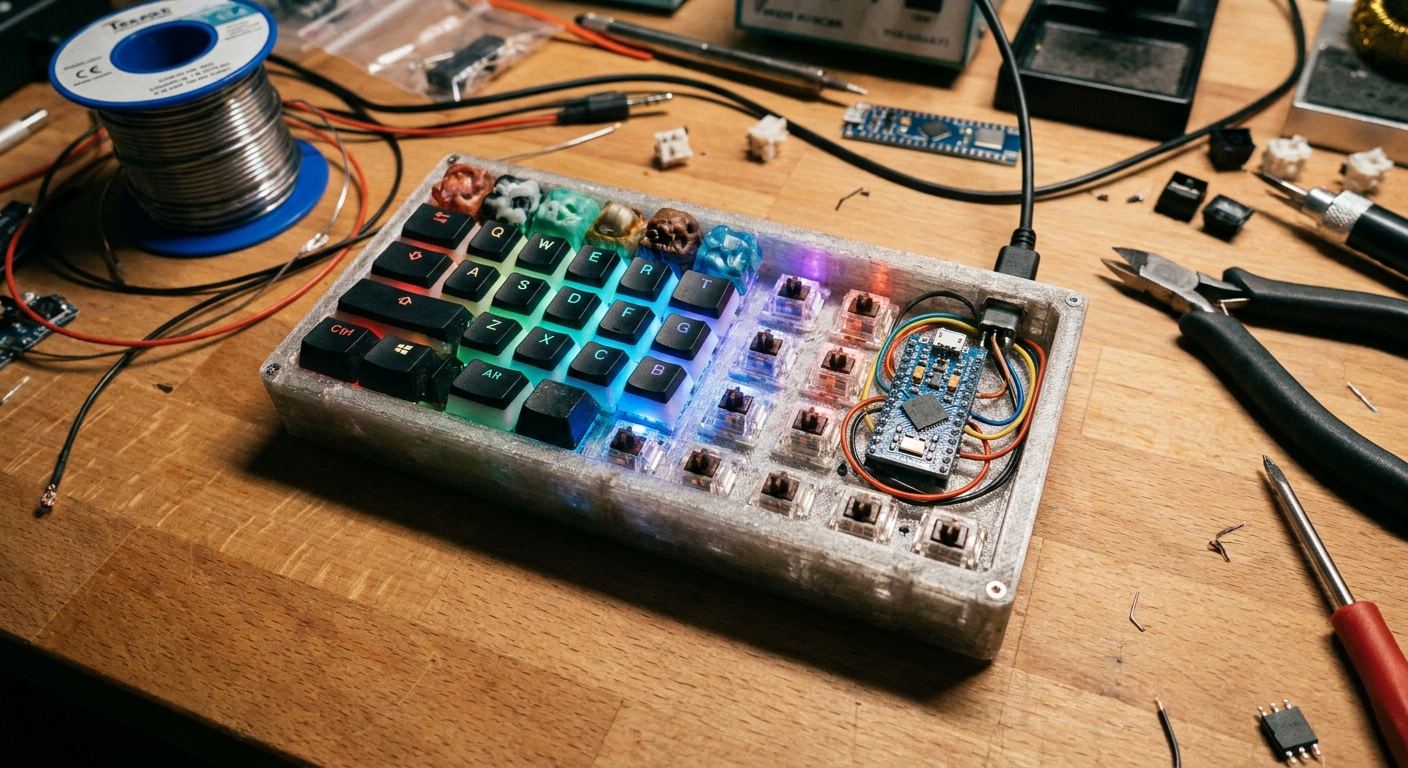
The Gear You Need
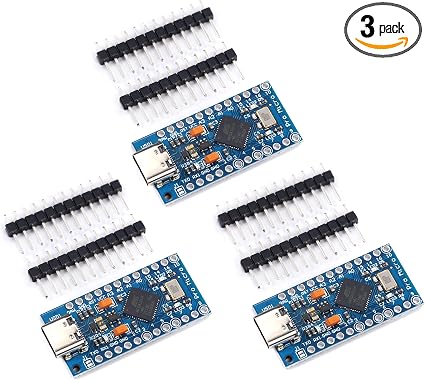
To make a computer recognize our DIY contraption as an actual keyboard, we can’t use our standard Uno. We need a board that supports native USB HID (Human Interface Device). Enter the ATmega32U4.
- Microcontroller: Arduino Pro Micro ATmega32U4 – The undisputed king of cheap DIY keyboards.
- Switches: Gateron Mechanical Keyboard Switches (3-Pin) – Clicky, tactile, linear… pick your poison.
- Keycaps: Blank OEM Profile Keycaps – Because we’re assigning weird macros, blank is best!
- Wire & Solder: You’ll need hookup wire and a steady hand. Check out our Advanced Soldering guide if you’re rusty.
How It Works (No Matrix Required)
For a full-sized keyboard, you have to wire switches into a complex matrix using diodes to prevent “ghosting.” But for a small 4-to-6 key macropad? We’re keeping it dead simple.
We will wire one leg of each mechanical switch to a dedicated digital pin on the Pro Micro, and the other leg directly to Ground. We’ll use the Arduino’s internal pull-up resistors (just like we learned in Digital Inputs) to read when a button is pressed. When the switch is pushed, the pin reads LOW, and we tell the computer we just pressed a keyboard shortcut.
The Code
Here is the boilerplate to get a 3-key macro pad up and running. You’ll need the built-in Keyboard.h library.
#include <Keyboard.h>

// Define our pins
const int button1 = 2;
const int button2 = 3;
const int button3 = 4;

void setup() {
  // Initialize buttons with internal pull-ups
  pinMode(button1, INPUT_PULLUP);
  pinMode(button2, INPUT_PULLUP);
  pinMode(button3, INPUT_PULLUP);

  Keyboard.begin();
}

void loop() {
  // Button 1: Copy (CTRL + C)
  if (digitalRead(button1) == LOW) {
    Keyboard.press(KEY_LEFT_CTRL);
    Keyboard.press('c');
    delay(100);
    Keyboard.releaseAll();
    delay(300); // Debounce
  }

  // Button 2: Paste (CTRL + V)
  if (digitalRead(button2) == LOW) {
    Keyboard.press(KEY_LEFT_CTRL);
    Keyboard.press('v');
    delay(100);
    Keyboard.releaseAll();
    delay(300);
  }

  // Button 3: Git Commit Macro
  if (digitalRead(button3) == LOW) {
    Keyboard.print("git commit -m \"fixed things\"");
    Keyboard.write(KEY_RETURN);
    delay(300);
  }
}
That’s it! Now go forth and automate your life, one clicky button at a time.