Project 25: DIY ESP32 Internet Radio
Have you ever wanted to listen to internet radio without using your phone? We are taking the ESP32 and forcing it to become a standalone Wi-Fi Radio. The ESP32 is perfect for this because it has built-in Wi-Fi and the ability to process digital audio. We’ll pair it with a DAC to drive a small speaker, proving that you can overcomplicate a $10 Bluetooth speaker with hours of coding.
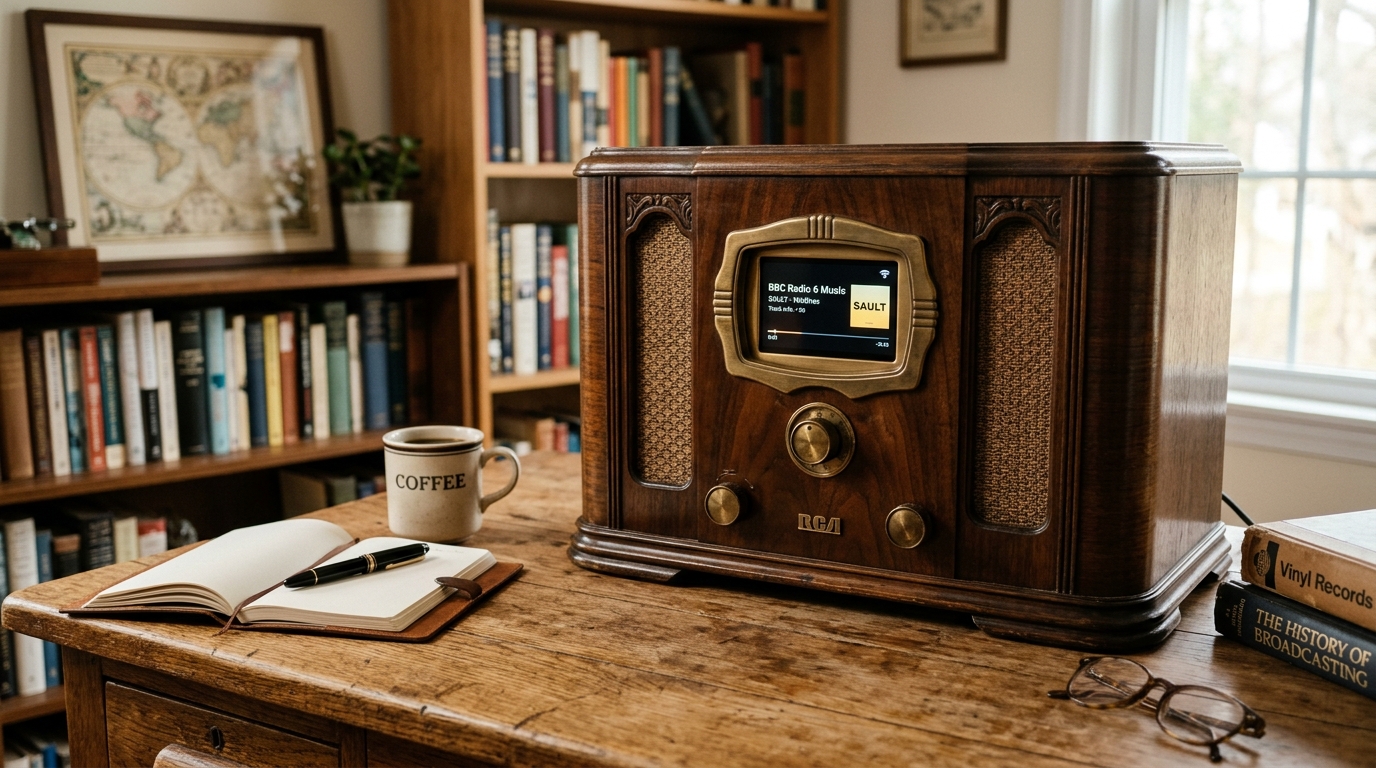 A vintage antique radio shell upgraded with modern ESP32 Wi-Fi streaming capabilities.
🛠 What You’ll Need
To follow along with this build, you’ll need a few key components:
- ESP32 Development Board: ESP32 NodeMCU Board
- MAX98357A I2S Audio Amplifier: MAX98357A I2S Amplifier Module
- Small Speaker: 3W 4 Ohm Arduino Speaker
- Breadboard and Jumper Wires
- (Optional) A rotary encoder or push buttons to change stations
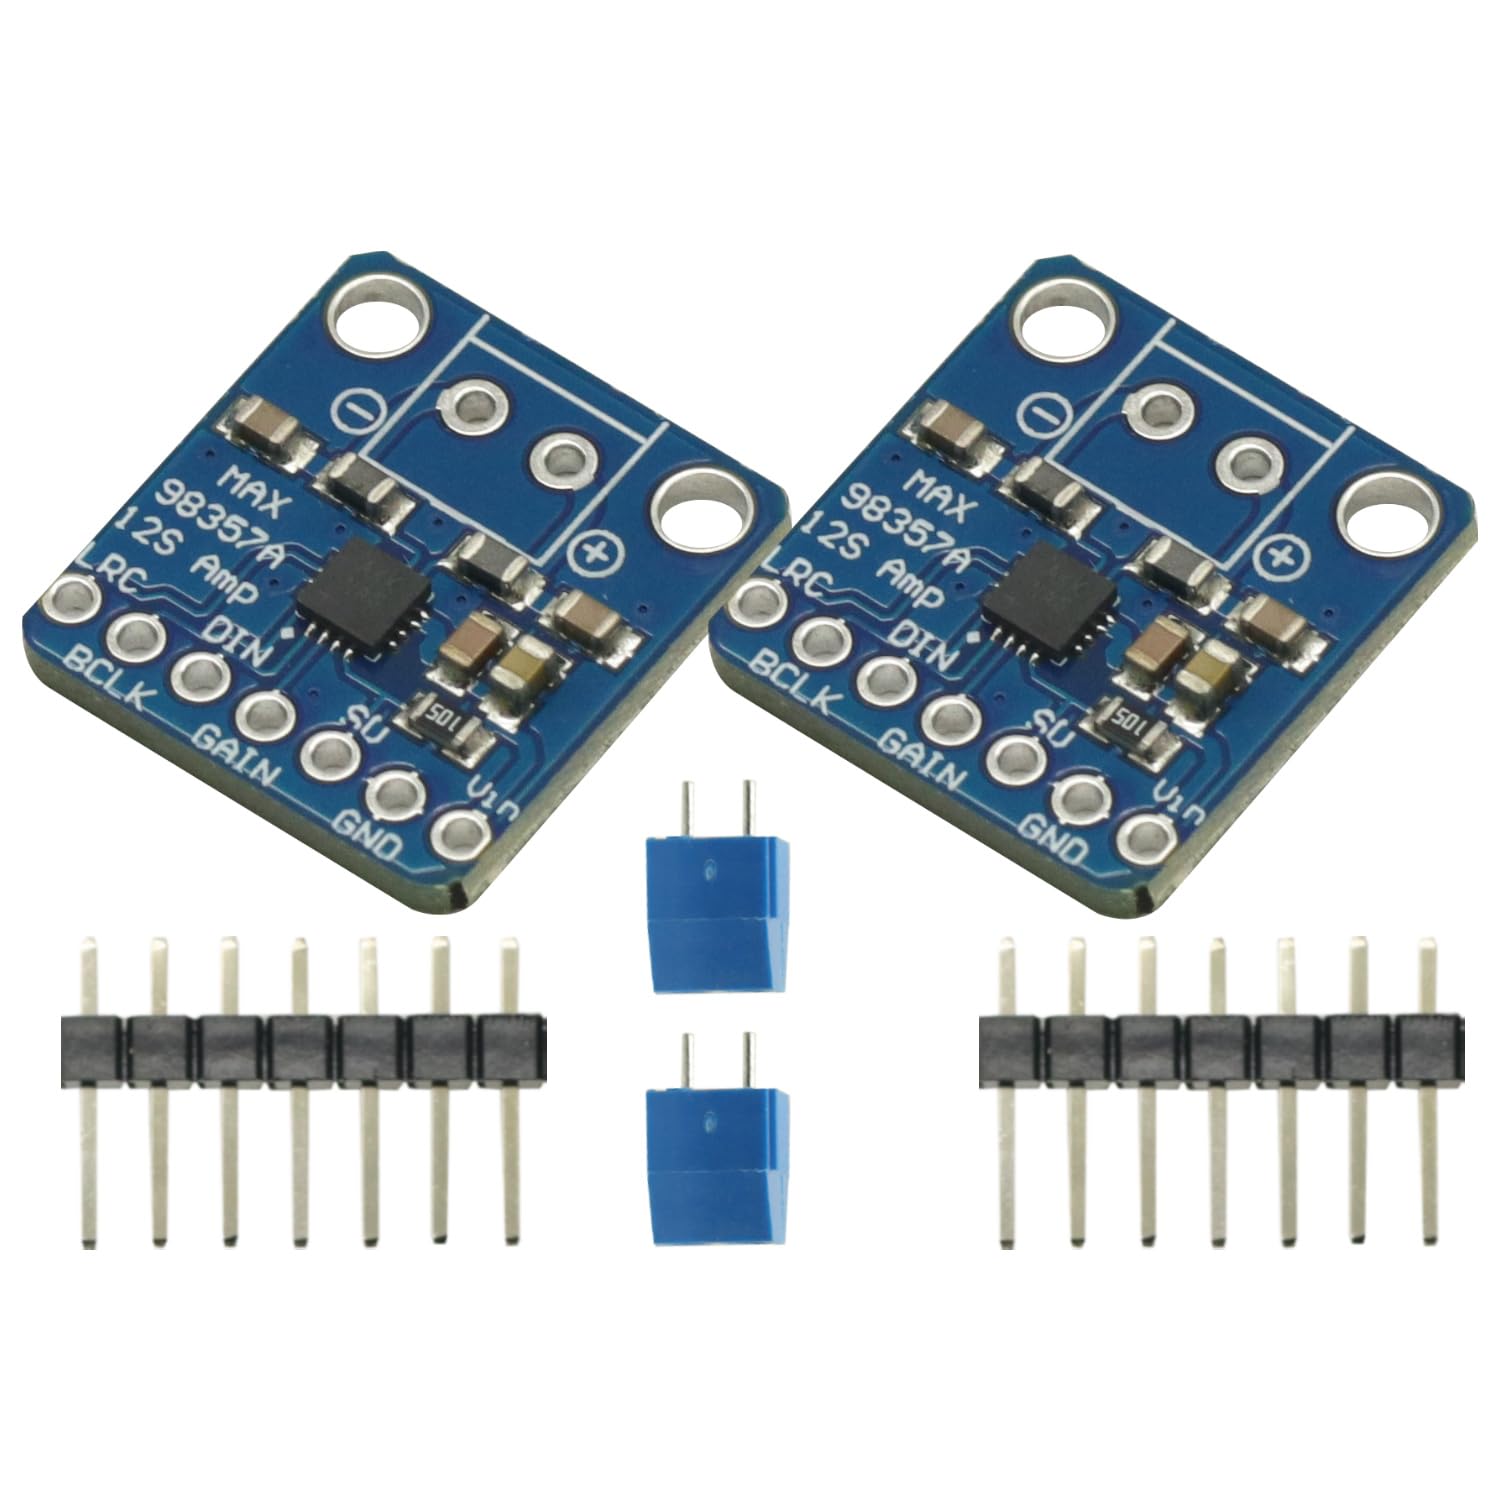 The MAX98357A module converts the digital I2S audio stream from the ESP32 into an analog signal for the speaker.
🧠 How It Works
Traditional Arduinos (like the Uno) simply don’t have the memory or processing speed to connect to the internet, buffer an MP3 stream, decode it, and output high-quality audio all at once.
The ESP32, on the other hand, is a dual-core beast running at 240MHz. It connects to your home Wi-Fi, connects to the URL of an internet radio stream, downloads the audio data in chunks, and sends it directly via the I2S bus to our amplifier. The MAX98357A takes that pure digital audio data, converts it to analog, and amplifies it to drive the speaker.
⚡ The Wiring
Wiring I2S requires specific pins. On most ESP32 boards, the standard I2S pins are:
- ESP32 5V (VIN) ➔ MAX98357A VIN
- ESP32 GND ➔ MAX98357A GND
- ESP32 GPIO 25 (LRC/Word Select) ➔ MAX98357A LRC
- ESP32 GPIO 26 (BCLK/Bit Clock) ➔ MAX98357A BCLK
- ESP32 GPIO 22 (DIN/Data In) ➔ MAX98357A DIN
- Connect your speaker to the output terminals of the MAX98357A.
💻 The Code
To make this easy, we’ll use the fantastic ESP8266Audio library by earlephilhower, which is fully compatible with the ESP32. You can install it directly from the Arduino IDE Library Manager.
Here is a simple sketch to get you streaming. Don’t forget to replace the Wi-Fi credentials with your own, and feel free to swap out the stream URL with your favorite station!
#include <WiFi.h>
#include "AudioGeneratorMP3.h"
#include "AudioOutputI2S.h"
#include "AudioFileSourceICYStream.h"
#include "AudioFileSourceBuffer.h"

// Wi-Fi Credentials
const char* ssid = "YOUR_WIFI_SSID";
const char* password = "YOUR_WIFI_PASSWORD";

// Radio Station URL (Example: SomaFM Groove Salad)
const char* URL = "http://ice1.somafm.com/groovesalad-128-mp3";

AudioGeneratorMP3 *mp3;
AudioFileSourceICYStream *file;
AudioFileSourceBuffer *buff;
AudioOutputI2S *out;

void setup() {
  Serial.begin(115200);
  delay(1000);

  // Connect to Wi-Fi
  Serial.print("Connecting to Wi-Fi");
  WiFi.begin(ssid, password);
  while (WiFi.status() != WL_CONNECTED) {
    delay(500);
    Serial.print(".");
  }
  Serial.println("\nConnected!");

  // Setup I2S audio output
  out = new AudioOutputI2S();
  out->SetPinout(26, 25, 22); // BCLK, LRC, DIN

  file = new AudioFileSourceICYStream(URL);
  buff = new AudioFileSourceBuffer(file, 4096); // 4KB buffer
  mp3 = new AudioGeneratorMP3();
  mp3->begin(buff, out);
}

void loop() {
  if (mp3->isRunning()) {
    if (!mp3->loop()) {
      mp3->stop();
    }
  } else {
    Serial.println("MP3 done");
    delay(1000);
  }
}
Tips for Success
- Power: Audio amplifiers draw spikes of current. If your ESP32 starts resetting when the bass drops, power the MAX98357A directly from a robust 5V power supply, rather than the ESP32’s 3.3V pin.
- Streams: Make sure the radio stream URL points directly to an audio stream (usually ending in
.mp3or.m3uwhich you must parse). HTTPS streams might require extra configuration in the library, so standard HTTP streams are easiest to start with.
🚀 Next Steps
Once you have it playing, the possibilities are endless!
- Add an OLED display to show the current station and song data.
- Add a rotary encoder to scroll through a pre-programmed list of stations.
- Build a cool retro wooden enclosure for your new Wi-Fi radio.
- Want to upgrade to a physical UI for Spotify? Check out our sequel build: Project 46: ESP32 RFID Spotify Jukebox!
Let us know what station you tune into first!