ElectronParade
Lesson 139: Crisp Graphics - Using an OLED Display (SSD1306)
While the classic 16x2 LCD screens are great for basic text, sometimes your project needs a little more flair. If you want to draw shapes, display custom fonts, plot graphs, or show crisp icons, it’s time to upgrade to an OLED Display.
In this lesson, we will be using the incredibly popular 0.96” SSD1306 OLED Display. These tiny screens don’t require a backlight, which means their dark pixels are completely black, resulting in stunning contrast and sharp graphics.
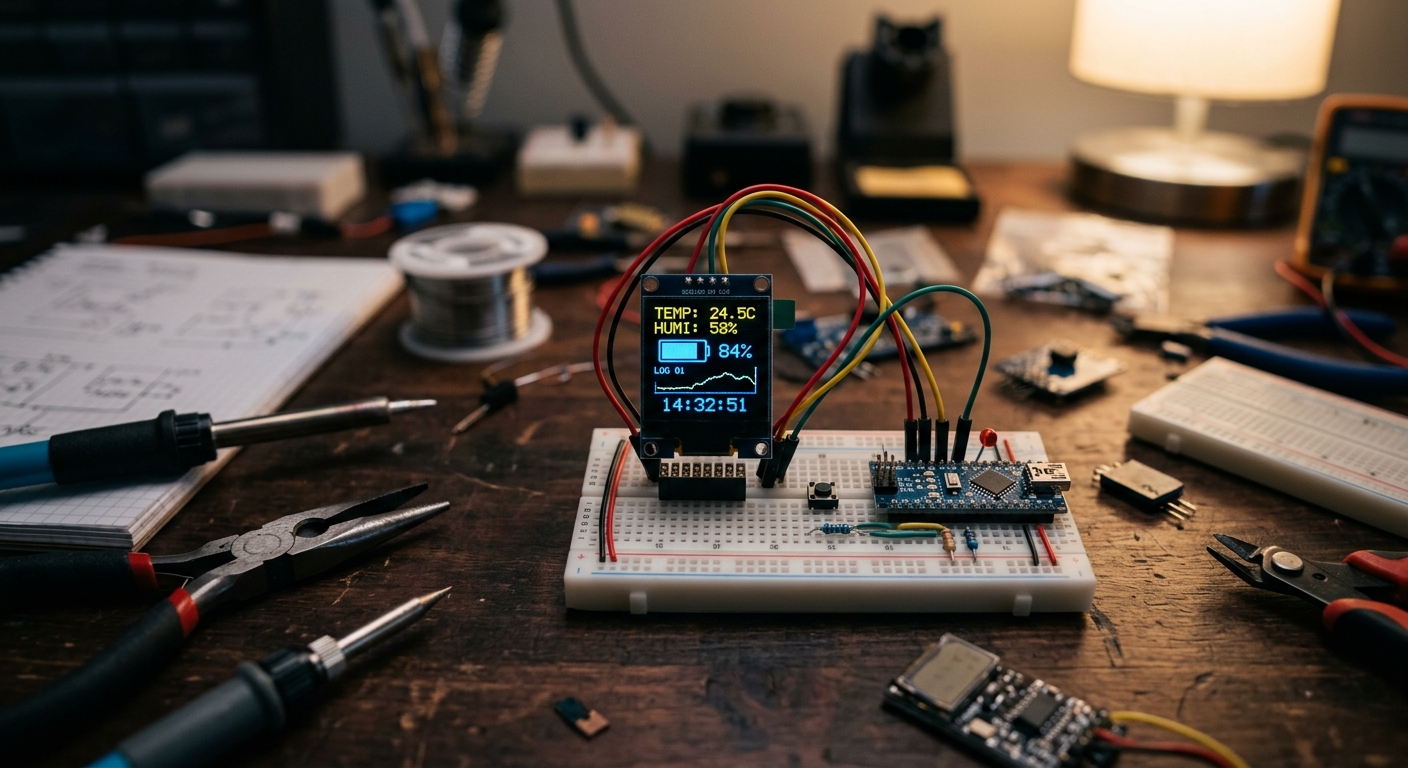 OLED screens deliver beautiful, high-contrast graphics and text in a very small footprint.
Why Choose I2C?
Like many modern sensors we’ve used, these OLED modules come in an I2C version. This is a huge advantage. Instead of taking up 6 or 7 digital pins on your Arduino (like standard LCDs often do), the I2C OLED display only needs two data wires.
Need the parts? Grab the main components on Amazon:
Wiring the OLED Display
Wiring the SSD1306 using I2C is beautifully simple. It only requires four connections to your Arduino Uno:
- VCC: Connect to 5V (or 3.3V, depending on your module’s specifications).
- GND: Connect to GND.
- SCL (Clock): Connect to pin A5 on the Arduino Uno.
- SDA (Data): Connect to pin A4 on the Arduino Uno.
Note: On Arduino Mega, SDA is 20 and SCL is 21. On Arduino Leonardo, SDA is 2 and SCL is 3.
Required Libraries
Drawing pixels individually is hard work. To make things easy, we will use the amazing Adafruit graphics libraries. You need to install two libraries from the Arduino Library Manager (Sketch > Include Library > Manage Libraries...):
- Adafruit SSD1306 (The hardware-specific driver)
- Adafruit GFX Library (The core graphics engine for drawing text, lines, and shapes)
Example Code: Hello World & Shapes
Let’s write a program that initializes the screen, prints some text, and draws a rectangle and a circle.
#include <Wire.h>
#include <Adafruit_GFX.h>
#include <Adafruit_SSD1306.h>

#define SCREEN_WIDTH 128 // OLED display width, in pixels
#define SCREEN_HEIGHT 64 // OLED display height, in pixels

// Declaration for an SSD1306 display connected to I2C (SDA, SCL pins)
// The pins for I2C are defined by the Wire-library.
#define OLED_RESET     -1 // Reset pin # (or -1 if sharing Arduino reset pin)
Adafruit_SSD1306 display(SCREEN_WIDTH, SCREEN_HEIGHT, &Wire, OLED_RESET);

void setup() {
  Serial.begin(9600);

  // SSD1306_SWITCHCAPVCC = generate display voltage from 3.3V internally
  if(!display.begin(SSD1306_SWITCHCAPVCC, 0x3C)) {
    Serial.println(F("SSD1306 allocation failed"));
    for(;;); // Don't proceed, loop forever
  }

  // Clear the buffer
  display.clearDisplay();

  // Draw some text
  display.setTextSize(1);      // Normal 1:1 pixel scale
  display.setTextColor(SSD1306_WHITE); // Draw white text
  display.setCursor(0, 0);     // Start at top-left corner
  display.println(F("Hello, Electron Parade!"));

  // Draw a rectangle
  display.drawRect(10, 20, 50, 30, SSD1306_WHITE);

  // Draw a filled circle
  display.fillCircle(90, 35, 15, SSD1306_WHITE);

  // Show the display buffer on the screen
  display.display();
}

void loop() {
  // Nothing to do here for now!
}
How It Works
- The Display Buffer: The most important concept to grasp is
display.display(). When you call drawing commands likedrawRectorprintln, you aren’t drawing directly to the physical screen. You are drawing to the Arduino’s memory (the buffer). The screen doesn’t update until you calldisplay.display(). This prevents the screen from flickering while drawing complex graphics. - I2C Address: In
display.begin(), we use the address0x3C. This is the default I2C address for almost all 0.96” SSD1306 modules. If your screen isn’t turning on, you can run an I2C Scanner sketch to verify its address (rarely, it might be0x3D). - Coordinates: The top-left corner is
(0, 0). The X-axis increases to the right (up to 127), and the Y-axis increases downwards (up to 63).
Next Steps
Now that you have a graphical output, what will you build? You could pair this with the DHT11 sensor from Lesson 128 to make a digital weather station, or use the RTC from Lesson 137 to build an elegant desk clock!