ElectronParade
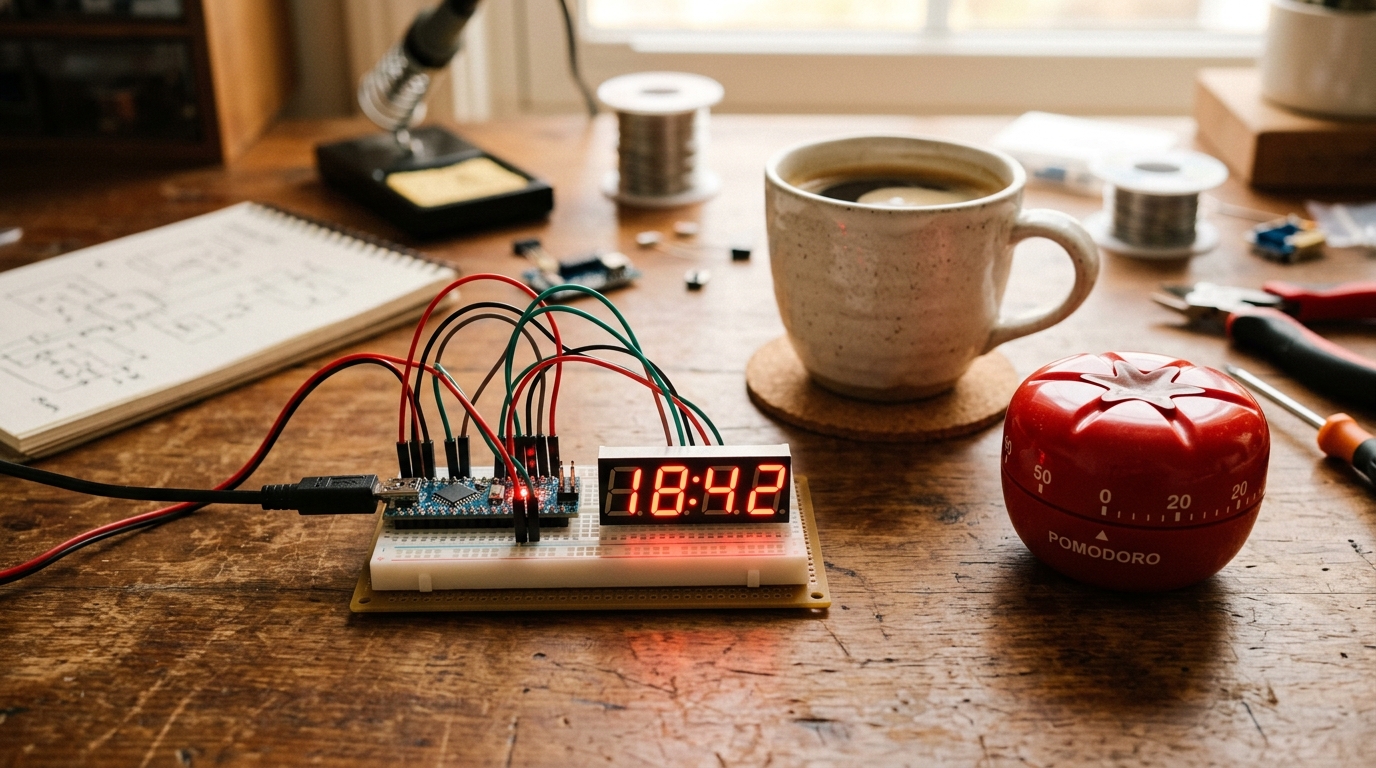
Project 14: Build a Pomodoro Productivity Timer
The Pomodoro Technique is one of the most popular time management methods in the world. It breaks work into 25-minute intervals (called “Pomodoros”), separated by short 5-minute breaks.
While you could use your phone’s timer, your phone is a massive distraction! Today, we’re going to build a standalone, distraction-free Pomodoro Timer using an Arduino.
The Core Concept
Our timer needs to do three things:
- Track Time: Count down from 25 minutes for work, and 5 minutes for breaks.
- Display Time: Show the remaining minutes and seconds.
- Alert You: Sound an alarm when the time is up.
To achieve this, we’ll use an Arduino Uno, a simple button to start the timer, a 4-Digit 7-Segment display (like the TM1637) to show the time, and a piezo buzzer for the alarm.
What You Need
- 1x Arduino Uno
- 1x TM1637 4-Digit 7-Segment Display Module
- 1x Push Button
- 1x Piezo Buzzer
- 1x 10kΩ Resistor (for the button pull-down)
- Breadboard and jumper wires
The Wiring
-
TM1637 Display:
VCCto Arduino5VGNDto ArduinoGNDCLKto Arduino Pin2DIOto Arduino Pin3
-
Push Button:
- Connect one side of the button to
5V. - Connect the other side to Arduino Pin
4, and also connect a 10kΩ resistor from this side toGND(pull-down).
- Connect one side of the button to
-
Piezo Buzzer:
- Positive leg (longer) to Arduino Pin
5. - Negative leg (shorter) to
GND.
- Positive leg (longer) to Arduino Pin
The Code
We will use the TM1637Display library. You can install it via the Arduino IDE Library Manager (Sketch -> Include Library -> Manage Libraries… and search for “TM1637”).
#include <TM1637Display.h>

// Define pins
#define CLK 2
#define DIO 3
#define BUTTON_PIN 4
#define BUZZER_PIN 5

// Initialize the display
TM1637Display display(CLK, DIO);

// Time constants (in milliseconds)
const unsigned long WORK_TIME = 25UL * 60UL * 1000UL;
const unsigned long BREAK_TIME = 5UL * 60UL * 1000UL;

bool isWorking = false;
bool isBreak = false;
unsigned long startTime = 0;
unsigned long duration = 0;

void setup() {
  pinMode(BUTTON_PIN, INPUT);
  pinMode(BUZZER_PIN, OUTPUT);
  display.setBrightness(0x0f);
  display.showNumberDecEx(2500, 0b01000000, true); // Show "25:00"
}

void loop() {
  if (digitalRead(BUTTON_PIN) == HIGH) {
    delay(200); // Simple debounce
    if (!isWorking && !isBreak) {
      // Start Work Session
      isWorking = true;
      startTime = millis();
      duration = WORK_TIME;
    } else if (isWorking) {
      // Switch to Break
      isWorking = false;
      isBreak = true;
      startTime = millis();
      duration = BREAK_TIME;
    } else {
      // Reset
      isWorking = false;
      isBreak = false;
      display.showNumberDecEx(2500, 0b01000000, true);
    }
  }

  if (isWorking || isBreak) {
    unsigned long elapsedTime = millis() - startTime;
    if (elapsedTime >= duration) {
      // Time is up!
      playAlarm();

      if (isWorking) {
        // Automatically switch to break
        isWorking = false;
        isBreak = true;
        startTime = millis();
        duration = BREAK_TIME;
      } else {
        // Done with break, reset
        isWorking = false;
        isBreak = false;
        display.showNumberDecEx(2500, 0b01000000, true);
      }
    } else {
      // Calculate remaining time
      unsigned long remainingTime = duration - elapsedTime;
      int minutes = (remainingTime / 1000) / 60;
      int seconds = (remainingTime / 1000) % 60;
      int displayTime = (minutes * 100) + seconds;

      // Update display with blinking colon
      bool showColon = (millis() / 500) % 2 == 0;
      display.showNumberDecEx(displayTime, showColon ? 0b01000000 : 0, true);
    }
  }
}

void playAlarm() {
  for (int i = 0; i < 3; i++) {
    tone(BUZZER_PIN, 1000, 500);
    delay(1000);
  }
}
Going Further
This is a functional Pomodoro timer, but you can always take it to the next level!
- Add an OLED display: Instead of the 7-segment display, use an I2C OLED to show cute graphics (like a tomato!) or keep a tally of how many Pomodoros you’ve completed today.
- Add LEDs: Use a red LED for “Work” mode and a green LED for “Break” mode.
- Build an Enclosure: Box it up using cardboard or 3D print a case so it looks professional on your desk!
Happy coding, and stay productive!