ElectronParade
Project 11: Portable GPS Data Logger
Have you ever wondered exactly how far you hiked, how fast you rode your bike, or the precise route your drone took?
In this capstone project, we are combining the concepts from Lesson 145 (GPS) and Lesson 146 (SD Cards) to build a Portable GPS Data Logger. This device reads live coordinates from satellites in space and saves them locally so you can map your journey later!
How It Works
The NEO-6M GPS Module continuously receives signals from GPS satellites and calculates its exact latitude, longitude, altitude, and speed. The Arduino Uno uses the TinyGPS++ library to decode these signals.
Every few seconds, the Arduino takes the decoded location data and writes it to a .txt or .csv file on the Micro SD Card Module. Later, you can pop the SD card into your computer, convert the CSV data to a .kml or .gpx file, and upload it to Google Earth or Strava to see your route drawn on a real map!
Required Components
Here are the specific parts you need to build this tracker (using our direct Amazon links helps support the Electron Parade!):
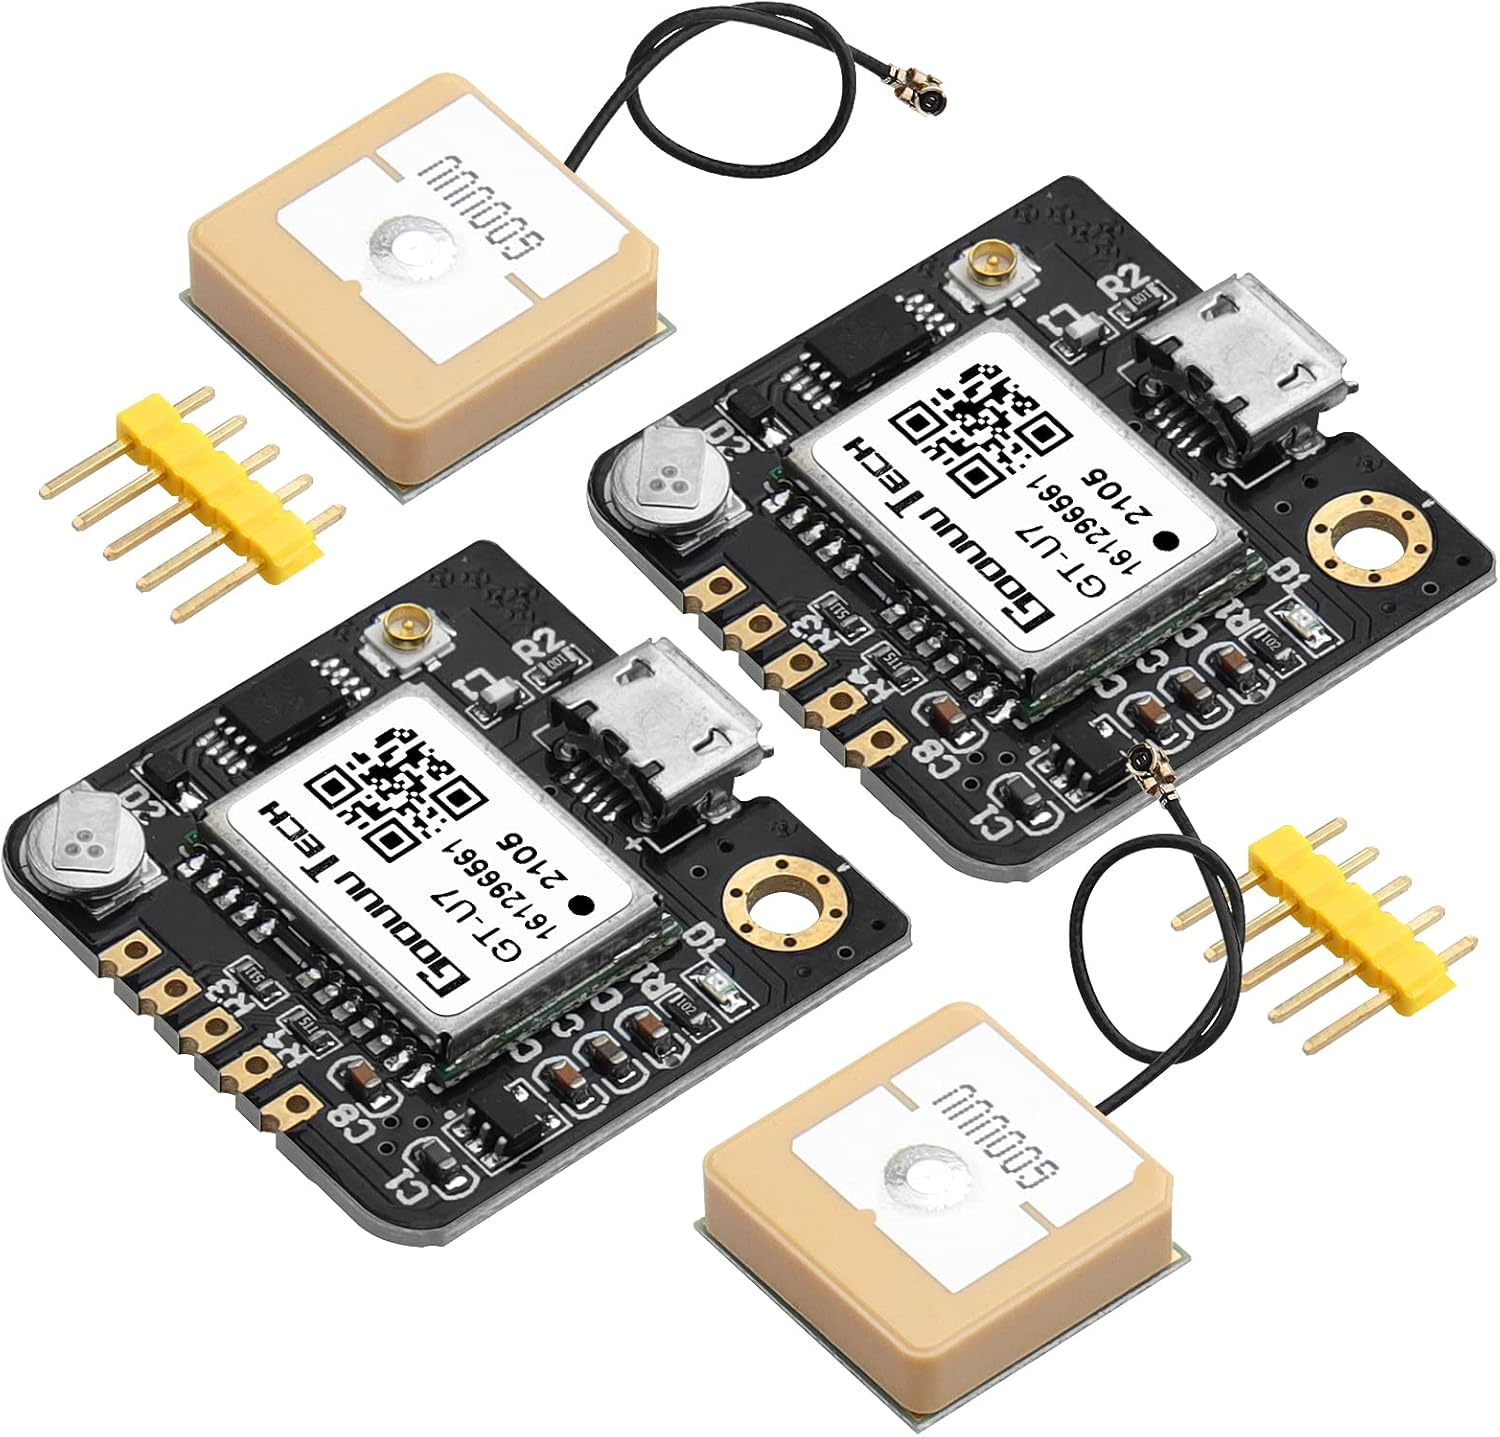
- NEO-6M GPS Module - The sensor that talks to space!
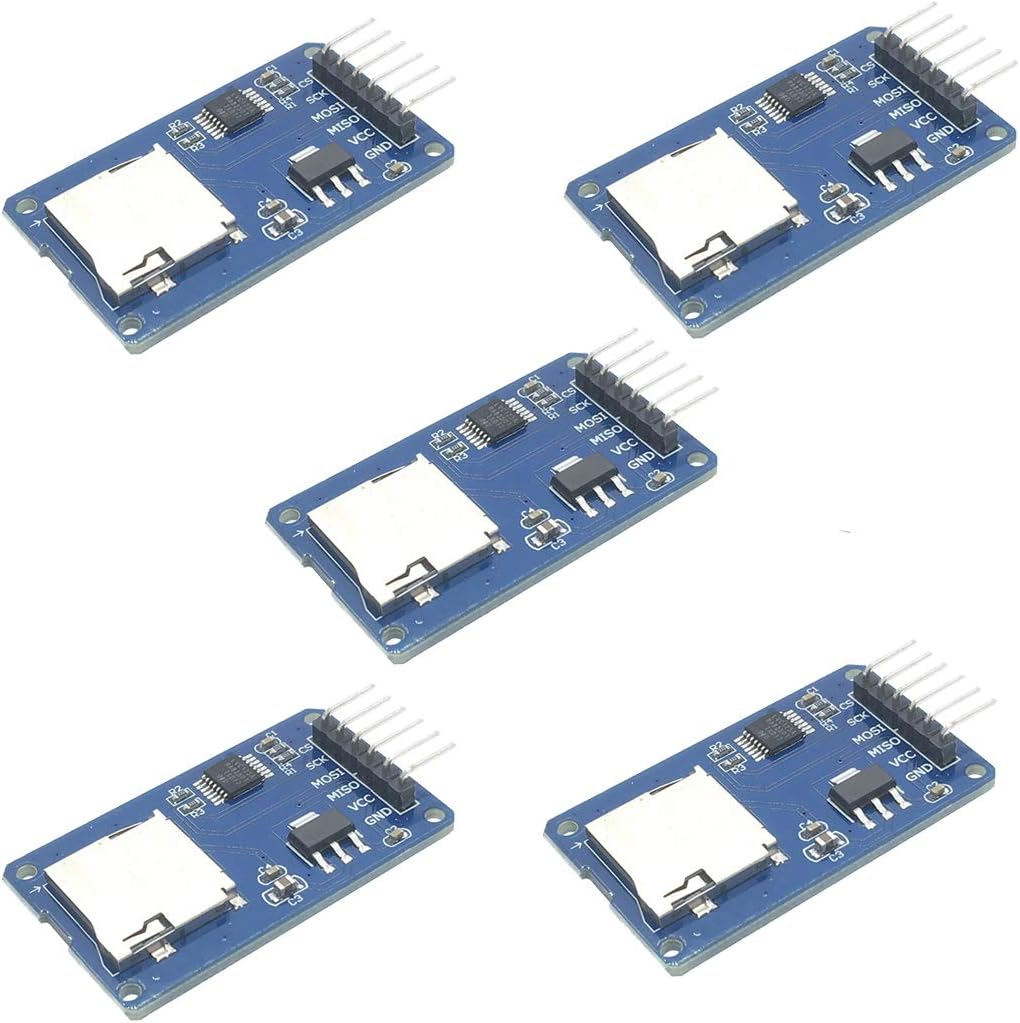
- Micro SD Card Module (SPI) - For permanent data storage.
- Arduino Uno Rev3 - The brains of the operation.
- Micro SD Card (Formatted to FAT32, 16GB or smaller works best).
- Portable 5V USB Power Bank - So you can take the tracker outside!
- Jumper Wires & Breadboard
The Wiring
This project requires careful wiring because we are combining two different communication protocols: Serial (for the GPS) and SPI (for the SD Card).
- NEO-6M GPS to Arduino (SoftwareSerial):
- VCC → 5V
- GND → GND
- TX → D4
- RX → D3
- Micro SD Card Module to Arduino (SPI):
- VCC → 5V
- GND → GND
- MISO → D12
- MOSI → D11
- SCK → D13
- CS (Chip Select) → D10
(Note: If your specific SD Card Module requires 3.3V logic, make sure to use a logic level converter on the SPI lines, but most common Arduino modules have built-in regulators and level shifters!)
Writing the Code
You’ll need the TinyGPSPlus library installed. Your code will rely on two main objects:
- A
SoftwareSerialconnection to talk to the GPS. - The
SDlibrary to open and write to a file namedtrack.csv.
The Core Logic:
In the loop(), you check if the GPS has provided new, valid data. If it has, you open track.csv, use myFile.print() to log the latitude, longitude, and a timestamp, separated by commas. Then, crucially, you myFile.close() the file to ensure the data is saved safely in case the power gets disconnected.
Next Steps
Once your breadboard prototype is logging data correctly outside, it’s time to make it permanent! Consider soldering the components onto a perfboard and placing it inside a small 3D-printed case alongside the USB power bank. You now have a fully functional, DIY GPS tracker!