You’ve graduated from basic Arduinos and you’re ready to tackle Wi-Fi projects. You plug in your shiny new ESP32, hit upload, and you’re met with:
A fatal error occurred: Failed to connect to ESP32: Timed out waiting for packet header
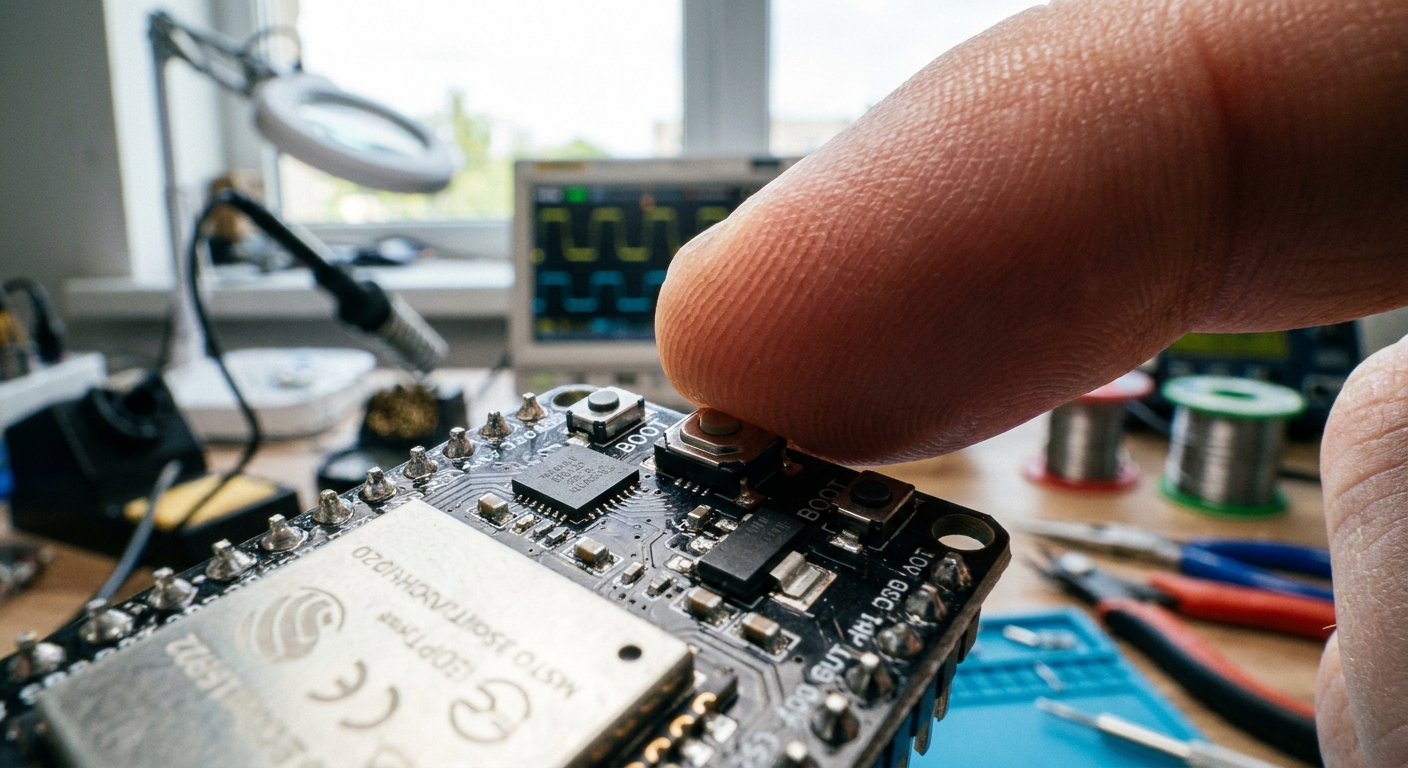
Congratulations, your ESP32 is stubbornly refusing to listen to you. It’s time to teach it some respect using the tiny “BOOT” button.
The “BOOT” Button Trick
Unlike standard Arduinos, the ESP32 needs to be put into a specific “Flashing Mode” before it will accept new code. Most modern dev boards have an auto-reset circuit that does this for you. However, on many budget boards, this circuit fails because the timing of the signal is slightly off.
The immediate fix:
- Hit the “Upload” button in the Arduino IDE.
- Watch the console at the bottom. When you see the text
Connecting...appear. - Press and hold the “BOOT” button on the ESP32 board.
- Once you see the upload progress percentage start, release the button.
The Permanent Hardware Fix
Holding a button every time you want to test your Web Server code gets annoying fast.
You can permanently fix this issue by adding a 10µF capacitor between the EN pin and the GND pin on the ESP32 board.
- The longer leg (positive) goes to the
ENpin. - The shorter leg (negative) goes to
GND.
This slows down the enable signal just enough for the auto-reset circuit to work perfectly every single time!