Project 30: Persistence of Vision (POV) Display
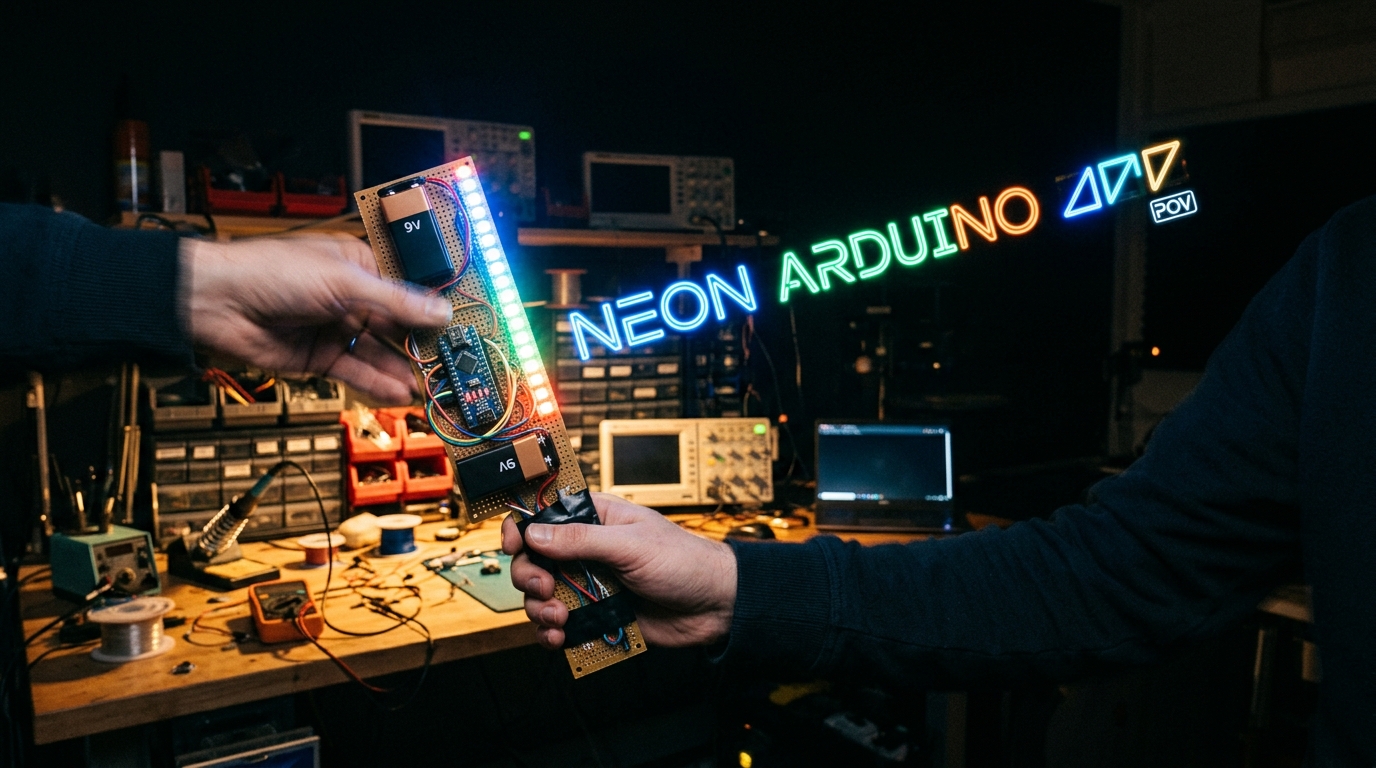
Have you ever waved a sparkler in the air and noticed how it leaves a trail? That is Persistence of Vision (POV). The human eye is basically a slow camera. We’re going to exploit that biological flaw to build a programmable LED wand! By rapidly blinking LEDs while waving it back and forth, you can “paint” words in mid-air. It’s an incredible visual effect and a great way to accidentally hit someone in the face.
How It Works
Instead of having a full 2D screen to display a letter (like a 5x7 LED matrix), we only use a single vertical column of LEDs (say, 7 LEDs tall).
When you sweep the wand horizontally, the Arduino rapidly flashes the LEDs to draw the first column of the letter, then the second column, and so on. If you wave the wand at the right speed, your brain merges these fast, sequential flashes into a continuous image hovering in the air.
Parts List
Here is the gear you’ll need to build your own POV display:
- ELEGOO Arduino Nano Board - The perfect compact brain for a handheld wand.
- 5mm LED Assortment Kit - We’ll need about 5-7 bright LEDs of your preferred color.
- Double Sided Perfboard - To solder the LEDs and Nano into a rigid wand shape.
- 10k Resistor Assortment Kit - Current limiting resistors (typically 220Ω or 330Ω) for the LEDs.
- A 9V battery and connector (to power the wand on the go).
Wiring It Up
The wiring for this project is straightforward but requires some basic soldering to keep the wand sturdy:
- Solder the Arduino Nano to the top or bottom of your perfboard.
- Arrange 5 to 7 LEDs in a straight vertical line on the perfboard.
- Connect the Cathode (shorter leg) of all LEDs together to the Nano’s
GND. - Connect the Anode (longer leg) of each LED to its own current-limiting resistor (e.g., 220Ω).
- Connect the other end of each resistor to a separate digital pin on the Nano (e.g., Pins 2 through 8).
The Code
To make this work, we need an array of binary data that represents the columns of each letter we want to display. Here is a basic example of how you can flash a “HELLO” message:
// Define the pins connected to your LEDs (top to bottom)
int leds[] = {2, 3, 4, 5, 6, 7, 8};

// A simple example letter 'H' in 5 columns (1 = LED ON, 0 = LED OFF)
byte letterH[5] = {
  B01111111,
  B00001000,
  B00001000,
  B00001000,
  B01111111
};

void setup() {
  // Set all LED pins to OUTPUT
  for (int i = 0; i < 7; i++) {
    pinMode(leds[i], OUTPUT);
  }
}

void loop() {
  // Display the letter H
  for (int col = 0; col < 5; col++) {
    displayColumn(letterH[col]);
    delay(2); // Time each column stays visible
  }

  // Blank space between letters
  displayColumn(B00000000);
  delay(10);
}

// Function to write binary data to the LEDs
void displayColumn(byte colData) {
  for (int i = 0; i < 7; i++) {
    // Read each bit and set the corresponding LED
    if (bitRead(colData, i)) {
      digitalWrite(leds[i], HIGH);
    } else {
      digitalWrite(leds[i], LOW);
    }
  }
}
Note: The exact delay() times will depend on how fast you wave the wand. You might need to tweak the 2ms column delay and 10ms space delay until the letters look sharp!
Taking It Further
Ready to see some incredible implementations of this concept? Here are two fantastic real-world guides you can use as inspiration:
You can attach the perfboard to a small DC motor or desk fan to create a continuous, rotating POV cylinder that displays the time, temperature, or custom messages!
Disclaimer: Some of the links on this page are affiliate links. If you purchase through them, we may earn a small commission at no extra cost to you.