ElectronParade
Project 3: Arduino Traffic Light
Welcome back to the Workshop! In our previous projects, we built simple circuits using batteries and discrete components. Now, it’s time to introduce the “Brain”: the Arduino Uno.
Today, we’re building a fully functioning miniature traffic light. This project will teach you how to control multiple outputs independently using code.
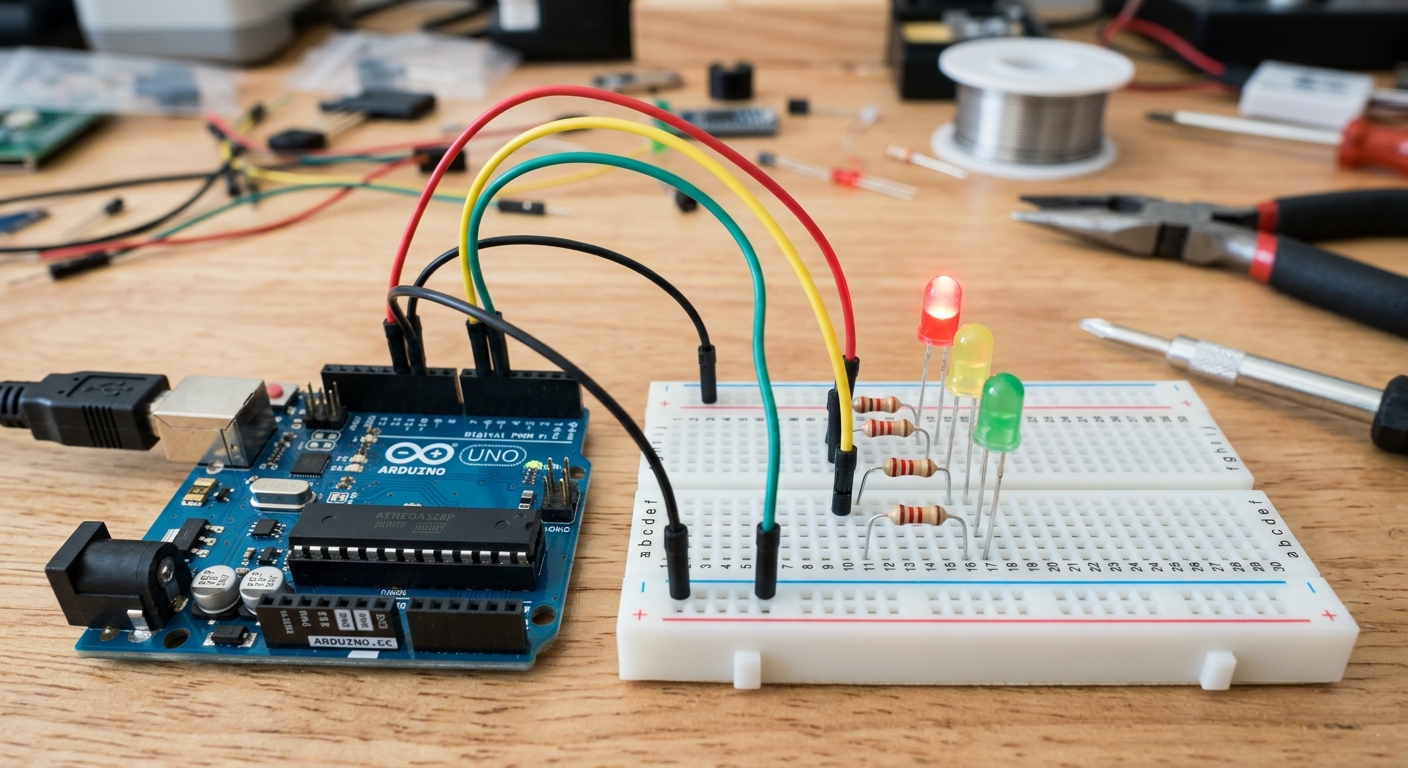 A classic beginner project: Red, Yellow, and Green LEDs controlled by an Arduino.
The Goal
To learn how to wire multiple LEDs to an Arduino and write a program (a “sketch”) to control their timing, mimicking a real-world traffic light sequence.
The Parts List
- 1x Arduino Uno (or compatible clone)
- 1x Solderless Breadboard
- 3x 5mm LEDs (1 Red, 1 Yellow, 1 Green)
- 3x 220Ω or 330Ω Resistors
- Jumper Wires
The Circuit (Hardware)
- Power & Ground: Connect the
GNDpin on your Arduino to the negative (blue) rail on your breadboard. - Place the LEDs: Insert your Red, Yellow, and Green LEDs into the breadboard. Remember, the long leg is positive (Anode), and the short leg is negative (Cathode).
- Add Resistors: Connect a 220Ω resistor from the short leg of each LED to the negative ground rail.
- Connect to Arduino Pins:
- Connect the long leg of the Red LED to Arduino Digital Pin 12.
- Connect the long leg of the Yellow LED to Arduino Digital Pin 11.
- Connect the long leg of the Green LED to Arduino Digital Pin 10.
The Code (Software)
In the Arduino IDE, we need to tell the microcontroller which pins are outputs, and then give it a sequence of instructions.
int redPin = 12;
int yellowPin = 11;
int greenPin = 10;

void setup() {
  // Set all our LED pins as OUTPUTs
  pinMode(redPin, OUTPUT);
  pinMode(yellowPin, OUTPUT);
  pinMode(greenPin, OUTPUT);
}

void loop() {
  // 1. Green Light ON for 5 seconds
  digitalWrite(redPin, LOW);
  digitalWrite(yellowPin, LOW);
  digitalWrite(greenPin, HIGH);
  delay(5000);

  // 2. Yellow Light ON for 2 seconds
  digitalWrite(greenPin, LOW);
  digitalWrite(yellowPin, HIGH);
  delay(2000);

  // 3. Red Light ON for 5 seconds
  digitalWrite(yellowPin, LOW);
  digitalWrite(redPin, HIGH);
  delay(5000);
}
Upload this code, and watch your intersection come to life!
Going Further
Want to make it more realistic? Try adding a pedestrian crossing button using a tactile switch and digital inputs!
(For another great write-up on this, check out this tutorial on Make It Hardware).