As your projects become more portable, you’ll quickly realize that tethering them to a USB wall adapter makes them decidedly non-portable. You need a battery. But not just any battery. You need something rechargeable, lightweight, and capable of delivering massive power spikes. Enter Lithium Polymer (LiPo) batteries. They are incredibly powerful, and if you treat them poorly, they catch fire. Let’s learn how to charge them safely with the TP4056.
The Mighty TP4056 Module
The TP4056 Lithium Battery Charging Board is the DIY electronics standard for single-cell (3.7V nominal, 4.2V fully charged) battery charging.
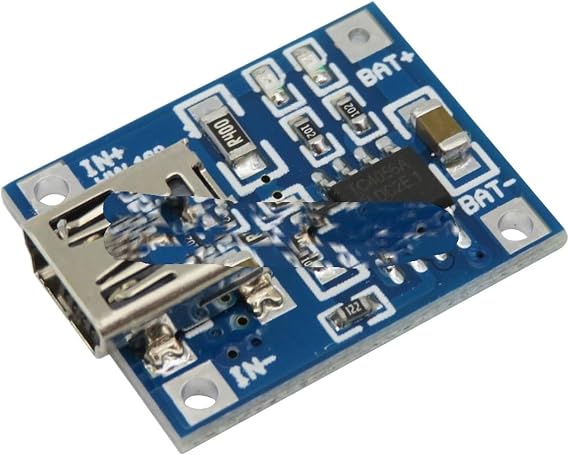
Key Features:
- Constant-Current / Constant-Voltage (CC/CV) Charging: The exact algorithm required to charge lithium batteries safely without overcharging them.
- Protection Circuitry (DW01A): Most modern TP4056 boards include a battery protection IC. This prevents over-discharge (which ruins LiPos) and over-current (which causes fires).
- Status LEDs: Red for charging, Blue (or Green) for fully charged.
Wiring the TP4056
Wiring the TP4056 is straightforward, but you must get the polarity right. Reversing the polarity on a lithium battery can cause a catastrophic failure.
- B+ and B-: Connect these directly to your LiPo battery’s positive (red) and negative (black) terminals.
- OUT+ and OUT-: Connect these to your load (e.g., your Arduino, ESP32, or a boost converter).
- Input: You can supply 5V via the micro-USB/USB-C port on the board, or solder 5V to the
IN+andIN-pads.
Note: The TP4056 outputs the raw battery voltage (ranging from 4.2V down to ~3.0V). If you are powering a 5V Arduino Uno, you will need a boost converter between the OUT terminals and the Arduino’s 5V pin. If you are using a 3.3V board like the ESP32, you will need an LDO (Low Drop-Out) regulator (like the HT7333) to step the voltage down cleanly.
Crucial LiPo Safety Rules
Lithium batteries store a massive amount of energy in a small volume. If that energy is released all at once (due to a short circuit or physical puncture), the result is a fierce, self-sustaining fire.
- Never Short Circuit: Even a brief short can melt wires and damage the cell.
- Never Over-Discharge: Discharging a LiPo below 3.0V can permanently damage the internal chemistry. The TP4056 with protection handles this, but don’t bypass it!
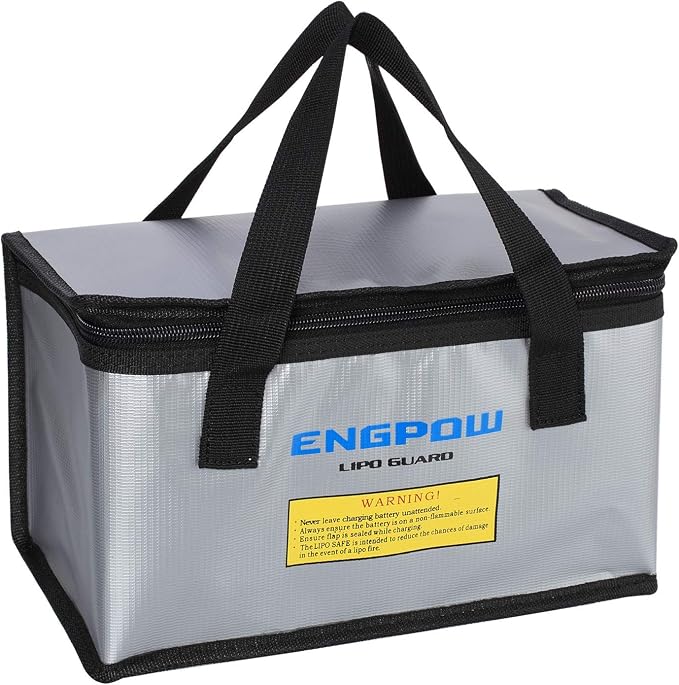
- Use a Safe Bag: When storing or charging larger LiPo packs, always use a Fireproof LiPo Battery Safe Bag.
- Inspect Regularly: If your battery looks “puffy” or swollen like a tiny pillow, STOP USING IT IMMEDIATELY. A swollen LiPo is a fire hazard. Dispose of it safely at a battery recycling center.
Setting the Charge Current
By default, most TP4056 boards are configured to charge at 1 Amp (1000mA). This is perfect for larger 18650 cells or LiPos with a capacity of 1000mAh or higher.
However, a general rule of thumb for LiPos is to charge them at 1C (where C is the capacity). If you have a small 500mAh battery, charging it at 1000mA (2C) will stress the battery, generate excess heat, and reduce its lifespan.
To lower the charge current, you must replace the “Prog” resistor (R3) on the TP4056 board:
- 1.2kΩ (Default): 1000mA
- 2kΩ: 580mA
- 5kΩ: 250mA
- 10kΩ: 130mA
If you don’t want to desolder tiny SMD resistors, simply ensure the battery you are using is at least 1000mAh, such as this 1000mAh 3.7V Lipo Battery.
Code Example: Reading Battery Voltage
If you want your ESP32 or Arduino to know when the battery is getting low, you can read the voltage using an Analog-to-Digital Converter (ADC) pin. Because a fully charged LiPo is 4.2V, which is higher than a 3.3V ESP32 pin can handle, you must use a voltage divider to step the voltage down safely before reading it.
// Example: Reading a LiPo voltage via a voltage divider (e.g., 10k and 10k)
const int batteryPin = A0;

void setup() {
  Serial.begin(115200);
}

void loop() {
  int rawADC = analogRead(batteryPin);

  // Convert ADC value to voltage
  // For a 5V Arduino with 10-bit ADC (1024)
  float pinVoltage = (rawADC * 5.0) / 1024.0;

  // The voltage divider cut the voltage in half, so we multiply by 2
  float batteryVoltage = pinVoltage * 2;

  Serial.print("Battery Voltage: ");
  Serial.print(batteryVoltage);
  Serial.println("V");

  delay(1000);
}
By integrating a TP4056, you free your projects from the wall socket. Up next in the rotation, we’ll look at how to tackle some common troubleshooting issues!