You’ve built blinking LEDs. You’ve built a robot that immediately drove itself off the table. Now, it’s time to build an instrument you don’t even have to touch to play. Because who wants to learn actual guitar chords when you can aggressively wave your hands through frickin’ laser beams like a discount Jean-Michel Jarre? If you’ve ever wanted to accidentally blind yourself while playing “Mary Had a Little Lamb,” this is the project for you.
(Standard disclaimer: Please don’t actually blind yourself. Do not look directly into the lasers).
The core concept here is deceptively simple. We are going to aim a bank of cheap 5V laser modules directly at a row of photoresistors (LDRs). As long as the laser is hitting the LDR, the resistance is low. When you wave your hand through the beam, you block the light, the resistance spikes, and the Arduino registers that a “string” has been plucked. It then triggers a sound—in our case, a simple tone out of a piezo buzzer, but you could easily expand this to send MIDI signals to your computer!
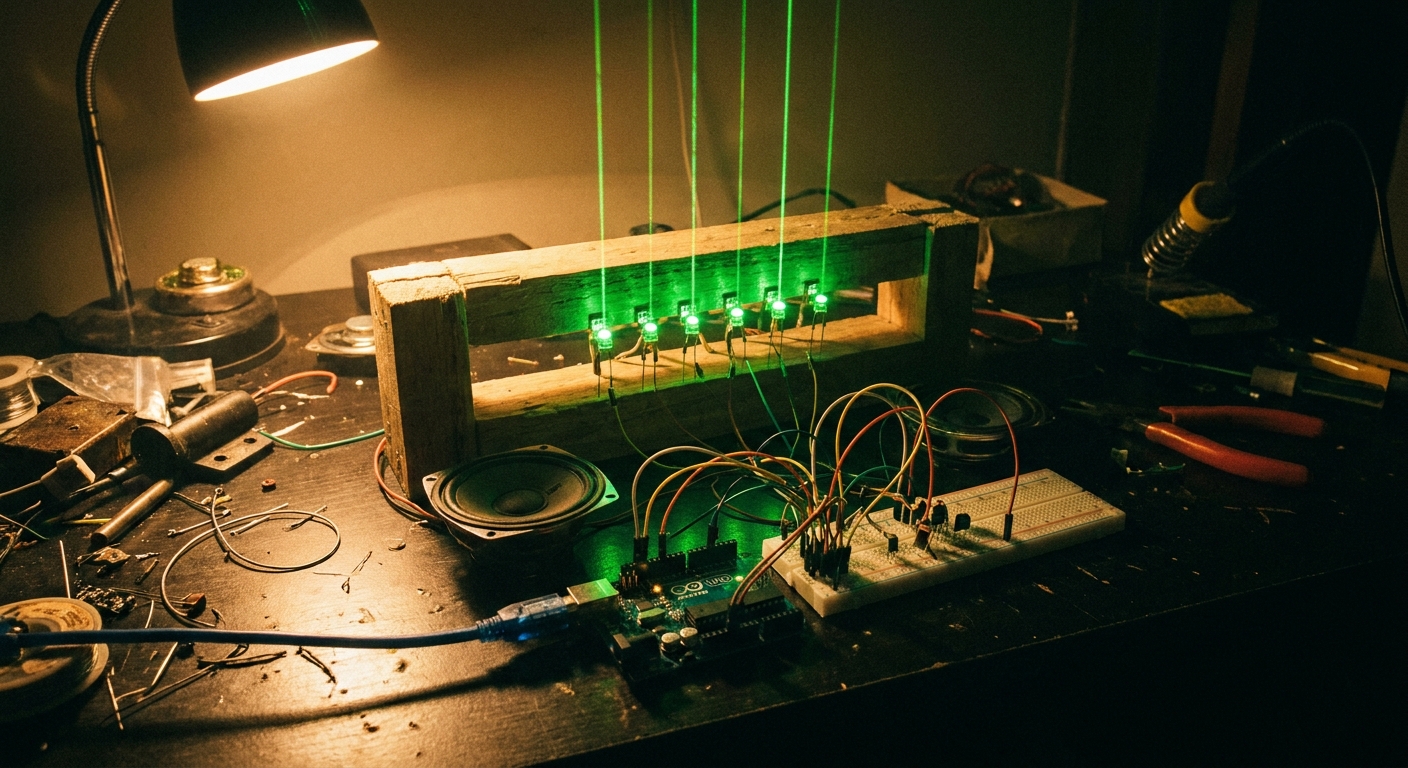
The Gear You Need
- 1x Arduino Nano Every
- 6x 5V Laser Diode Modules
- 6x Photoresistors (LDR 5mm)
- 6x 10kΩ Resistors (for the LDR voltage dividers)
- 1x Piezo Buzzer
- Breadboard, jumper wires, and some scrap wood/cardboard for the frame.
Step 1: The Frame (The Physical Build)
This project requires a physical structure. You need a rigid frame (wood, PVC, or 3D printed) to hold the lasers on top and the LDRs on the bottom, perfectly aligned.
Drill 6 holes in the top bar for your laser modules, and 6 matching holes directly below them in the bottom bar for the LDRs. Space them about 2 inches apart—enough room for your clumsy fingers to break one beam without hitting the adjacent ones.
Step 2: Wiring the Photoresistors (LDRs)
Each LDR needs to be wired as a voltage divider.
- Connect one leg of each LDR to the 5V pin on the Arduino.
- Connect the other leg of the LDR to an Analog Input pin (A0 through A5).
- From that same Analog Input leg, connect a 10kΩ resistor to Ground (GND).
When the laser hits the LDR, the analog pin will read a high value (close to 1023). When your hand breaks the beam, it will drop significantly.
Step 3: Wiring the Lasers and Buzzer
- Connect all the positive (red) wires of the laser modules together, and run them to a single digital pin (e.g., Pin 2) so we can turn them all on/off via code, or just run them straight to 5V if you want them always on.
- Connect all the negative (black/blue) wires of the lasers to Ground.
- Connect the positive leg of your piezo buzzer to Pin 8, and the negative leg to Ground.
Step 4: The Code
Here is the basic code to get your laser harp singing. We define a threshold value—if the analog reading drops below this number, the beam is broken and we play a tone.
const int numStrings = 6;
// Analog pins for the LDRs
const int ldrPins[numStrings] = {A0, A1, A2, A3, A4, A5};

// Frequencies for the notes (C4, D4, E4, F4, G4, A4)
const int notes[numStrings] = {261, 294, 329, 349, 392, 440};

const int buzzerPin = 8;
const int threshold = 500; // Adjust this based on your ambient room light!

void setup() {
  Serial.begin(9600);
  pinMode(buzzerPin, OUTPUT);
}

void loop() {
  bool stringPlucked = false;

  for (int i = 0; i < numStrings; i++) {
    int sensorValue = analogRead(ldrPins[i]);

    // If the reading drops below our threshold, the beam is broken
    if (sensorValue < threshold) {
      tone(buzzerPin, notes[i]); // Play the note
      stringPlucked = true;
      break; // Only play one note at a time for this basic version
    }
  }

  // If no beams are broken, stop the buzzer
  if (!stringPlucked) {
    noTone(buzzerPin);
  }

  delay(10); // Small delay for stability
}
Calibration is Key!
Depending on how bright your room is, and exactly how directly the laser hits your LDR, you will likely need to adjust the threshold variable. Use Serial.println(sensorValue) to see what values your Arduino reads when the beam is unbroken vs. broken, and set the threshold right in the middle!
Next Steps: Go MIDI!
A piezo buzzer sounds terrible. It’s great for proof of concept, but it’s not music. The next logical step for this project is to swap the tone() commands for standard MIDI Serial.write() commands, run a MIDI-to-Serial bridge on your PC, and use your laser harp to trigger massive, sweeping synth pads in a DAW like Ableton or Logic Pro. Check out our DIY Arduino MIDI Controller guide for a primer on how to get started with MIDI!