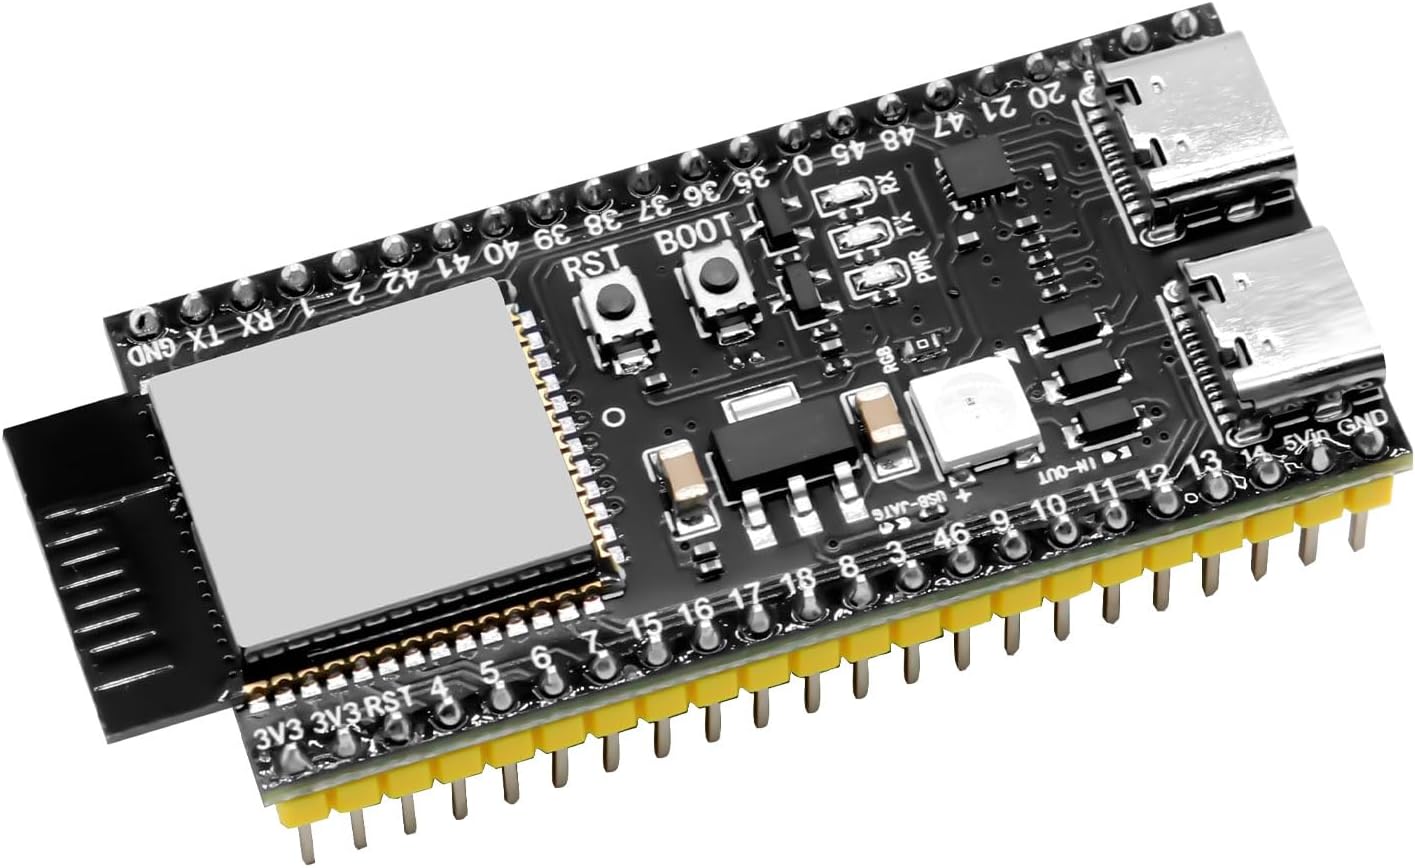
Today, we are taking a massive leap into Artificial Intelligence by building a DIY AI Voice Assistant. Older ESP32 boards struggled with memory, but we are using the powerful ESP32-S3, which packs enough RAM to actually record and playback audio without stuttering. Time to build a robotic servant that will inevitably misunderstand your commands.
Why Build This?
Commercial smart speakers (like Echo or Google Home) are great, but they are closed ecosystems. By building your own ESP32-S3 voice assistant, you maintain complete control. You can route the audio to a local Home Assistant server (using Piper and Whisper) for ultimate privacy, or hook it up to a HuggingFace space for cloud-based LLM responses.
What You’ll Need
For this project, we are stepping up our audio game by using the I2S protocol, which allows for pure digital audio transfer.
- ESP32-S3 N16R8 Development Board - Make sure you get the N16R8 version for the required PSRAM.
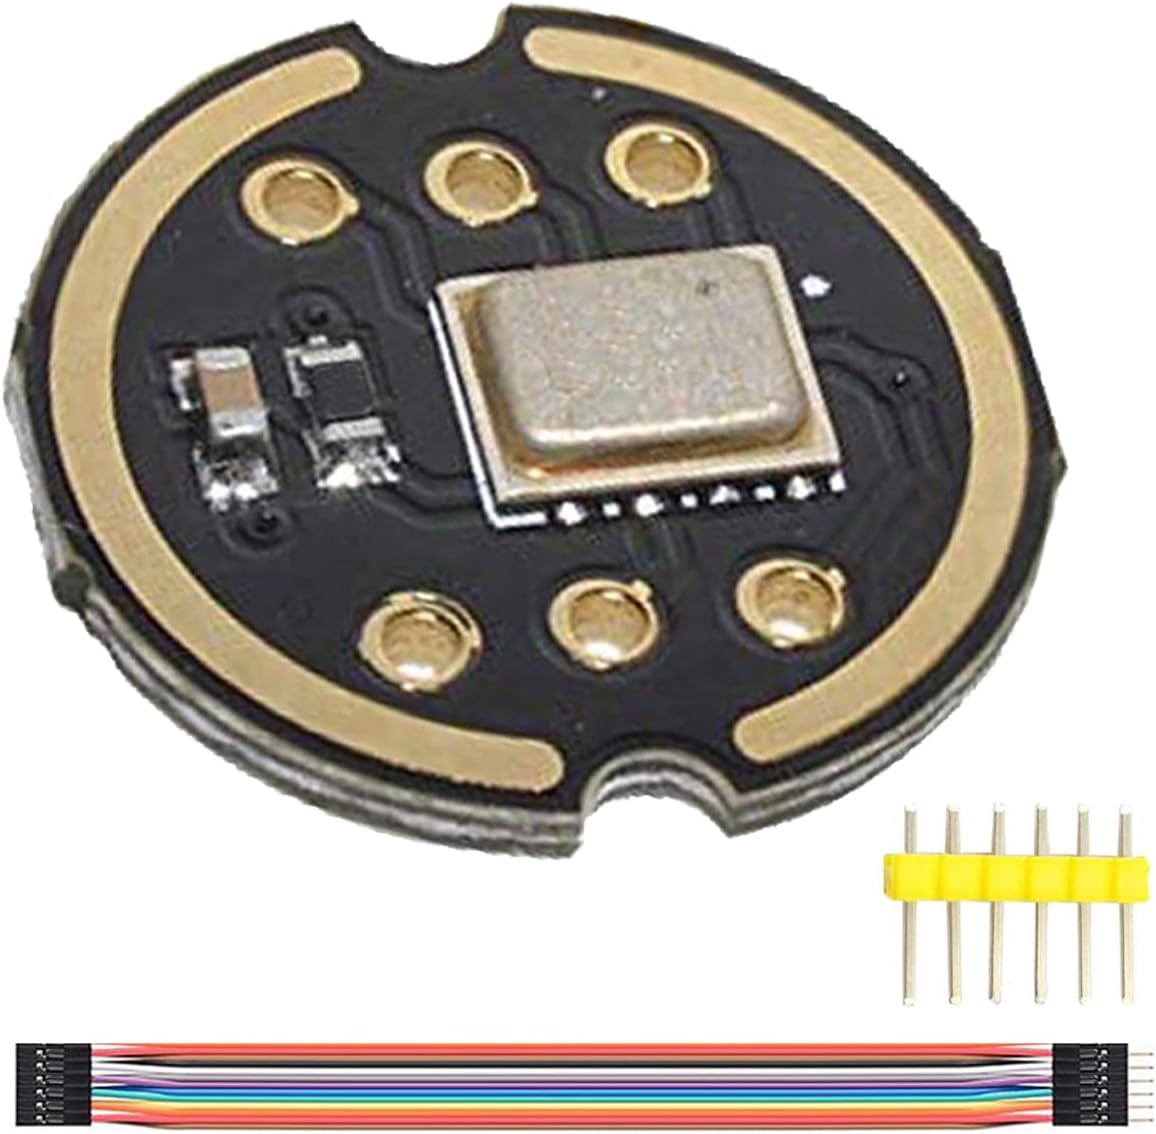
- INMP441 I2S Omnidirectional Microphone - A massive upgrade over analog microphones.
- An I2S Audio Amplifier (like the MAX98357A) and a small 3W speaker.
- Jumper wires and a breadboard.
How It Works
We are basing this build on an incredible open-source guide from Instructables: DIY ESP32-S3 Voice Assistant V0.2.
The workflow is fascinating:
- Wake Word / Trigger: The ESP32-S3 listens for a button press or a localized wake-word model.
- Recording: The INMP441 microphone captures your voice using the I2S digital audio standard, which is buffered perfectly thanks to the S3’s 8MB of PSRAM.
- Processing: The audio file is POSTed via Wi-Fi to your AI backend (either a local Home Assistant pipeline or a free HuggingFace cloud space).
- Playback: The server responds with synthesized audio (Text-to-Speech), which the ESP32-S3 streams back through the I2S amplifier to your speaker.
Step-by-Step Summary
- Wiring the I2S Mic: Connect the INMP441 to your ESP32-S3. You’ll need to wire
VDDto 3.3V,GNDto GND,L/Rto GND (to set the channel), and the I2S data pins (WS,SCK,SD) to the corresponding GPIOs on your S3. - Configuring the IDE: Make sure you select the “ESP32S3 Dev Module” in the Arduino IDE and crucially, enable “PSRAM: OPI PSRAM” in the Tools menu. Without this, the board won’t utilize the extra memory!
- Deploying the Code: Flash the provided firmware, updating your Wi-Fi credentials and API endpoints.
- Testing: Speak into the microphone and wait for your custom AI to respond!
This is a phenomenal weekend project that bridges the gap between raw hardware hacking and cutting-edge artificial intelligence. Grab your ESP32-S3 and let’s start talking to our circuits!