As we spend more time indoors, understanding air quality is critical. High levels of CO2 cause drowsiness, and volatile compounds leak from cleaning supplies. In this project, we’ll build a DIY Arduino Air Quality Monitor. It displays real-time data on a crisp OLED screen, allowing you to quantify exactly how stale the air in your basement workshop truly is.
Parts Needed
- ELEGOO UNO R3 Board - The brains of our operation.
- BME680 Environmental Sensor - Measures temperature, humidity, barometric pressure, and VOC gas.
- MQ-135 Gas Sensor - Highly sensitive to CO2, Ammonia, Benzene, and Alcohol.
- 0.96 inch OLED I2C Display - For displaying the real-time sensor readings.
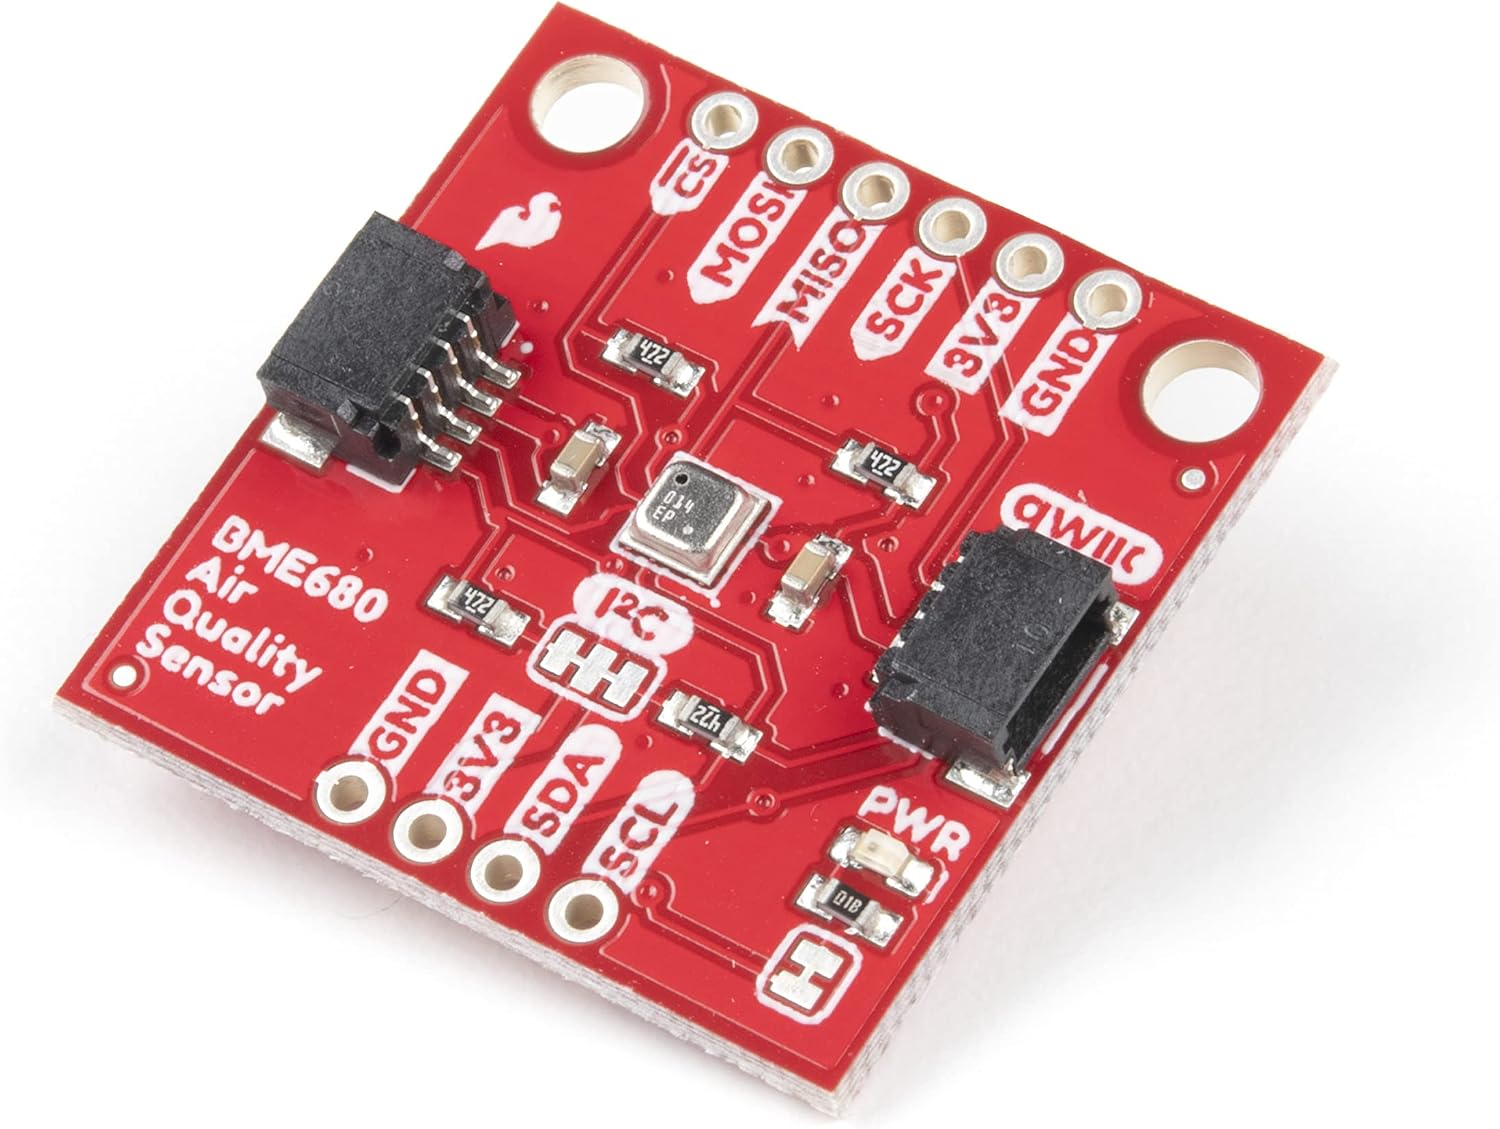 The BME680 is a tiny powerhouse that can measure temperature, humidity, pressure, and VOCs.
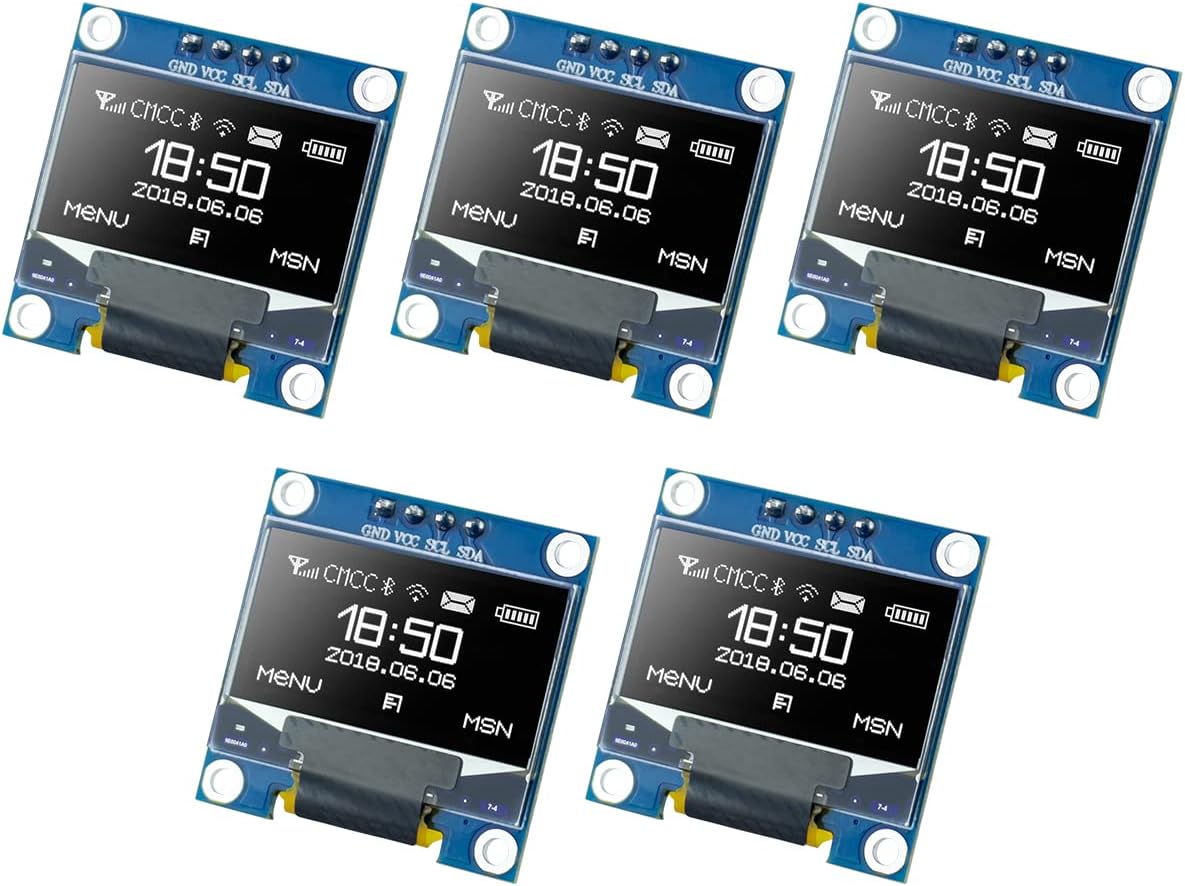 The 0.96-inch OLED display operates over I2C, needing only 4 pins to connect.
Wiring Diagram
Wiring the components is straightforward, as the BME680 and OLED display both use the I2C bus.
- OLED Display to Arduino:
- VCC -> 5V
- GND -> GND
- SDA -> A4
- SCL -> A5
- BME680 to Arduino:
- VIN -> 3.3V (or 5V depending on breakout)
- GND -> GND
- SDA -> A4 (Shared)
- SCL -> A5 (Shared)
- MQ-135 to Arduino:
- VCC -> 5V
- GND -> GND
- A0 (Analog Out) -> A0 on Arduino
The Code
Make sure to install the Adafruit_BME680 and Adafruit_SSD1306 libraries via the Arduino Library Manager before uploading.
#include <Wire.h>
#include <Adafruit_Sensor.h>
#include <Adafruit_BME680.h>
#include <Adafruit_GFX.h>
#include <Adafruit_SSD1306.h>

#define SCREEN_WIDTH 128
#define SCREEN_HEIGHT 64
Adafruit_SSD1306 display(SCREEN_WIDTH, SCREEN_HEIGHT, &Wire, -1);

Adafruit_BME680 bme;
const int mq135Pin = A0;

void setup() {
  Serial.begin(9600);

  if(!display.begin(SSD1306_SWITCHCAPVCC, 0x3C)) {
    Serial.println(F("SSD1306 allocation failed"));
    for(;;);
  }
  display.clearDisplay();
  display.setTextColor(WHITE);

  if (!bme.begin()) {
    Serial.println("Could not find a valid BME680 sensor, check wiring!");
    while (1);
  }

  bme.setTemperatureOversampling(BME680_OS_8X);
  bme.setHumidityOversampling(BME680_OS_2X);
  bme.setPressureOversampling(BME680_OS_4X);
  bme.setIIRFilterSize(BME680_FILTER_SIZE_3);
  bme.setGasHeater(320, 150); // 320*C for 150 ms
}

void loop() {
  if (!bme.performReading()) {
    Serial.println("Failed to perform reading :(");
    return;
  }

  int mq135Value = analogRead(mq135Pin);

  display.clearDisplay();
  display.setCursor(0,0);

  display.print("Temp: ");
  display.print(bme.temperature);
  display.println(" C");

  display.print("Humidity: ");
  display.print(bme.humidity);
  display.println(" %");

  display.print("VOC Gas: ");
  display.print(bme.gas_resistance / 1000.0);
  display.println(" KOhms");

  display.print("MQ135 Gas: ");
  display.println(mq135Value);

  display.display();
  delay(2000);
}
Conclusion
With this setup, you have a compact, highly accurate environmental monitor! You can expand this by adding an ESP8266 or ESP32 to push these readings to an IoT dashboard (like we did in Project 27). Happy building!