ElectronParade
Project 15: DIY Arduino Automated Pet Feeder 🐶
Whether you’re working late, sleeping in, or just want to make sure your furry friend gets fed exactly on time, an automated pet feeder is one of the most practical projects you can build.
In this project, we’re combining two components we’ve learned about in previous lessons: the Real-Time Clock (RTC) to keep accurate time, and a Servo Motor to open a trapdoor or turn an auger to dispense the food.
The Core Concept
Our pet feeder relies on a simple mechanical action controlled by perfectly timed software:
- Track Real Time: An RTC module keeps track of the actual hour and minute, even if the Arduino loses power.
- Check the Schedule: The Arduino continuously checks if the current time matches our programmed feeding times.
- Dispense Food: When the time is right, a strong servo motor activates to release the food into a bowl.
What You Need
For the electronics, you’ll need the following components (links included to grab them on Amazon):
- Arduino Uno Rev3: The brains of the operation.
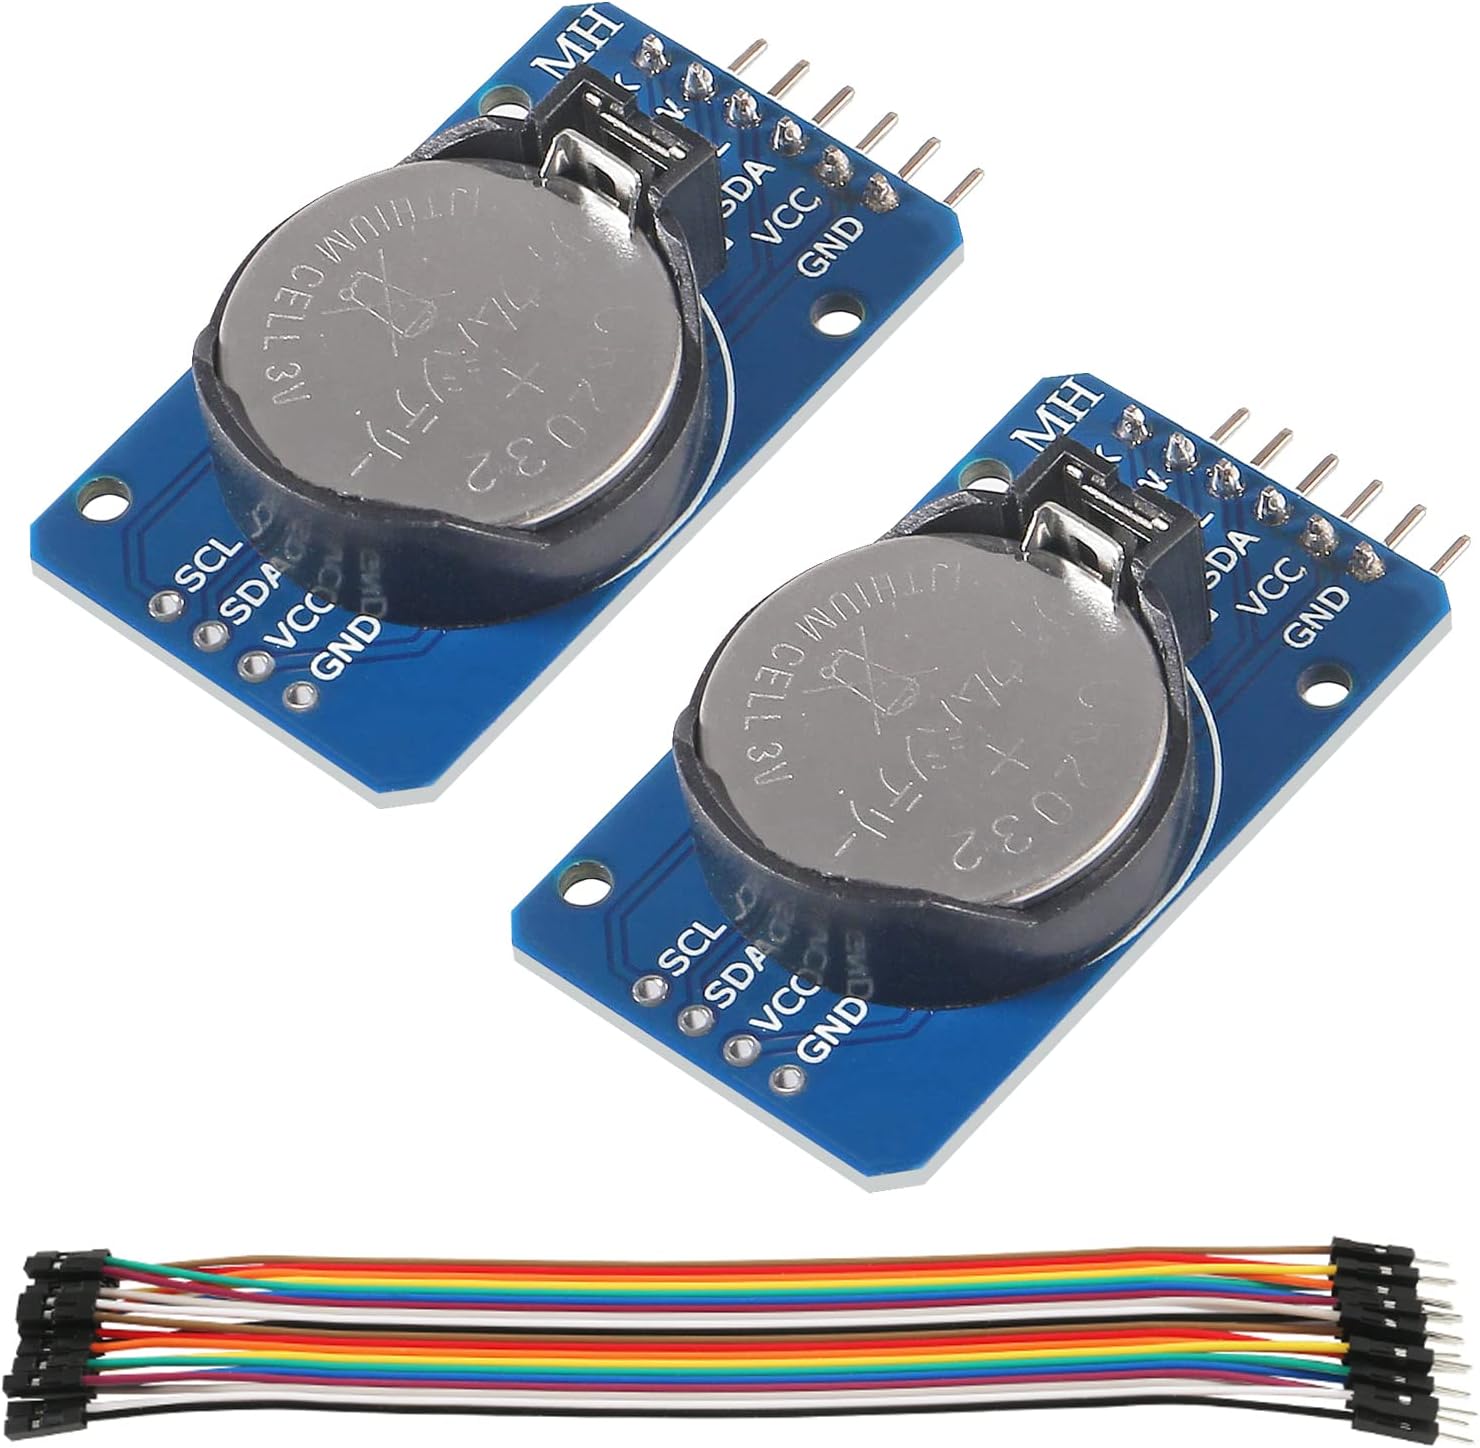
- DS3231 RTC Module: A highly accurate real-time clock.
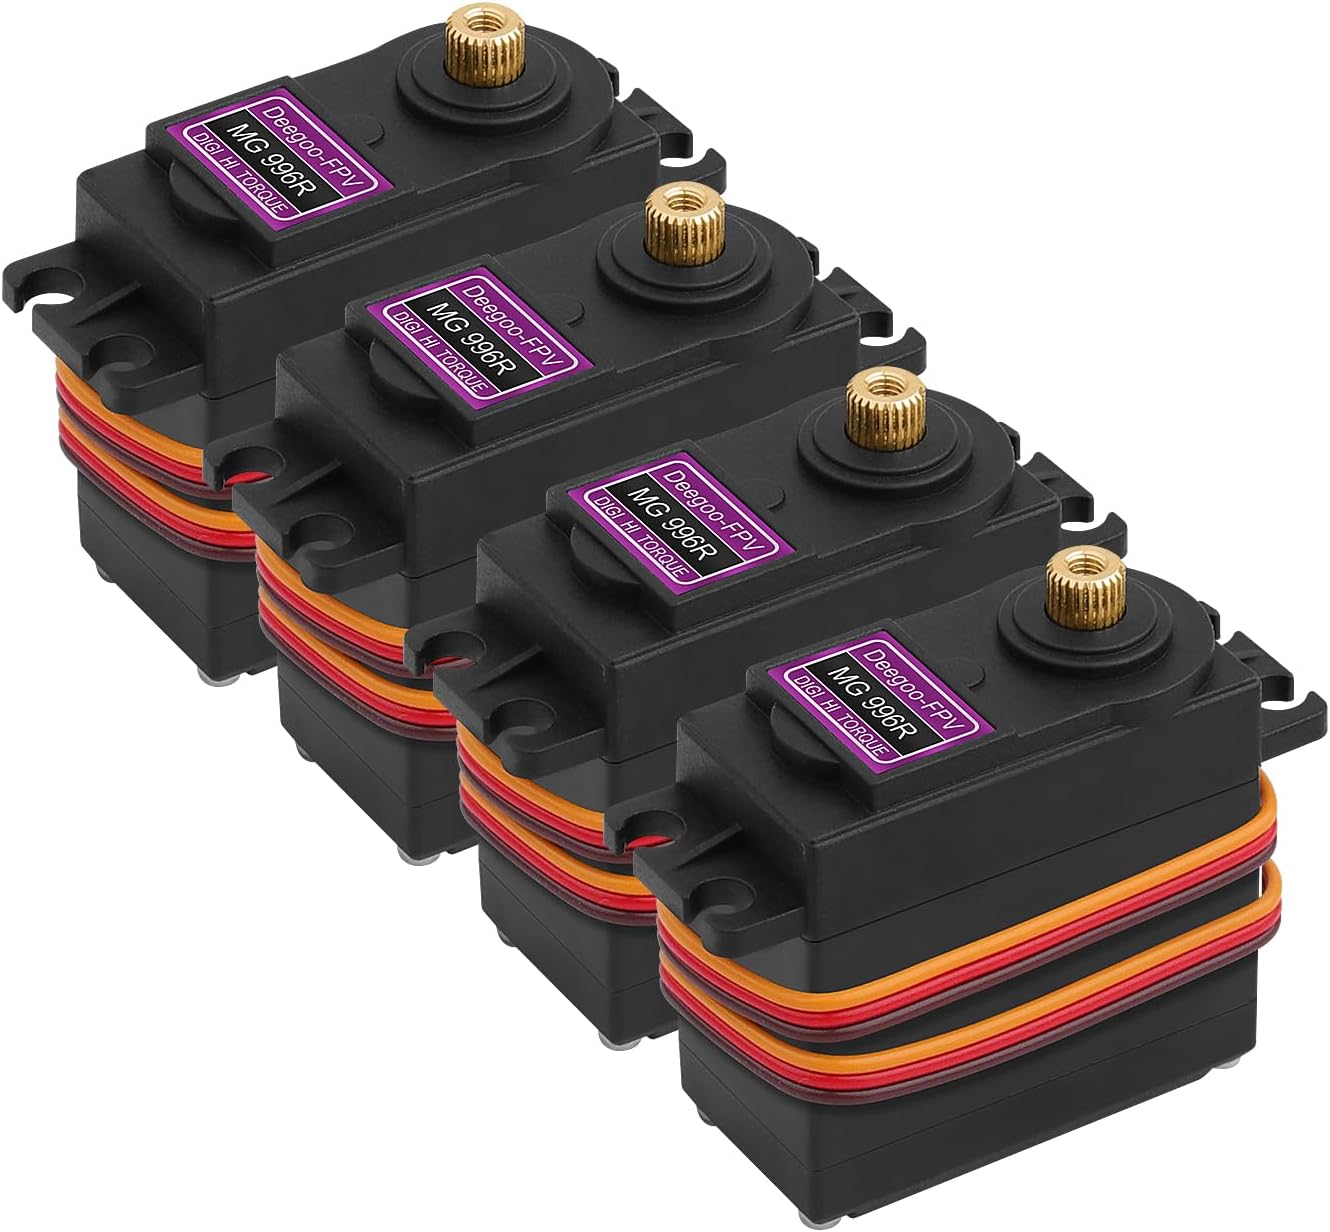
- MG996R High-Torque Servo Motor: Strong enough to move a food dispenser mechanism.
- Breadboard & Jumper Wires: For wiring everything together.
- A 5V or 9V Power Supply for the Arduino. (Note: The MG996R can draw a lot of current under load, so consider a dedicated 5V power supply for the servo if your mechanism is heavy.)
You’ll also need some cardboard, PVC pipe, or 3D-printed parts to build the physical food hopper!
The Wiring
- DS3231 RTC Module:
VCCto Arduino5VGNDto ArduinoGNDSDAto ArduinoA4SCLto ArduinoA5
- MG996R Servo Motor:
Brown Wire(Ground) to ArduinoGNDRed Wire(Power) to Arduino5V(or external 5V power source)Orange Wire(Signal) to Arduino Digital Pin9
The Code
This code uses the RTClib for the clock and the standard Servo library. Make sure you install RTClib by Adafruit via the Library Manager in the Arduino IDE.
#include <Wire.h>
#include <RTClib.h>
#include <Servo.h>

RTC_DS3231 rtc;
Servo feederServo;

const int servoPin = 9;
const int openAngle = 90;   // Angle to open the dispenser
const int closedAngle = 0;  // Angle to close the dispenser

// Set feeding times (24-hour format)
const int feedingHour1 = 8;  // 8:00 AM
const int feedingMin1 = 0;
const int feedingHour2 = 18; // 6:00 PM
const int feedingMin2 = 30;

bool fedThisMinute = false;

void setup() {
  Serial.begin(9600);
  feederServo.attach(servoPin);
  feederServo.write(closedAngle); // Ensure it starts closed

  if (!rtc.begin()) {
    Serial.println("Couldn't find RTC");
    while (1);
  }

  if (rtc.lostPower()) {
    Serial.println("RTC lost power, let's set the time!");
    // When time needs to be set on a new device, or after a power loss, the
    // following line sets the RTC to the date & time this sketch was compiled
    rtc.adjust(DateTime(F(__DATE__), F(__TIME__)));
  }
}

void loop() {
  DateTime now = rtc.now();

  Serial.print("Current Time: ");
  Serial.print(now.hour(), DEC);
  Serial.print(':');
  Serial.println(now.minute(), DEC);

  // Check if it's time to feed
  if ((now.hour() == feedingHour1 && now.minute() == feedingMin1) ||
      (now.hour() == feedingHour2 && now.minute() == feedingMin2)) {

    if (!fedThisMinute) {
      Serial.println("Dispensing Food!");
      dispenseFood();
      fedThisMinute = true; // Prevent multiple feedings in the same minute
    }
  } else {
    // Reset the flag once the minute passes
    fedThisMinute = false;
  }

  delay(10000); // Check every 10 seconds
}

void dispenseFood() {
  feederServo.write(openAngle);
  delay(1000); // Keep open for 1 second (adjust based on portion size)
  feederServo.write(closedAngle);
}
How It Works
- Initialization: In
setup(), the Arduino connects to the RTC and attaches the servo. If the RTC lost power (e.g., the coin cell battery died), it automatically syncs with the time you compiled the sketch. - Checking the Time: In the
loop(), it reads the current time from the RTC. - The Trigger: It compares the current hour and minute to our predefined feeding times (8:00 AM and 6:30 PM).
- Dispensing: If the time matches, it runs
dispenseFood(), turning the servo to 90 degrees to drop the food, then immediately returns to 0 degrees. - The Flag: The
fedThisMinuteboolean ensures that it only dispenses once per minute, rather than dropping food continuously for 60 seconds!
Taking It Further
Once you get the electronics working, the real fun is designing the mechanical hopper. You can use an old cereal dispenser, a custom 3D printed auger, or a simple sliding trapdoor made from cardboard.
You could also add a push button for “manual feeding” outside of the schedule, or even a buzzer to play a sound to call your pet when dinner is served!