ElectronParade
When you start building electronics projects, one question comes up immediately: How do I power this thing?
While you can run your Arduino Uno off a USB cable for basic tutorials, eventually you’ll need more juice for motors, lots of LEDs, or standalone projects that aren’t tethered to your laptop.
Today, we’re comparing the three most common power solutions for electronics hobbyists. Whether you’re a beginner just starting out or a pro setting up a dedicated workbench, understanding the differences is crucial.
1. The Beginner’s Best Friend: Breadboard Power Supply Modules
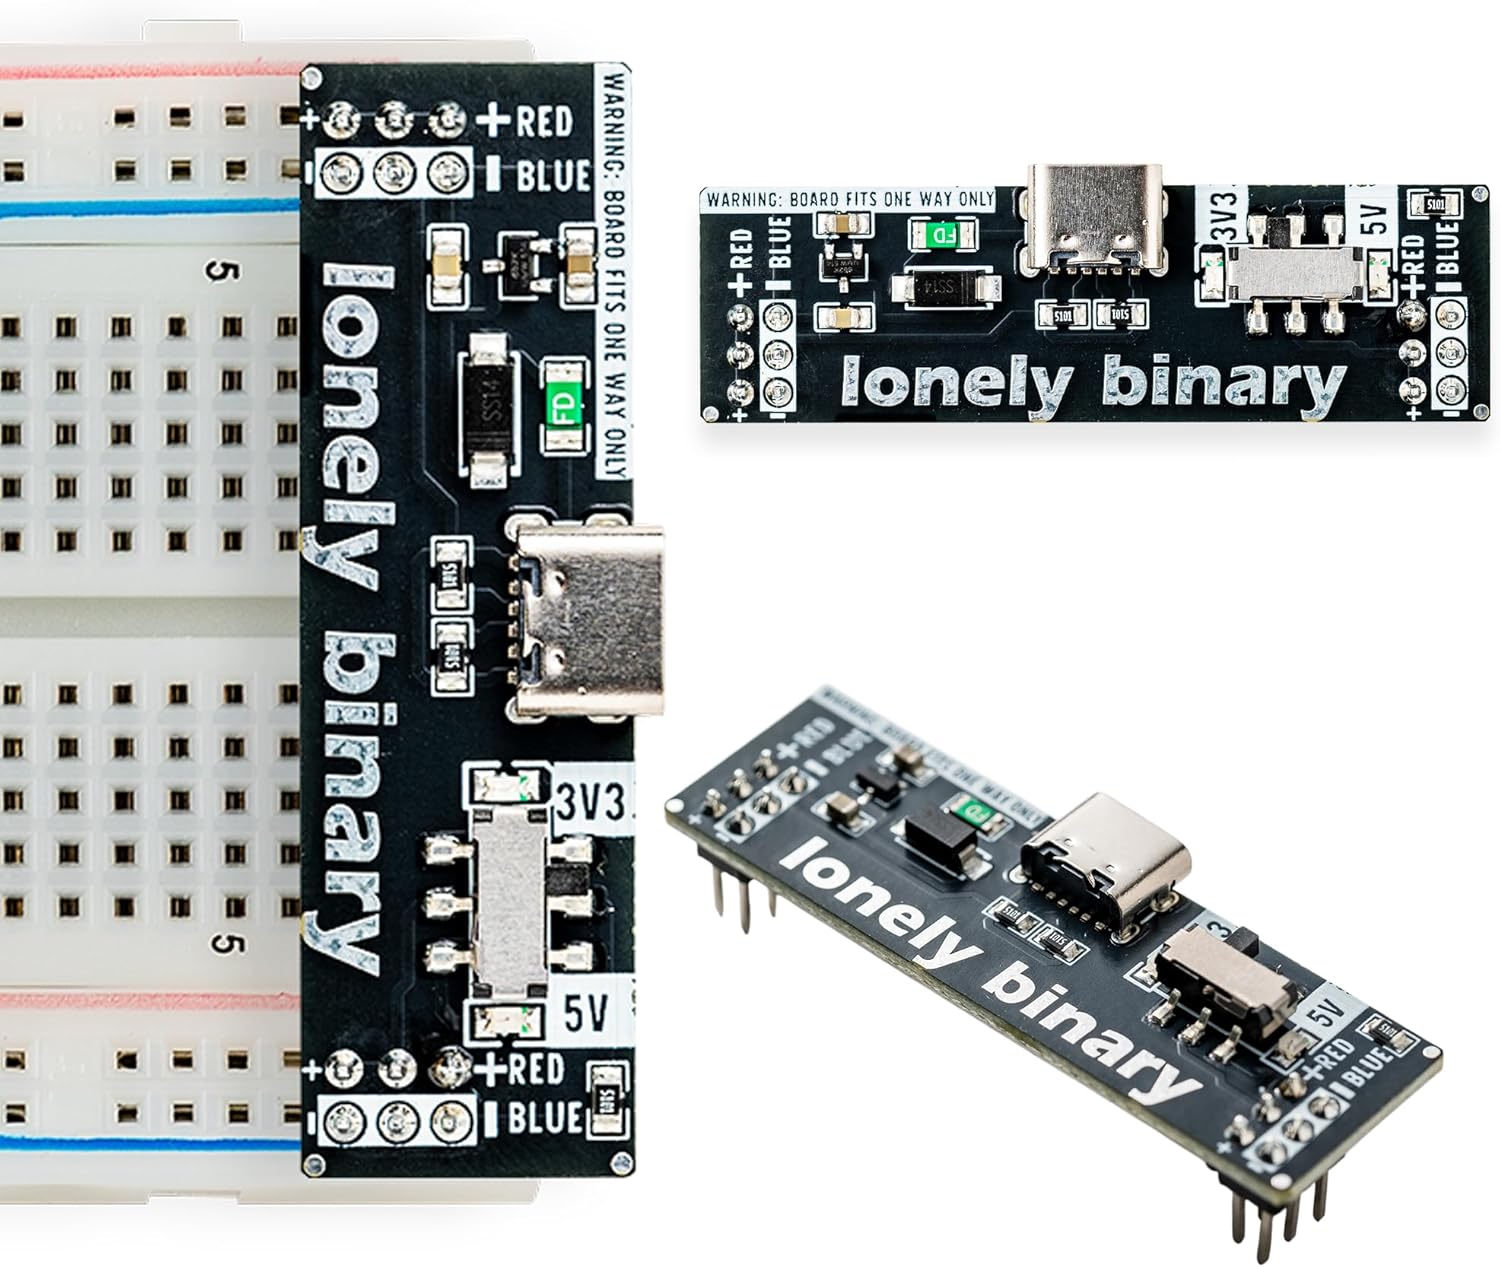
If you’re prototyping on a breadboard, this is the most convenient option available. These tiny boards plug directly into the power rails of a standard half-size or full-size breadboard.
Our Pick: ELEGOO Breadboard Power Supply Module
Why it matters for Beginners
- Plug and Play: Drops right onto the breadboard rails. No messy jumper wires required to route power.
- Dual Voltage: You can set one side of the breadboard to 5V and the other to 3.3V using simple jumpers. Perfect for mixing Arduino (5V) and ESP32/modern sensors (3.3V).
- Cost: They are incredibly cheap.
Why a Pro might avoid it
- Low Current: The onboard voltage regulators (typically AMS1117) max out around 700mA. If you try to run multiple servo motors, the board will overheat and shut down.
- Requires a Source: It doesn’t generate power from the wall; you still need to plug a 9V adapter or USB cable into it.
2. The Reliable Workhorse: 9V Wall Adapters

This is a standard “wall wart” AC to DC converter. It takes 120V AC from your wall and outputs a steady 9V DC.
Our Pick: 9V 1A Power Supply Adapter for Arduino
Why it matters for Beginners
- Perfect for Arduino: The Arduino Uno has a built-in barrel jack and voltage regulator designed specifically for 7V to 12V inputs. Plugging a 9V adapter in is the easiest way to power a standalone project.
- More Current: A 1A (1000mA) or 2A adapter gives you more overhead for sensors and displays compared to standard USB power.
Why a Pro might avoid it
- Not Adjustable: It only outputs exactly 9V.
- Not Breadboard Friendly: You can’t easily plug a 2.1mm barrel jack directly into a breadboard without a breakout adapter (which is why combining this with the breadboard module above is so common!).
3. The Ultimate Control: Adjustable DC Bench Power Supplies
When you start diagnosing circuits, repairing electronics, or testing high-current motors, you need a bench power supply.
Our Pick: Wanptek Mini Adjustable DC Power Supply (30V 10A)
Why it matters for Pros
- Variable Voltage: Dial in exactly the voltage you need, whether it’s 1.5V, 3.3V, 12V, or 24V.
- Current Limiting (Crucial!): You can set a maximum current draw. If you accidentally create a short circuit on your breadboard, the power supply will drop the voltage to maintain the current limit, rather than letting your components catch on fire. This feature alone pays for itself in saved parts.
- Diagnostic Feedback: The digital display shows exactly how much current your circuit is drawing in real-time.
Why a Beginner might avoid it
- Cost and Size: They are much more expensive than a wall adapter and take up dedicated desk space.
- Overkill: If you are just blinking LEDs and reading temperature sensors, you simply don’t need this level of control yet.
The Verdict
If you are just starting out, buy the Breadboard Power Supply Module and a 9V Wall Adapter. You will use the 9V adapter to power the breadboard module while prototyping, and then you can plug the 9V adapter directly into your Arduino when the project is finished.
Hold off on the Bench Power Supply until you find yourself needing to test unknown components or working with high-draw motors.