Lesson 182: High-Speed Storage with SPI Flash Memory (W25Q128)
EEPROM is great for small settings, but what if you need to store massive amounts of data, like audio samples or images? 32 Kilobytes is a joke. You need something bigger and faster. Enter SPI Flash Memory. It’s basically a tiny hard drive for your microcontroller, holding megabytes of data so your project doesn’t run out of space in five minutes.
The Hardware: W25Q128 SPI Flash Module
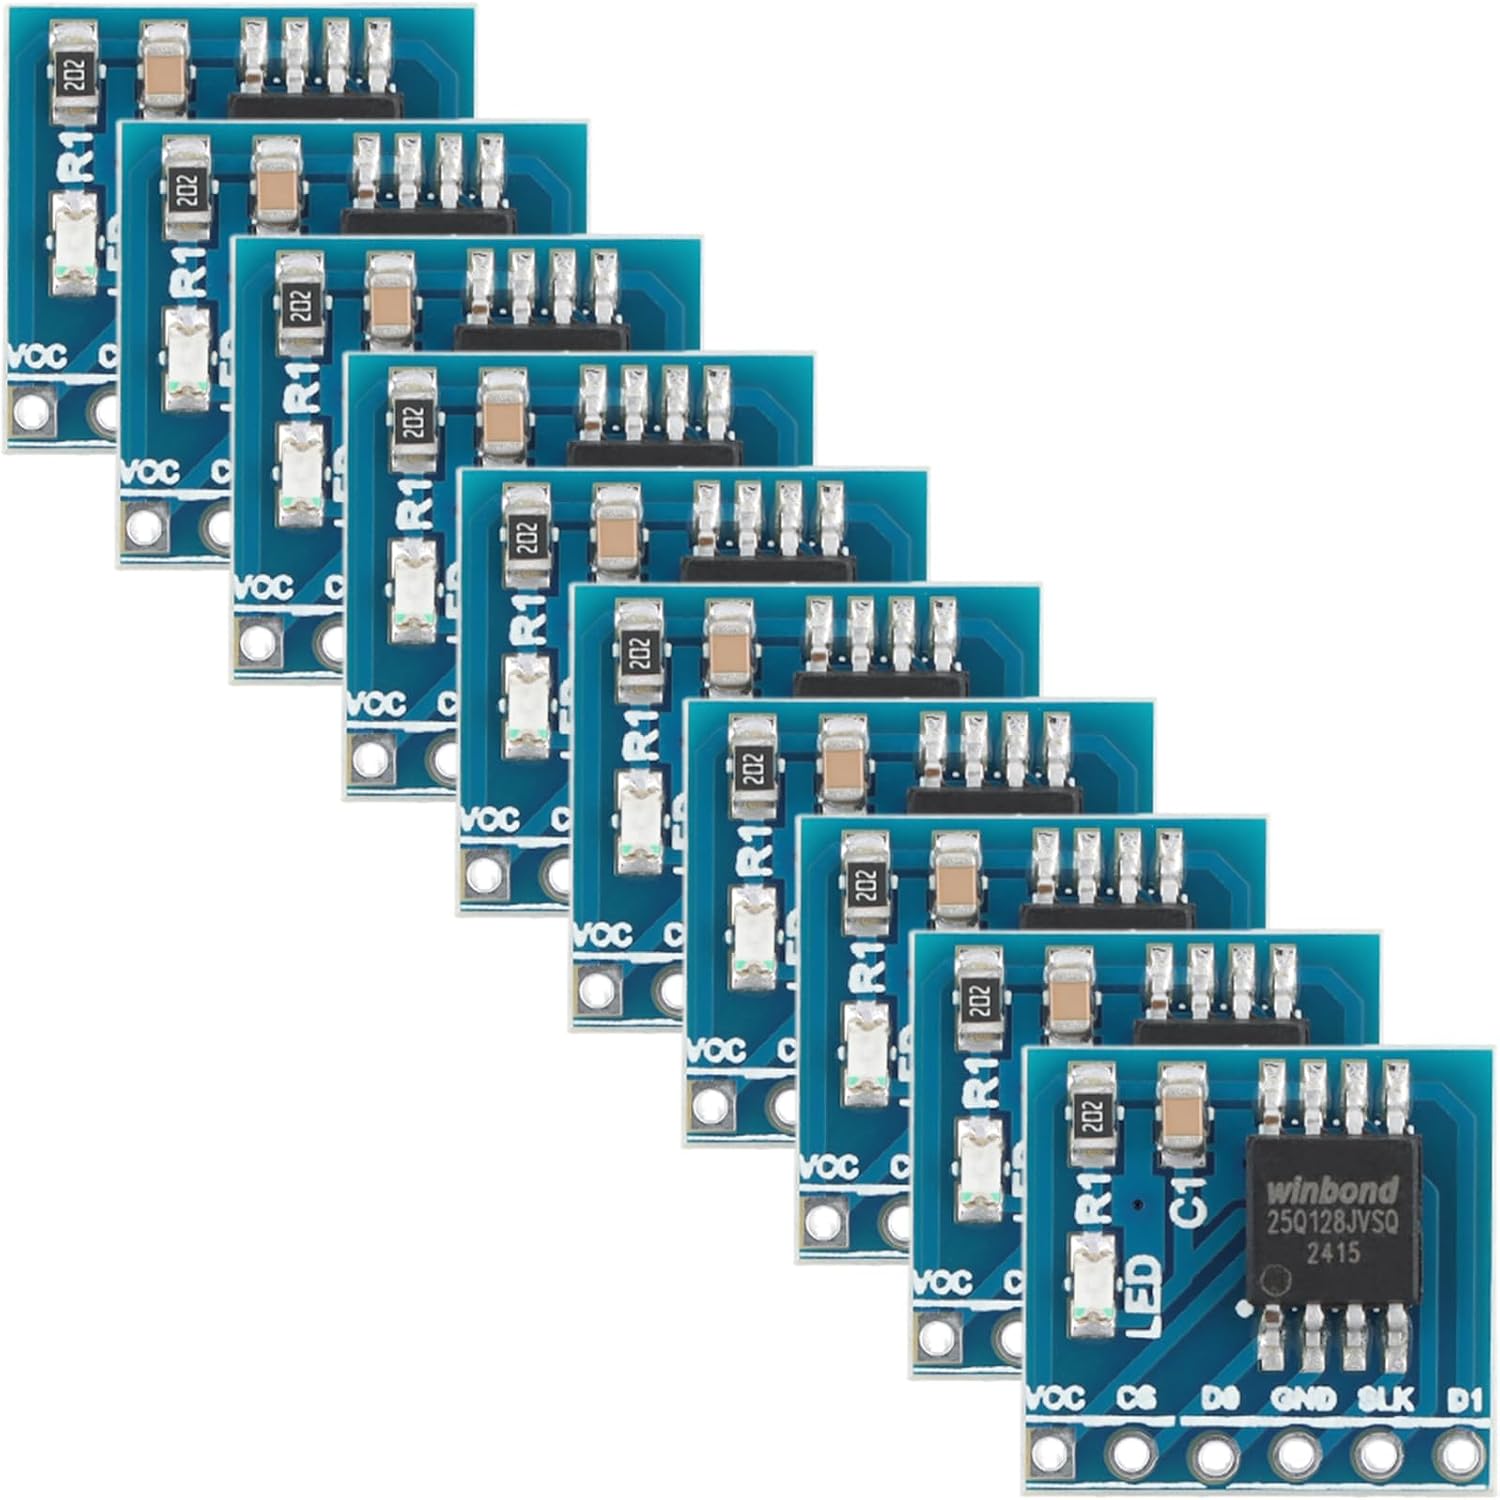
The W25Q128 128MBit SPI Flash Memory Module gives you 128 Megabits (16 Megabytes) of non-volatile storage. That is 500 times more storage than the EEPROM we used in the last lesson!
Unlike EEPROM which uses the I2C protocol, this module uses the SPI (Serial Peripheral Interface) bus. SPI requires more pins (four data/clock lines instead of two), but it allows for much higher data transfer speeds.
Why Use SPI Flash?
- Massive Capacity: 16MB is enough for substantial data logging, web server pages, or graphics.
- High Speed: SPI can operate at speeds well over 10 MHz, making reading and writing fast.
- Cost-Effective: Flash memory is extremely cheap per megabyte compared to EEPROM.
Note: Flash memory is read/written in blocks/pages, and you must erase a sector before writing new data over it. It requires a slightly different programming mindset than EEPROM!
Wiring the W25Q128 to Your Arduino
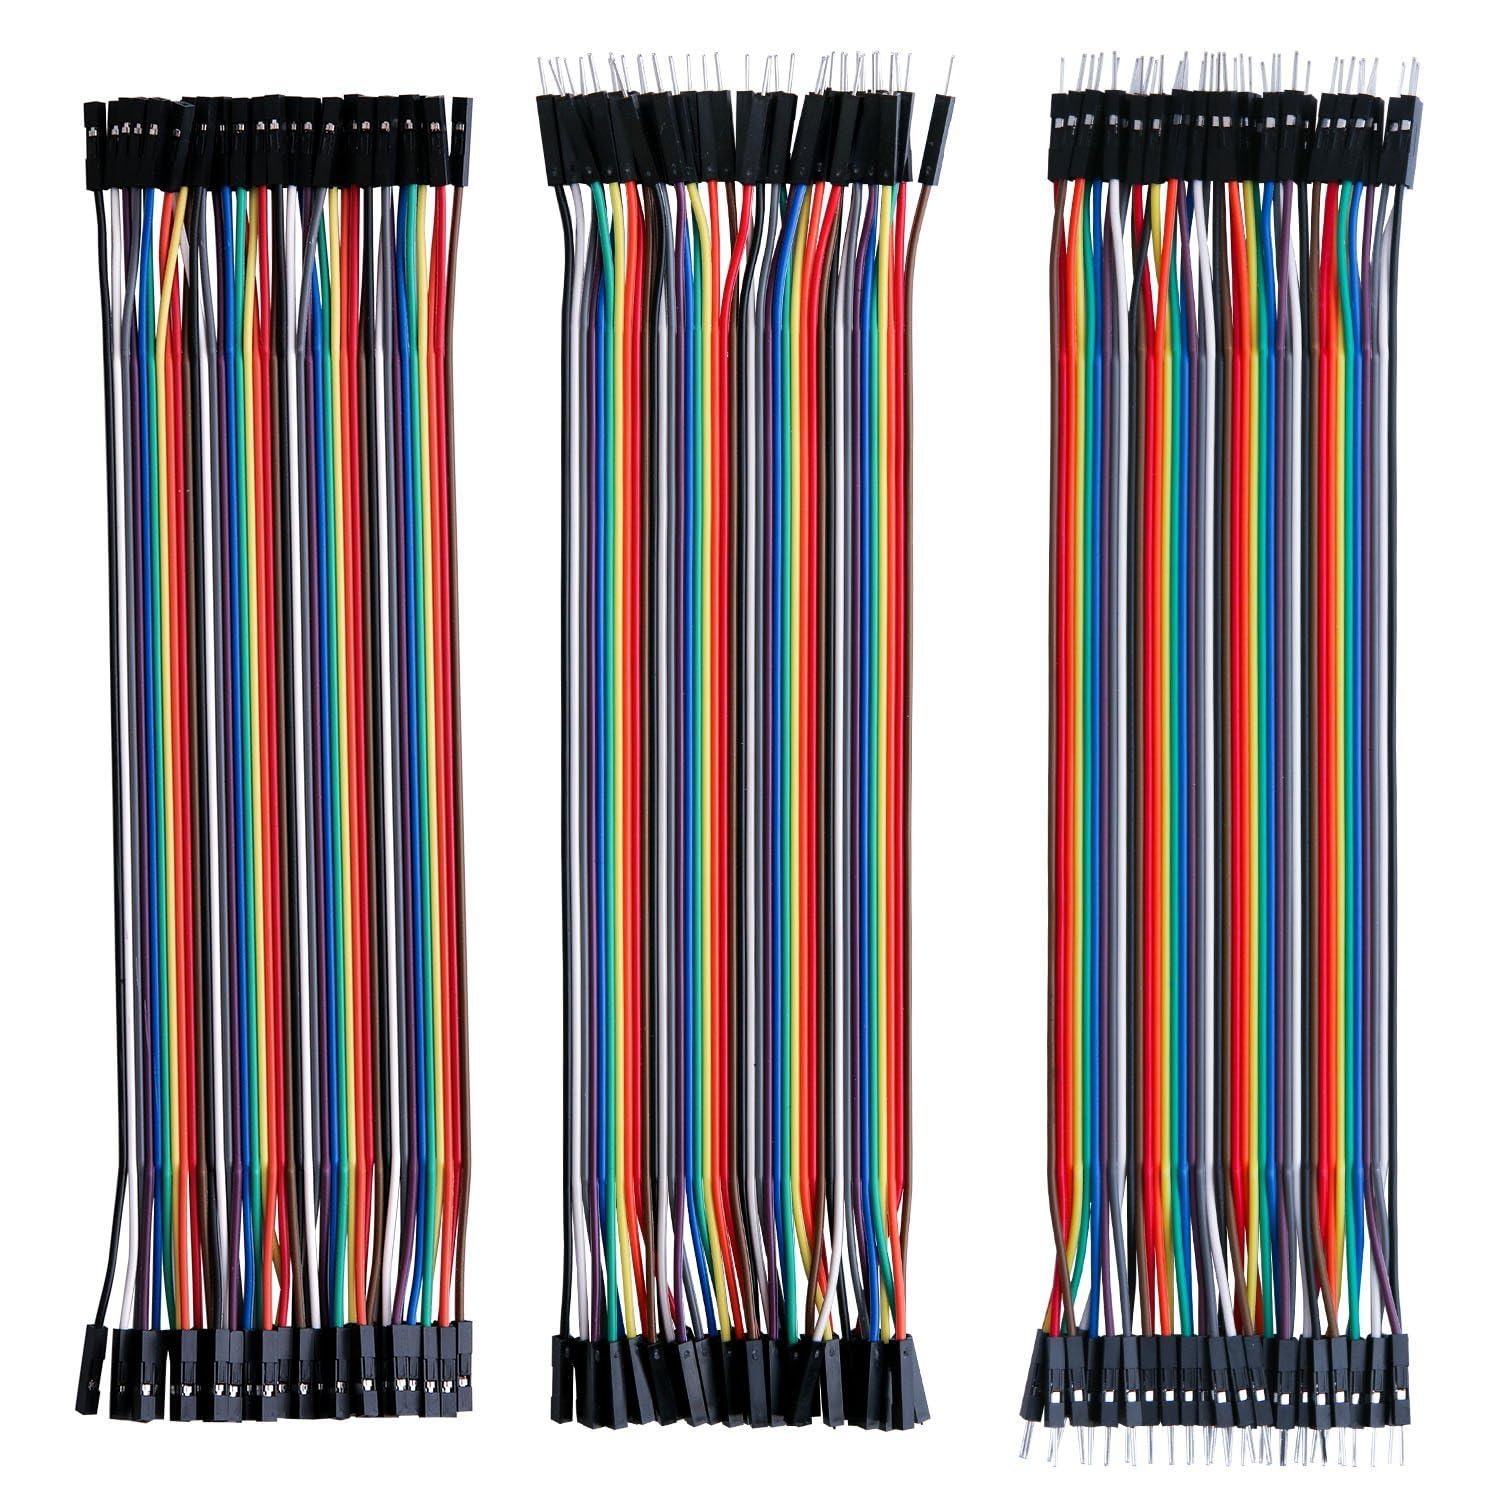
You’ll want a good set of Dupont Jumper Wires to hook this up.
⚠️ CRITICAL WARNING: Most SPI Flash chips, including the W25Q series, operate strictly at 3.3V. Do NOT connect VCC to the Arduino’s 5V pin, or you will fry the chip! If you are using a standard 5V Arduino Uno, the logic pins (MOSI, SCK, CS) technically output 5V as well. While some modules have built-in level shifters, bare chips do not. For long-term reliability, it’s best to use a logic level converter or a 3.3V microcontroller (like an ESP32 or 3.3V Arduino Pro Mini).
Assuming you have a module with built-in level shifting or are using a 3.3V board:
| W25Q128 Pin | Arduino Uno Pin (SPI) | Function |
|---|---|---|
| VCC | 3.3V | Power |
| GND | GND | Ground |
| CS | Pin 10 | Chip Select (Can be any digital pin) |
| DO (MISO) | Pin 12 | Master In Slave Out |
| DI (MOSI) | Pin 11 | Master Out Slave In |
| CLK (SCK) | Pin 13 | Serial Clock |
The Code: Reading and Writing to Flash
To interact with the W25Q series flash chips without pulling your hair out, we use the fantastic SPIMemory library by Marzogh. (You can install it directly from the Arduino Library Manager by searching for “SPIMemory”).
Here is a basic sketch to initialize the chip, wipe a sector, write a string, and read it back:
#include <SPI.h>
#include <SPIMemory.h>

// Define the Chip Select pin
#define CS_PIN 10

// Create an instance of the SPI Flash object
SPIFlash flash(CS_PIN);

void setup() {
  Serial.begin(115200);
  while (!Serial); // Wait for Serial Monitor

  Serial.println("Initializing SPI Flash...");

  // Begin the flash chip
  if (flash.begin()) {
    Serial.println("Flash Memory Ready!");

    // Print the capacity
    uint32_t capacity = flash.getCapacity();
    Serial.print("Capacity: ");
    Serial.print(capacity);
    Serial.println(" bytes");
  } else {
    Serial.println("Failed to initialize flash!");
    while (1); // Halt
  }

  uint32_t myAddress = 0; // We'll write to address 0
  String myData = "Hello, Flash Memory! This data survives a reboot.";

  // IMPORTANT: You MUST erase a sector before you can write to it!
  Serial.println("Erasing Sector...");
  flash.eraseSector(myAddress);

  // Write the string to flash
  Serial.println("Writing data to Flash...");
  if (flash.writeStr(myAddress, myData)) {
    Serial.println("Write successful!");
  } else {
    Serial.println("Write failed!");
  }

  // Read the string back
  Serial.println("Reading data back:");
  String readData = flash.readString(myAddress);
  Serial.println(readData);
}

void loop() {
  // Nothing to do here for this demo
}
Breaking Down the Code
flash.begin(): Initializes the SPI bus and communicates with the chip to ensure it’s responding.flash.getCapacity(): A handy function to confirm the chip size (expect 16,777,216 bytes for a 128MBit chip).flash.eraseSector(address): Flash memory works in sectors (usually 4KB). Unlike SRAM or EEPROM where you can just overwrite a single byte at any time, flash memory requires you to reset a whole block of memory to1s before you can write new0s to it. Always erase before you write!flash.writeStr()&flash.readString(): The library provides high-level functions to write and read entire Strings, making our lives incredibly easy. It also supports reading/writing bytes, floats, arrays, and structs.
What’s Next?
Now that you have 16 Megabytes of fast storage, you can build offline dataloggers that run for months, or store complex user interfaces for TFT screens. In our next lesson, we will look at how to store actual files by introducing FAT file systems using SD cards!