ElectronParade
Lesson 146: Saving Memories - Data Logging with a Micro SD Card Module
Throughout our lessons, we have read temperatures, tracked our location with GPS, and measured distances. But there has always been one major limitation: as soon as we unplug the Arduino, all that data vanishes.
If we want to build a weather station that records temperatures all week, or a GPS tracker that maps a hike, we need permanent storage. Today, we are going to learn how to write data to a standard Micro SD card!
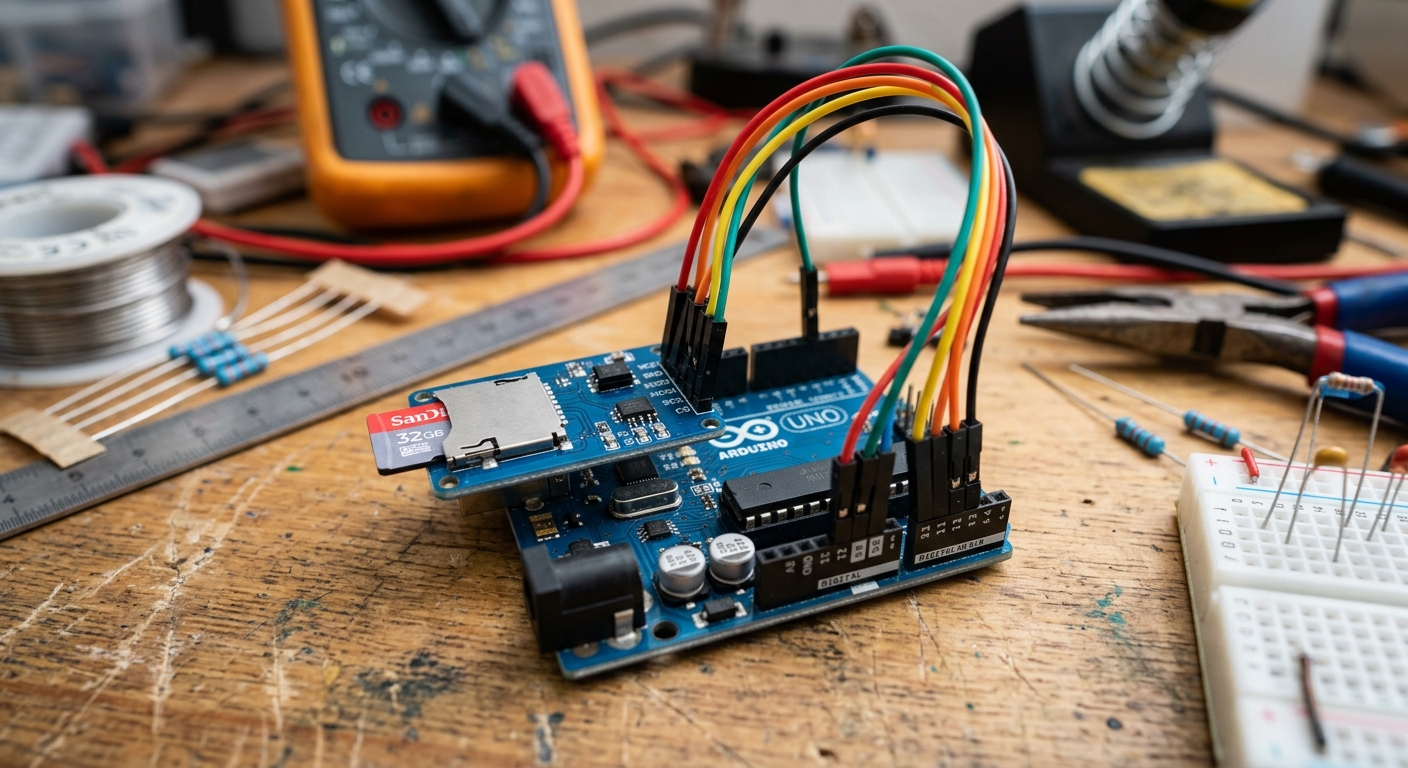
A standard Micro SD card module acts as a massive hard drive for your tiny Arduino.
The SPI Protocol
Unlike I2C (which uses two wires for many devices) or standard Serial (which uses TX/RX), SD card modules use a communication protocol called SPI (Serial Peripheral Interface).
SPI is incredibly fast, making it perfect for moving large amounts of data like text files. However, it requires four specific data pins:
- MOSI (Master Out Slave In): Arduino sends data to the SD card.
- MISO (Master In Slave Out): SD card sends data back to the Arduino.
- SCK (Serial Clock): Keeps the data transmission in sync.
- CS (Chip Select): Tells the specific module that it’s its turn to talk.
On the Arduino Uno, the SPI pins are hardwired to pins 11, 12, and 13. The CS pin is technically flexible, but we usually use Pin 10 by default.
Need the hardware? Grab a Micro SD Card Module on Amazon. You’ll also need a spare Micro SD card (anything formatted to FAT16 or FAT32, usually 32GB or smaller is best).
Wiring the SD Card Module
The typical Micro SD module has 6 pins. Let’s wire them up to our Arduino Uno:
- VCC: Connect to Arduino 5V.
- GND: Connect to Arduino GND.
- MISO: Connect to Arduino Pin 12.
- MOSI: Connect to Arduino Pin 11.
- SCK: Connect to Arduino Pin 13.
- CS: Connect to Arduino Pin 10.
The Code
Arduino comes pre-installed with the built-in SD.h library, so we don’t even need to download anything! We just need to initialize the card, open a text file, and print our data to it—almost exactly like how we print to the Serial Monitor.
#include <SPI.h>
#include <SD.h>

// On the Uno, the CS pin is usually 10
const int chipSelect = 10;

void setup() {
  // Open serial communications
  Serial.begin(9600);

  Serial.print("Initializing SD card...");

  // See if the card is present and can be initialized
  if (!SD.begin(chipSelect)) {
    Serial.println("Card failed, or not present");
    // Don't do anything more
    while (1);
  }
  Serial.println("Card initialized.");

  // Open the file. Note that only one file can be open at a time,
  // so you have to close this one before opening another.
  File dataFile = SD.open("datalog.txt", FILE_WRITE);

  // If the file is available, write to it:
  if (dataFile) {
    dataFile.println("Arduino Data Log Started!");
    dataFile.close();

    // Print to the serial port too, so we can see it worked
    Serial.println("Wrote 'Arduino Data Log Started!' to datalog.txt");
  }
  // If the file isn't open, pop up an error:
  else {
    Serial.println("Error opening datalog.txt");
  }
}

void loop() {
  // Let's pretend we are reading a sensor
  int sensorValue = analogRead(A0);

  // Open the file in write mode
  File dataFile = SD.open("datalog.txt", FILE_WRITE);

  if (dataFile) {
    // Write the raw sensor data, then a comma
    dataFile.print("Sensor reading: ");
    dataFile.println(sensorValue);

    // Close the file to save the data
    dataFile.close();

    Serial.print("Logged: ");
    Serial.println(sensorValue);
  } else {
    Serial.println("Error opening datalog.txt");
  }

  // Wait 5 seconds before logging again
  delay(5000);
}
Reviewing Your Data
Upload the code and let it run for a minute or two. You should see successful log messages appearing in your Serial Monitor.
Next, unplug your Arduino, pop the Micro SD card out of the module, and plug it into your computer. You will see a new file called DATALOG.TXT. Open it up, and you will see your saved sensor data!
You can easily import these .txt or .csv files into Excel or Google Sheets to make beautiful graphs of your data. Combining this SD card module with the GPS module from Lesson 145 gives you everything you need to build your own custom fitness tracker or vehicle telemetry system!