ElectronParade
Lesson 144: Digital Smart Level with MPU-6050 and OLED
Have you ever wondered how your smartphone knows when you rotate it to watch a video, or how a drone keeps itself stable in the air? The secret is a tiny sensor called an IMU (Inertial Measurement Unit).
In this lesson, we are going to use the wildly popular MPU-6050 to build a Digital Smart Level. We will read real-time pitch and roll data, visualize it as a moving “bubble” on an OLED screen, and sound a buzzer when our surface is perfectly flat!
 The MPU-6050 is a 6-axis IMU combining an accelerometer and a gyroscope on a single chip.
Recommended Hardware
- Arduino Uno R3: ELEGOO UNO Project Super Starter Kit
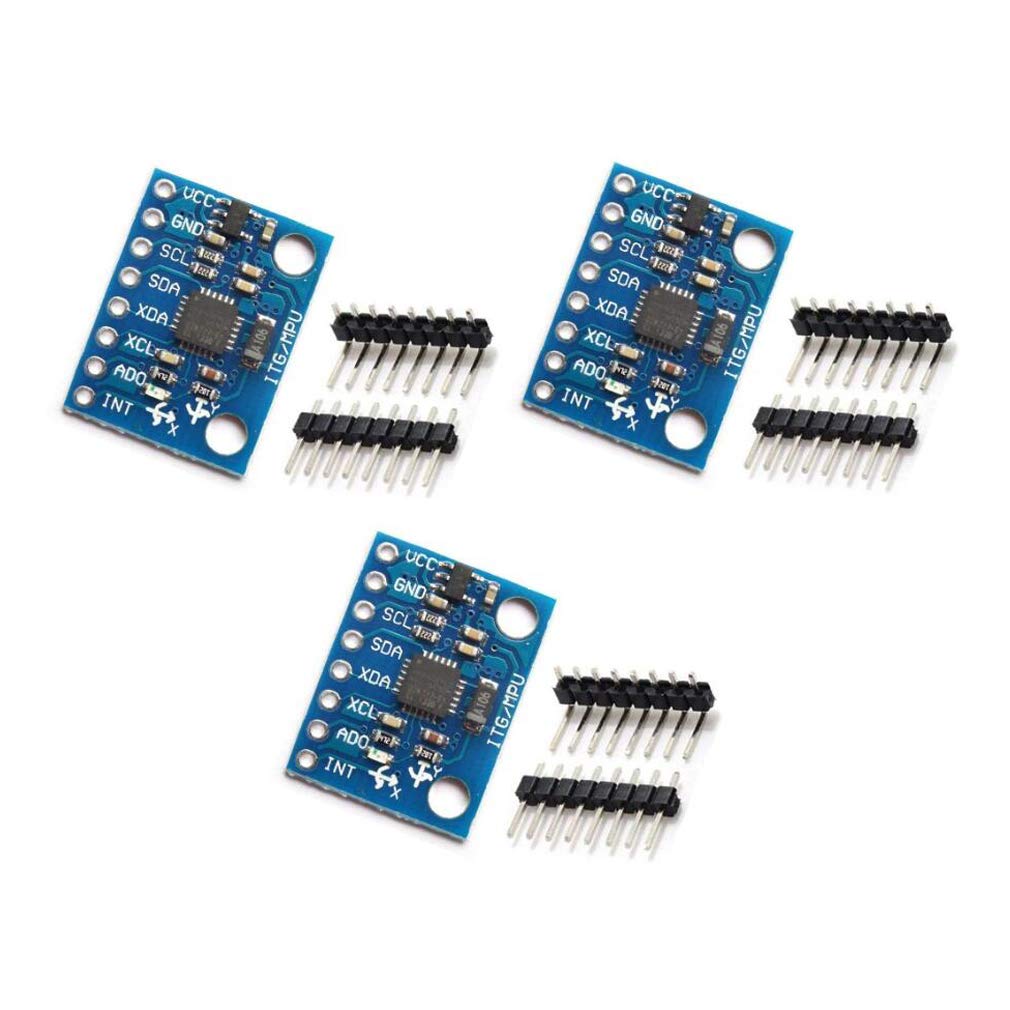
- MPU-6050 Module: MPU-6050 Accelerometer & Gyro Module
- 0.96 inch OLED Display: 0.96” I2C OLED Display (SSD1306)
- Active Buzzer (Included in the Elegoo Kit)
- Breadboard and Jumper Wires
Understanding Pitch and Roll
The MPU-6050 measures acceleration and rotation in three dimensions (X, Y, and Z). By calculating the angle of the gravity vector on the X and Y axes, we can determine:
- Pitch: Tilting forward and backward.
- Roll: Tilting side to side.
Both our OLED display and our MPU-6050 module use I2C communication. This is fantastic news for our wiring, because I2C is a bus system—we can connect both devices to the exact same two pins on our Arduino!
Wiring It Up
Let’s connect our components.
The I2C Bus (OLED & MPU-6050)
On the Arduino Uno, the I2C pins are A4 (SDA - Data) and A5 (SCL - Clock).
- Connect SDA on the OLED and MPU-6050 to A4.
- Connect SCL on the OLED and MPU-6050 to A5.
- Connect VCC on both modules to Arduino 5V.
- Connect GND on both modules to Arduino GND.
The Buzzer
- Connect the Positive (+) leg of the buzzer to Arduino Pin 8.
- Connect the Negative (-) leg to GND.
The Code
To make interacting with these modules simple, we’ll use a few libraries. Open your Arduino IDE Library Manager and install:
- Adafruit SSD1306 (for the OLED)
- Adafruit GFX Library (for drawing shapes)
- Adafruit MPU6050 (for reading the sensor)
- Adafruit Unified Sensor (required dependency)
Here is the code for our Smart Level. It reads the accelerometer, converts the data into angles, draws a center crosshair, and moves a circle (the “bubble”) based on how you tilt the sensor!
#include <Wire.h>
#include <Adafruit_GFX.h>
#include <Adafruit_SSD1306.h>
#include <Adafruit_MPU6050.h>
#include <Adafruit_Sensor.h>

#define SCREEN_WIDTH 128
#define SCREEN_HEIGHT 64
#define OLED_RESET    -1
Adafruit_SSD1306 display(SCREEN_WIDTH, SCREEN_HEIGHT, &Wire, OLED_RESET);

Adafruit_MPU6050 mpu;

const int buzzerPin = 8;
const int center_x = SCREEN_WIDTH / 2;
const int center_y = SCREEN_HEIGHT / 2;
const int max_angle = 30; // Max tilt angle to display on screen

void setup() {
  Serial.begin(115200);
  pinMode(buzzerPin, OUTPUT);

  if(!display.begin(SSD1306_SWITCHCAPVCC, 0x3C)) {
    Serial.println(F("SSD1306 allocation failed"));
    for(;;);
  }

  if (!mpu.begin()) {
    Serial.println("Failed to find MPU6050 chip");
    for(;;);
  }

  mpu.setAccelerometerRange(MPU6050_RANGE_2_G);
  display.clearDisplay();
  display.display();
}

void loop() {
  sensors_event_t a, g, temp;
  mpu.getEvent(&a, &g, &temp);

  // Calculate Pitch and Roll from Accelerometer
  float roll = atan2(a.acceleration.y, a.acceleration.z) * 180.0 / PI;
  float pitch = atan2(-a.acceleration.x, sqrt(a.acceleration.y * a.acceleration.y + a.acceleration.z * a.acceleration.z)) * 180.0 / PI;

  // Map angles to screen coordinates
  int bubble_x = center_x - map(roll, -max_angle, max_angle, -center_x, center_x);
  int bubble_y = center_y + map(pitch, -max_angle, max_angle, -center_y, center_y);

  // Constrain bubble to screen bounds
  bubble_x = constrain(bubble_x, 4, SCREEN_WIDTH - 4);
  bubble_y = constrain(bubble_y, 4, SCREEN_HEIGHT - 4);

  // Draw the Level
  display.clearDisplay();

  // Draw Center Target
  display.drawCircle(center_x, center_y, 10, SSD1306_WHITE);
  display.drawLine(center_x - 15, center_y, center_x + 15, center_y, SSD1306_WHITE);
  display.drawLine(center_x, center_y - 15, center_x, center_y + 15, SSD1306_WHITE);

  // Draw Bubble
  display.fillCircle(bubble_x, bubble_y, 4, SSD1306_WHITE);

  display.display();

  // Beep if perfectly level!
  if (abs(pitch) < 1.5 && abs(roll) < 1.5) {
    tone(buzzerPin, 1000, 100);
  } else {
    noTone(buzzerPin);
  }

  delay(50);
}
How It Works
- Math Magic: We use
atan2()to calculate the exact angle in degrees based on the force of gravity pulling on the X, Y, and Z axes of the accelerometer. - Mapping: The
map()function translates those degrees (from -30 to 30) into pixel coordinates on our 128x64 pixel screen. - Drawing: The Adafruit GFX library lets us draw circles and lines instantly to update our UI.
- Feedback: If both pitch and roll are within 1.5 degrees of zero, the Arduino fires a 1000Hz tone out of pin 8, letting you know your desk is perfectly level!
Try mounting the MPU-6050 and the OLED display to a small piece of wood or a 3D-printed enclosure, and you’ve got a practical tool you built yourself!