ElectronParade
Lesson 138: Secret Codes - Entering Passcodes with a 4x4 Keypad
Push-buttons are great, but what if you need to type a password, enter a quantity, or create a calculator? You’d need a lot of buttons, and wiring each one individually would consume every single pin on your Arduino.
Enter the Matrix Keypad.
In this lesson, we will connect a 16-button membrane keypad to our Arduino using only 8 pins, allowing us to read numbers and letters just like typing on an old telephone.
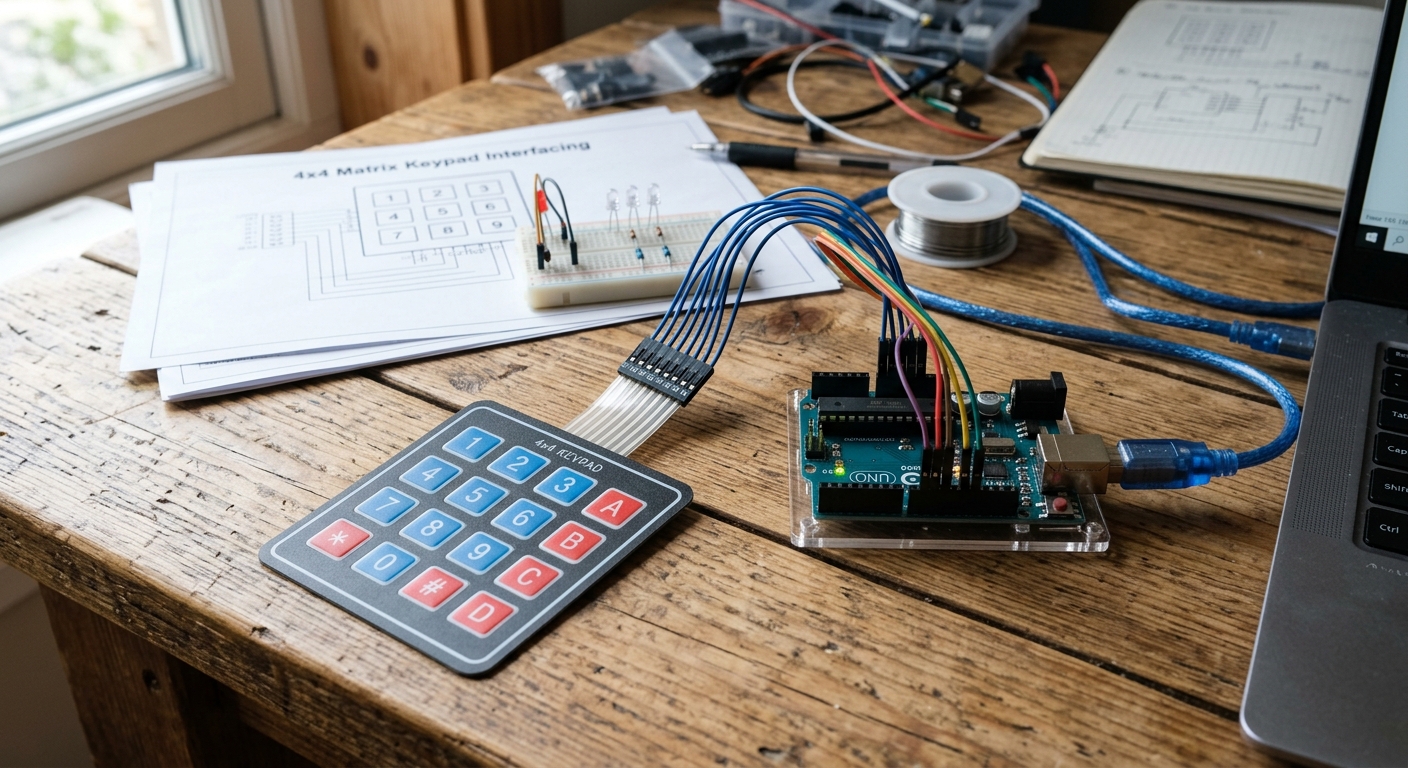 A thin, flexible 4x4 membrane keypad gives you 16 inputs while saving valuable Arduino pins.
How a Matrix Keypad Works
Instead of having a separate ground and signal wire for every button, a matrix keypad organizes its buttons into rows and columns.
When you press a button (like the number ‘5’), it connects the wire for Row 2 to the wire for Column 2. The Arduino rapidly scans these rows and columns to figure out exactly which intersection is being pressed.
Need the parts? You can find a 4x4 Matrix Membrane Keypad on Amazon. They are cheap, durable, and come with a self-adhesive backing!
Wiring the Keypad
A 4x4 keypad has 8 pins sticking out the bottom. From left to right (looking at the front of the keypad), the first 4 are the Rows, and the last 4 are the Columns.
Connect them to the digital pins on your Arduino sequentially:
- Pin 1 (Row 1): Arduino Pin 9
- Pin 2 (Row 2): Arduino Pin 8
- Pin 3 (Row 3): Arduino Pin 7
- Pin 4 (Row 4): Arduino Pin 6
- Pin 5 (Col 1): Arduino Pin 5
- Pin 6 (Col 2): Arduino Pin 4
- Pin 7 (Col 3): Arduino Pin 3
- Pin 8 (Col 4): Arduino Pin 2
Installing the Keypad Library
Scanning rows and columns manually requires complicated code. Luckily, we have a library!
- Open the Arduino IDE.
- Go to
Sketch > Include Library > Manage Libraries... - Search for Keypad (by Mark Stanley, Alexander Brevig) and install it.
Writing the Code
This sketch will read the keypad and print any pressed key to the Serial Monitor.
#include <Keypad.h>

const byte ROWS = 4; // Four rows
const byte COLS = 4; // Four columns

// Define the keymap layout
char keys[ROWS][COLS] = {
  {'1','2','3','A'},
  {'4','5','6','B'},
  {'7','8','9','C'},
  {'*','0','#','D'}
};

// Connect keypad ROW1, ROW2, ROW3 and ROW4 to these Arduino pins.
byte rowPins[ROWS] = {9, 8, 7, 6};
// Connect keypad COL1, COL2, COL3 and COL4 to these Arduino pins.
byte colPins[COLS] = {5, 4, 3, 2};

// Create the Keypad instance
Keypad keypad = Keypad(makeKeymap(keys), rowPins, colPins, ROWS, COLS);

void setup() {
  Serial.begin(9600);
  Serial.println("System Ready. Enter code:");
}

void loop() {
  // Read the key pressed
  char key = keypad.getKey();

  // If a key was pressed, print it
  if (key) {
    Serial.println(key);
  }
}
Upload the code and open your Serial Monitor. Start typing! You should see the characters appear instantly.
Taking Action
Printing characters is fun, but real power comes from combining this with logic. Try creating a string variable to store multiple keystrokes, and write an if statement that triggers a green LED or unlocks a door if the user types 1-2-3-4!