ElectronParade
Lesson 136: Access Granted - Reading Smart Cards with RFID
Ever tap your credit card at a terminal or wave a key fob to unlock an office door? That magic is powered by RFID (Radio Frequency Identification).
In this lesson, we are going to add an RFID reader to our Arduino. With it, we can identify specific cards or tags and trigger actions—like lighting up a green “Access Granted” LED or telling a servo to unlock a secret box.
 The RC522 is one of the most popular and affordable RFID reader modules for Arduino.
How Does It Work?
An RFID system has two main parts:
- The Reader (RC522): This module emits a low-power, high-frequency radio wave (usually 13.56 MHz).
- The Tag (Card or Fob): The tag contains a tiny antenna and a microchip. It has no battery! When you hold it near the reader, the radio waves actually power the tag’s chip just enough to transmit its unique ID number back to the reader.
Need the parts? You can grab an RC522 RFID Module kit on Amazon, which usually includes the reader, a white card, and a blue key fob.
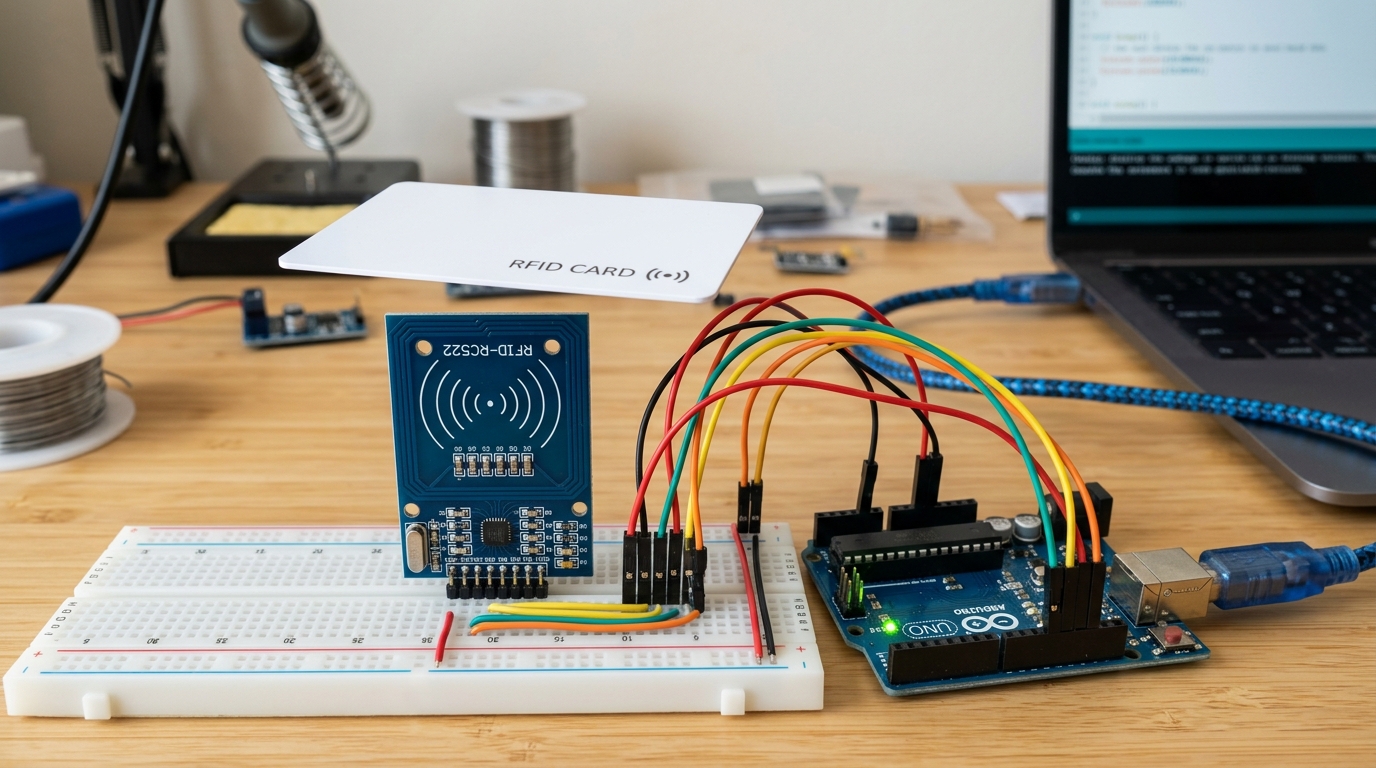
Wiring the RC522 Module
The RC522 communicates using the SPI (Serial Peripheral Interface) protocol. SPI requires a few specific pins on the Arduino Uno:
- 3.3V: Connect to 3.3V on the Arduino. (WARNING: Do NOT connect to 5V, or you will fry the module!)
- RST: Connect to Pin 9.
- GND: Connect to GND.
- MISO: Connect to Pin 12.
- MOSI: Connect to Pin 11.
- SCK: Connect to Pin 13.
- SDA (SS): Connect to Pin 10.
Installing the Library
Because SPI communication with the RC522 chip is complex, we will use a library to do the heavy lifting.
Open the Arduino IDE Library Manager (Sketch > Include Library > Manage Libraries...), search for MFRC522 (by GithubCommunity), and install it.
Writing the Code
This sketch will read a tag and print its Unique ID (UID) to the Serial Monitor.
#include <SPI.h>
#include <MFRC522.h>

#define SS_PIN 10
#define RST_PIN 9

// Create an MFRC522 instance
MFRC522 rfid(SS_PIN, RST_PIN);

void setup() {
  Serial.begin(9600);
  SPI.begin();       // Initialize the SPI bus
  rfid.PCD_Init();   // Initialize the RFID reader

  Serial.println("Place your card near the reader...");
}

void loop() {
  // Look for new cards
  if (!rfid.PICC_IsNewCardPresent()) {
    return;
  }

  // Verify if the NUID has been read
  if (!rfid.PICC_ReadCardSerial()) {
    return;
  }

  Serial.print("Card UID detected: ");

  // Print the UID in HEX format
  for (byte i = 0; i < rfid.uid.size; i++) {
    Serial.print(rfid.uid.uidByte[i] < 0x10 ? " 0" : " ");
    Serial.print(rfid.uid.uidByte[i], HEX);
  }
  Serial.println();

  // Halt PICC (stop reading the same card repeatedly)
  rfid.PICC_HaltA();
}
Upload the code and open the Serial Monitor. Wave your card or fob over the blue reader. You should see a hexadecimal string appear (e.g., DE AD BE EF).
Taking Action
Right now, we are just printing the ID. But in a real project, you would save your card’s ID in a variable and write an if statement: If the scanned ID matches my saved ID, turn the servo 90 degrees. Welcome to building your own security systems!