ElectronParade
Lesson 133: Listening to Plants - Using Soil Moisture Sensors
We’ve learned how to measure the temperature and humidity of the air around us. But what if we want to monitor the health of our indoor garden? Whether you are notorious for under-watering your ferns or over-watering your succulents, a Soil Moisture Sensor is exactly what your Arduino needs to keep your plants alive.
 Soil moisture sensors act like two giant probes that pass an electrical current through the dirt to measure resistance.
How Does It Work?
A standard resistive soil moisture sensor consists of two exposed conductive prongs. When you stick these prongs into the dirt, the sensor acts like a variable resistor (similar to the potentiometer we used in Lesson 116).
Water is a good conductor of electricity. Dry soil is a very poor conductor.
- Wet Soil: More water means lower resistance, allowing electricity to pass easily between the prongs.
- Dry Soil: Less water means higher resistance, restricting the flow of electricity.
The sensor module reads this resistance and outputs an analog voltage that the Arduino can measure.
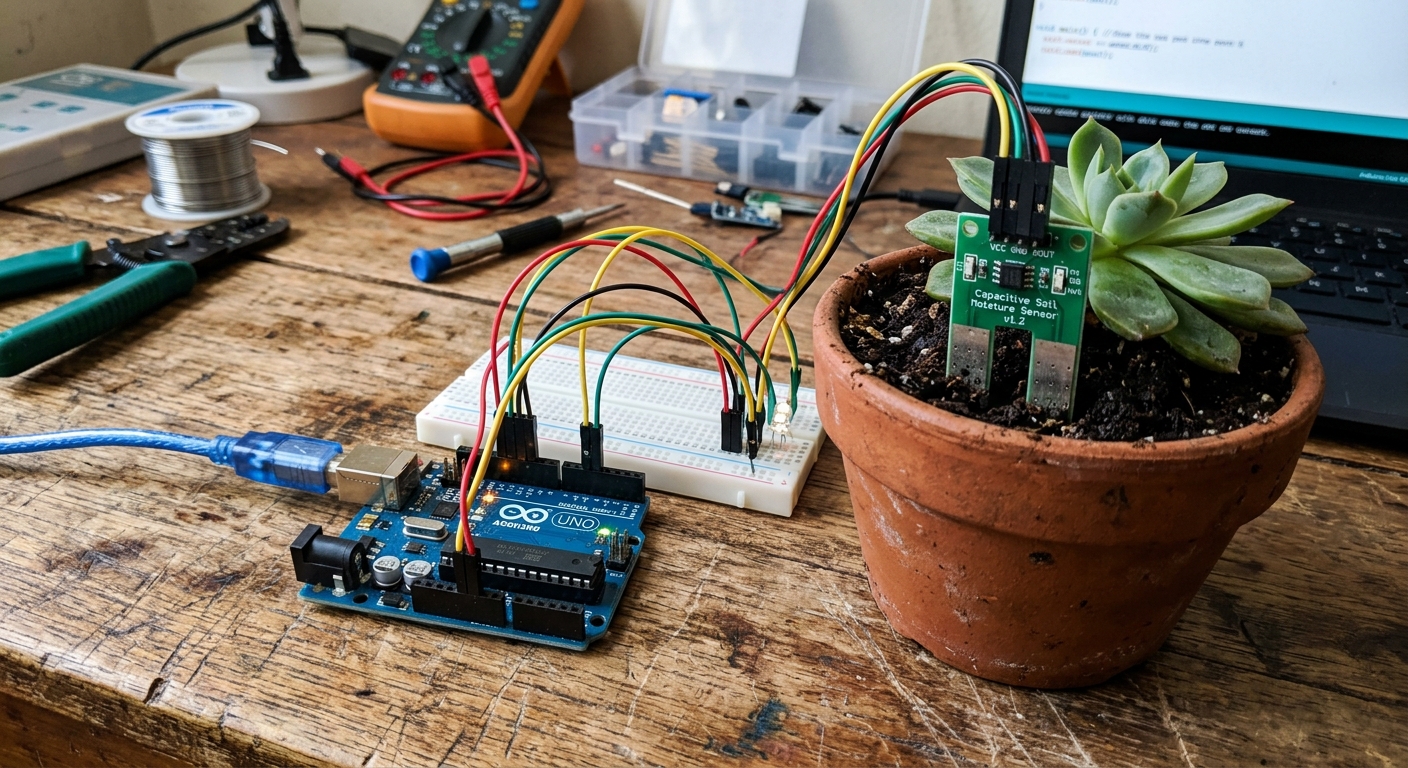
Wiring the Sensor
A typical soil moisture sensor kit comes in two parts: the two-pronged probe, and a small amplifier board with a potentiometer on it.
- Connect the two pins on the probe to the two pins on one side of the amplifier board using the included jumper wires (polarity doesn’t matter here).
- On the other side of the amplifier board, you will find four pins:
VCC,GND,DO(Digital Out), andAO(Analog Out). - Connect
VCCto the Arduino’s 5V pin. - Connect
GNDto the Arduino’s GND pin. - Connect
AOto the Arduino’s Analog Pin A0.
Note: The DO pin acts as a simple threshold switch. You can tune the little blue potentiometer on the board so DO goes HIGH when the soil hits a specific dryness, but using the AO pin gives us much more precise data.
The Code
Because we are reading an analog voltage, the code is incredibly simple. We use analogRead(), which will give us a value between 0 and 1023.
int sensorPin = A0;
int sensorValue = 0;

void setup() {
  Serial.begin(9600); // Start the serial monitor
}

void loop() {
  // Read the analog value from the sensor
  sensorValue = analogRead(sensorPin);

  // Print the raw value to the Serial Monitor
  Serial.print("Soil Moisture Value: ");
  Serial.println(sensorValue);

  delay(1000); // Wait 1 second before reading again
}
Interpreting the Numbers
Upload the code and open your Serial Monitor.
- Hold the sensor in the dry air. The value should be very high (often around 1000-1023). This is because air has massive resistance.
- Dip the sensor into a glass of tap water. The value will plummet (often down to 200-300).
- Now, stick it into your potted plant. Depending on how recently you watered it, you might see values between 400 and 800.
By testing your specific soil, you can determine the perfect threshold for your plant.
A Word on Corrosion
If you leave a resistive soil moisture sensor powered on in wet soil 24/7, the electrical current passing through the metal prongs will cause them to rust and corrode rapidly (a process called electrolysis).
Pro Tip: To make your sensor last years instead of weeks, connect the sensor’s VCC pin to a Digital Pin on the Arduino instead of the 5V pin. In your code, set that pin HIGH, wait 10 milliseconds, take your analogRead(), and immediately set it LOW again. This way, electricity only flows through the soil for a fraction of a second when taking a measurement!