ElectronParade
Lesson 128: Sensing the Environment - Temperature & Humidity with DHT11
If you’re building a smart home gadget, a weather station, or an automated plant care system, you’re going to need to know the temperature and humidity. The DHT11 is one of the most popular, affordable, and easy-to-use sensors for exactly this purpose.
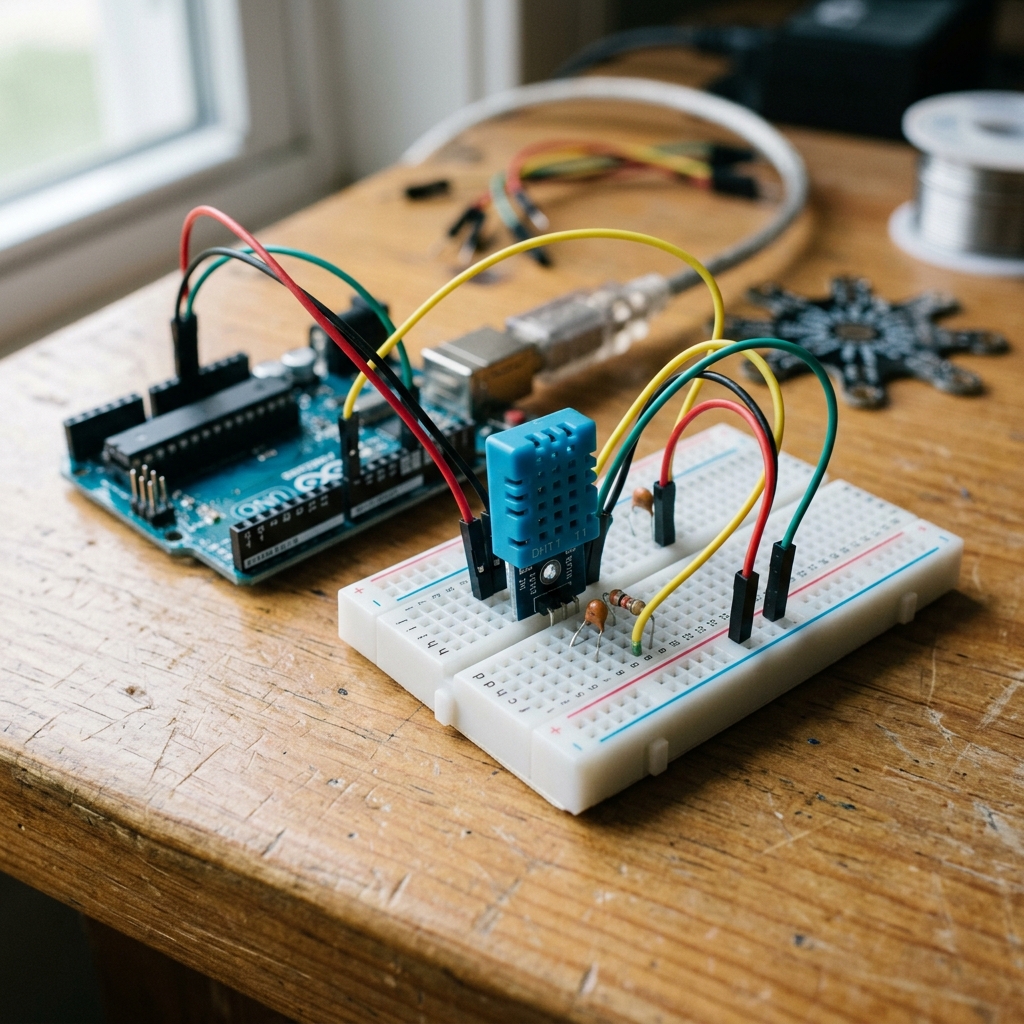 The distinctive blue DHT11 sensor is a staple in beginner electronics kits.
How the DHT11 Works
Inside the little blue plastic casing of the DHT11 are actually two distinct sensors:
- A capacitive humidity sensor.
- A thermistor to measure temperature.
A tiny built-in chip converts the analog readings from these two sensors into a digital signal that your Arduino can easily read over a single wire. It’s not the most precise sensor in the world, but it’s perfect for learning and basic projects!
Components Needed
- An Arduino Uno (or similar compatible board)
- A DHT11 Sensor Module
- Jumper Wires
- Need a complete set? Check out this Arduino Starter Kit.
(Note: We recommend the module version of the DHT11, which has 3 pins and a built-in resistor. If you have the bare 4-pin sensor, you will need to add a 10k resistor between VCC and the Data pin.)
The Wiring
Wiring the 3-pin DHT11 module is straightforward:
- GND (or -): Connect to Arduino GND.
- VCC (or +): Connect to Arduino 5V.
- DATA (or S): Connect to Arduino Digital Pin 2.
The Code
To read the complex digital signal from the DHT11, we will use a library written by Adafruit. In the Arduino IDE, go to Sketch > Include Library > Manage Libraries, search for “DHT sensor library” by Adafruit, and install it. (If it asks to install dependencies like “Adafruit Unified Sensor”, click “Install All”).
#include "DHT.h"

#define DHTPIN 2     // Digital pin connected to the DHT sensor
#define DHTTYPE DHT11   // DHT 11

// Initialize DHT sensor
DHT dht(DHTPIN, DHTTYPE);

void setup() {
  Serial.begin(9600);
  Serial.println(F("DHT11 test starting!"));

  dht.begin();
}

void loop() {
  // Wait a few seconds between measurements.
  delay(2000);

  // Read humidity
  float h = dht.readHumidity();
  // Read temperature as Celsius
  float t = dht.readTemperature();
  // Read temperature as Fahrenheit (isFahrenheit = true)
  float f = dht.readTemperature(true);

  // Check if any reads failed and exit early
  if (isnan(h) || isnan(t) || isnan(f)) {
    Serial.println(F("Failed to read from DHT sensor!"));
    return;
  }

  Serial.print(F("Humidity: "));
  Serial.print(h);
  Serial.print(F("%  Temperature: "));
  Serial.print(t);
  Serial.print(F("°C "));
  Serial.print(f);
  Serial.println(F("°F"));
}
Upload the code and open your Serial Monitor (set to 9600 baud). You should see the temperature and humidity updating every two seconds. Try breathing lightly on the sensor to watch the humidity spike!