ElectronParade
Lesson 127: Displaying Data - Introduction to I2C LCD Displays (16x2)
We’ve learned how to read sensors and turn on LEDs, but what if we want to display actual numbers or text? While the Serial Monitor is great, a real standalone project needs its own screen. Enter the 16x2 LCD Display.
By using an I2C interface, we can dramatically reduce the number of wires needed to connect this screen down to just four wires!
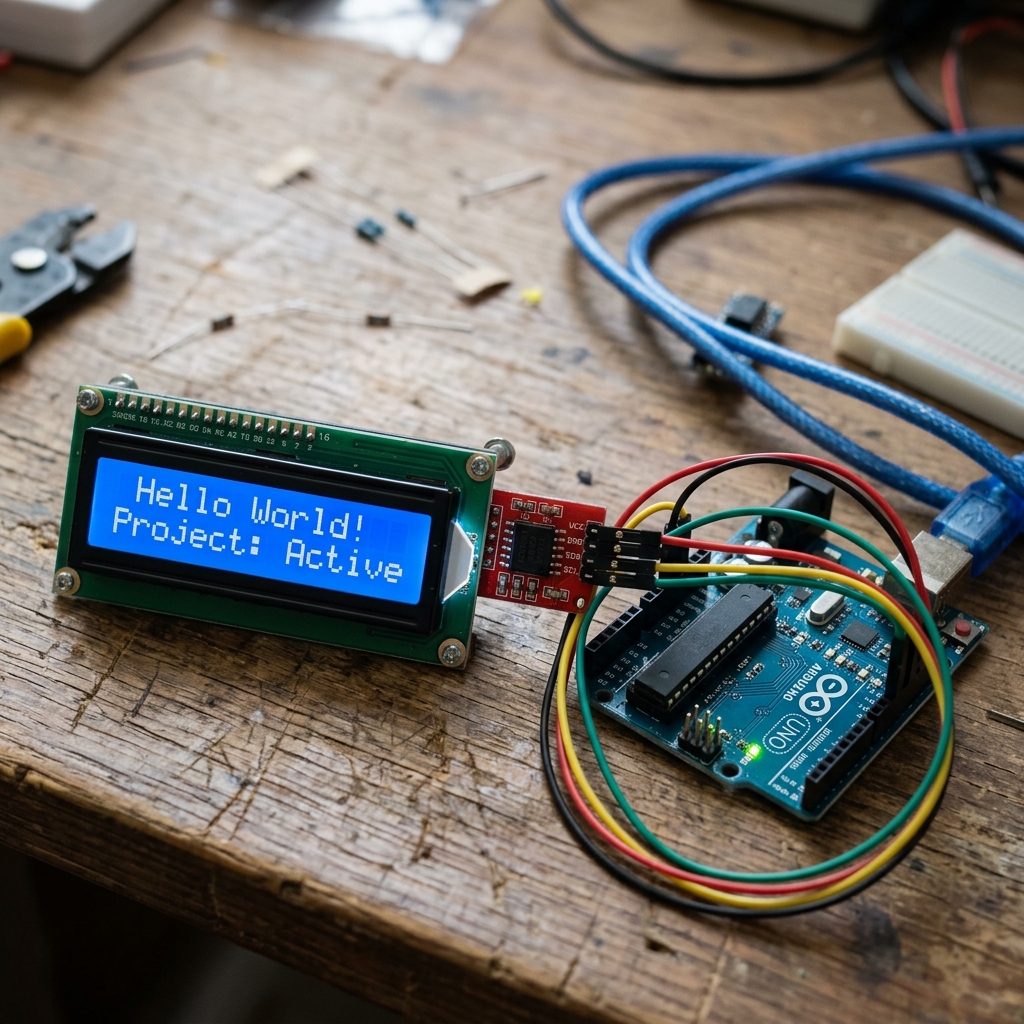 An I2C 16x2 LCD display allows you to present data elegantly with minimal wiring.
Why I2C?
A standard 16x2 LCD requires up to 16 pins to be wired to your Arduino. That’s a mess of cables and eats up almost all of your digital pins!
By attaching an I2C “backpack” module to the back of the LCD, it communicates using the I2C protocol. This means you only need two data wires (SDA and SCL) plus power and ground.
Components Needed
- An Arduino Uno (or similar compatible board)
- A 16x2 LCD Display with I2C module
- Four Jumper Wires
- Need a complete set? Check out this Arduino Starter Kit.
The Wiring
Wiring the I2C LCD is incredibly simple. Connect the four pins from the I2C backpack as follows:
- GND: Connect to Arduino GND.
- VCC: Connect to Arduino 5V.
- SDA: Connect to Arduino A4 (or dedicated SDA pin).
- SCL: Connect to Arduino A5 (or dedicated SCL pin).
The Code
Before uploading the code, you’ll need the LiquidCrystal_I2C library. Go to Sketch > Include Library > Manage Libraries in the Arduino IDE, search for “LiquidCrystal I2C” (by Frank de Brabander), and install it.
#include <Wire.h>
#include <LiquidCrystal_I2C.h>

// Set the LCD address to 0x27 for a 16 chars and 2 line display
// Note: If 0x27 doesn't work, your address might be 0x3F.
LiquidCrystal_I2C lcd(0x27, 16, 2);

void setup() {
  // Initialize the LCD
  lcd.init();

  // Turn on the backlight
  lcd.backlight();

  // Print a message to the LCD
  lcd.setCursor(0, 0); // Column 0, Row 0
  lcd.print("Hello, World!");

  lcd.setCursor(0, 1); // Column 0, Row 1
  lcd.print("Arduino Rocks!");
}

void loop() {
  // Nothing to do here for a static display!
}
Upload the code, and if everything is wired correctly, your screen should light up and display the message! If you see blank squares or nothing at all, grab a small Phillips screwdriver and adjust the tiny blue potentiometer on the back of the I2C module to change the screen’s contrast.
Next time, we’ll learn how to feed live sensor data into our new display!