ElectronParade
Lesson 116: Analog Inputs (Reading a Potentiometer)
A pushbutton is digital: it’s either pressed or not pressed (1 or 0). But the real world isn’t just ones and zeros. Temperature, light, and sound all vary continuously.
To read these continuous values, we need an Analog Input. Today, we’ll use a knob called a potentiometer to provide a variable voltage for our Arduino to read.
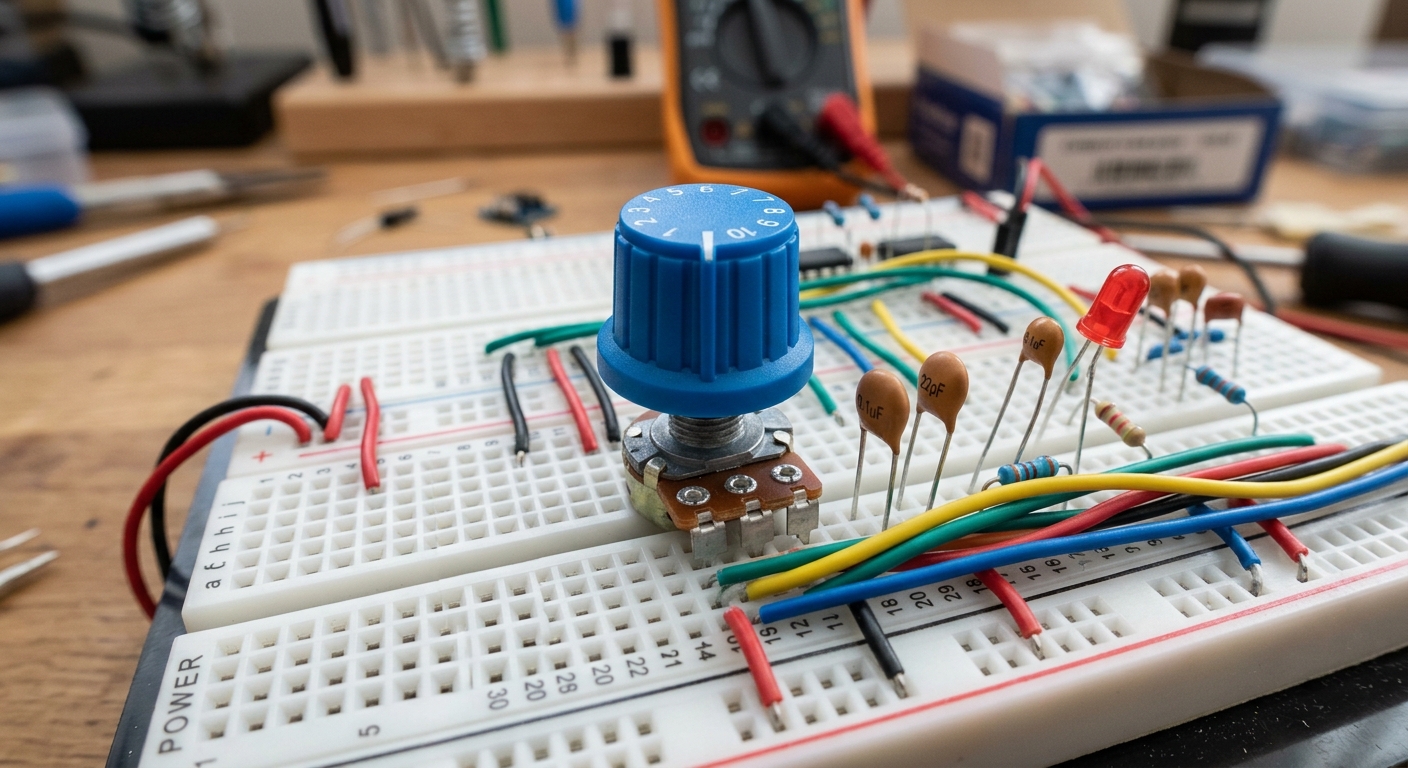 A potentiometer provides a variable voltage output based on the knob’s rotation.
What is a Potentiometer?
A potentiometer (or “pot”) is simply a variable resistor. It has three pins. Inside, the two outer pins are connected to a long track of resistive material. The middle pin is connected to a “wiper” that slides along that track as you turn the knob.
If you connect the outer pins to 5V and GND, the middle pin will output a voltage somewhere between 0V and 5V, depending on where the wiper is positioned. It acts as a mechanical voltage divider.
The ADC (Analog to Digital Converter)
The microcontroller inside the Arduino Uno is fundamentally a digital device. It can’t “understand” an analog voltage like 2.34V directly.
It uses a built-in circuit called an Analog to Digital Converter (ADC) to measure the voltage and translate it into a digital number that the processor can use. The Uno has a 10-bit ADC, which means it translates a 0V-5V signal into a number between 0 and 1023.
- 0 Volts = 0
- 2.5 Volts = 512
- 5 Volts = 1023
The Circuit
- Connect the left pin of the potentiometer to 5V.
- Connect the right pin to GND.
- Connect the middle pin to Analog Pin A0 on the Arduino.
- Connect an LED with a resistor to Digital Pin 9 (like we did in the last lesson).
The Code: Controlling Blink Speed
Let’s use the position of the knob to control how fast an LED blinks.
int sensorPin = A0;   // The input pin for the potentiometer
int ledPin = 9;       // The output pin for the LED
int sensorValue = 0;  // Variable to store the value coming from the sensor

void setup() {
  // We don't need to declare pinMode for Analog Input pins!
  pinMode(ledPin, OUTPUT);
}

void loop() {
  // Read the value from the sensor (0 to 1023):
  sensorValue = analogRead(sensorPin);

  // Turn the LED on
  digitalWrite(ledPin, HIGH);

  // Use the sensorValue as the delay time!
  delay(sensorValue);

  // Turn the LED off
  digitalWrite(ledPin, LOW);

  // Delay again
  delay(sensorValue);
}
Now, as you twist the knob, the sensorValue changes between 0 and 1023. That value is passed directly into the delay() function. Turn it one way, and it blinks rapidly (e.g., delay(10)). Turn it the other way, and it blinks slowly (e.g., delay(1000)).
[Need components for your control panel? This Rotary Potentiometer Kit has all the knobs you’ll ever need!]
You’ve successfully bridged the analog world and the digital world!