ElectronParade
Lesson 112: The IDE and Your First Code (Making it Blink)
Now that you have your Arduino Uno, it’s time to teach it how to do something. We do this by writing code on our computer and uploading it to the board’s memory.
To write this code, we use a piece of software called the Arduino IDE (Integrated Development Environment).
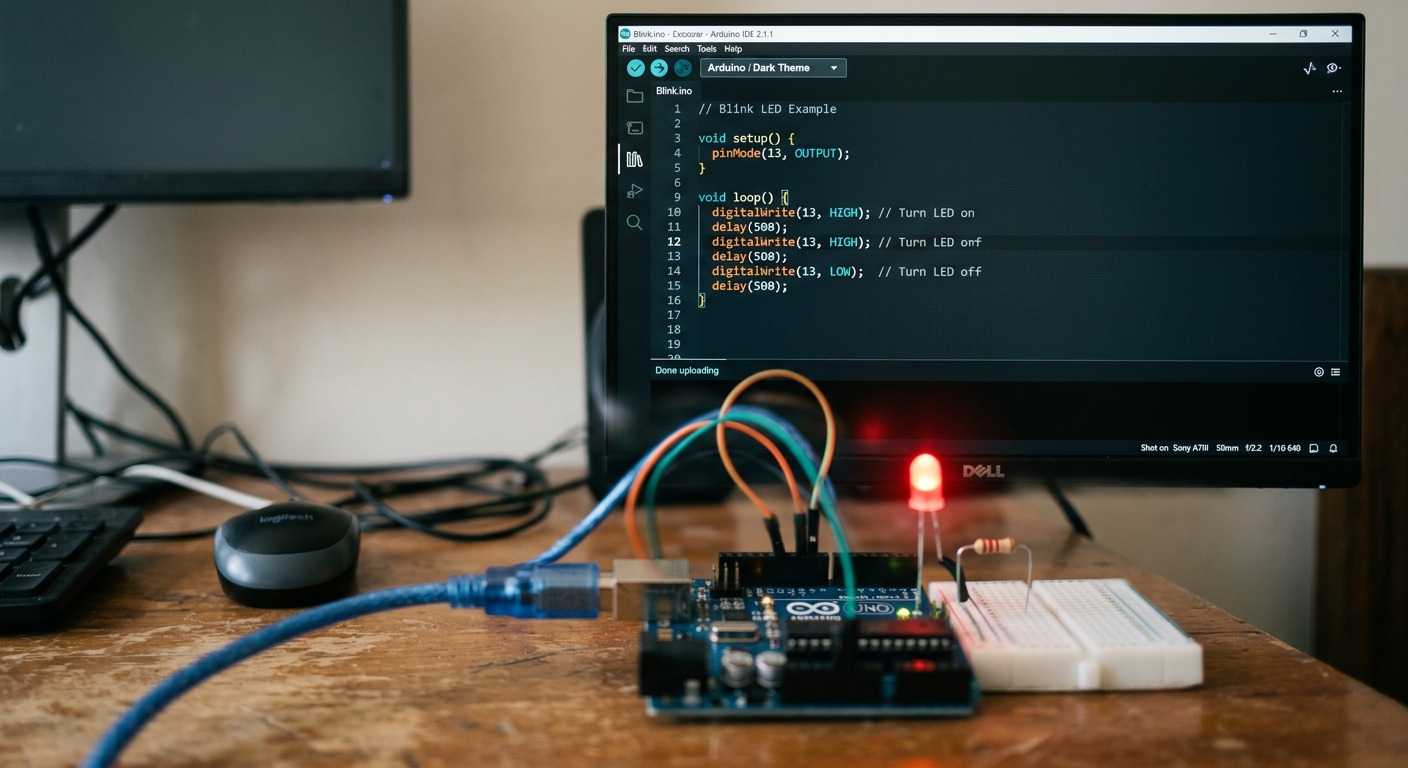 Writing C++ code in the Arduino IDE.
Setting Up the IDE
- Head to the official Arduino website and download the latest version of the Arduino IDE for your operating system.
- Install the software and open it up.
- Connect your Arduino Uno to your computer using a USB cable.
- In the IDE, go to the Tools menu.
- Under Board, select “Arduino Uno”.
- Under Port, select the port that shows your Arduino connected (on Windows it will be a COM port, on Mac it will look like
/dev/cu.usbmodem...).
The Two Main Functions: setup() and loop()
When you open a new “Sketch” (that’s what Arduino calls a program), you’ll see two blocks of code already written for you:
void setup() {
  // put your setup code here, to run once:
}

void loop() {
  // put your main code here, to run repeatedly:
}
Arduino code is based on C++, but it’s simplified. Every Arduino sketch must have these two functions:
setup(): When the Arduino is powered on or reset, it reads the instructions inside these curly braces{ }exactly once. We use this to configure our pins.loop(): As soon assetup()is finished, the Arduino moves toloop(). It reads the instructions top to bottom, and when it hits the end, it immediately jumps back to the top and does it again. Forever. Millions of times a second.
Your First Program: Blink
Let’s make an LED blink. The Arduino Uno conveniently has a tiny built-in LED connected to Digital Pin 13. We don’t even need a breadboard for this!
Type the following code exactly as you see it:
void setup() {
  // Tell the Arduino that Pin 13 is going to be an OUTPUT
  pinMode(13, OUTPUT);
}

void loop() {
  digitalWrite(13, HIGH);  // Turn the LED on (HIGH voltage level)
  delay(1000);             // Wait for 1000 milliseconds (1 second)
  digitalWrite(13, LOW);   // Turn the LED off (LOW voltage level)
  delay(1000);             // Wait for 1 second
}
Breaking it down:
pinMode(13, OUTPUT);configures pin 13 to send electricity out.digitalWrite(13, HIGH);sets the voltage on pin 13 to 5V. The LED lights up.delay(1000);tells the Arduino to do absolutely nothing for 1000 milliseconds.digitalWrite(13, LOW);drops the voltage to 0V. The LED turns off.delay(1000);waits another second before theloop()restarts.
(Notice the semicolons ; at the end of the instructions! They are the periods at the end of sentences in code. If you forget one, you’ll get an error!)
Upload and Verify
Click the Upload button (the right-pointing arrow at the top left of the IDE). The software will compile your code (translate it into machine language) and send it over the USB cable to the Arduino.
Look at your board. You should see a tiny LED near pin 13 blinking on and off once a second! You are officially a programmer.
[Need a reliable USB cable for uploading code? Check out this Anker USB Cable Pack.]